
Source: Roblox Creator Hub · CC BY 4.0 · View source · Code samples: MIT Imported 2026-10-03. Formatting adapted for this site.
Character body specifications
Character body models require a specific set of components and configuration standards to ensure all avatar features work as expected across the platform. Before you start the export process, verify that your model meets the following modeling specifications and guidelines for proper Studio compatibility.
When you're ready to export your character body, reference all export setting requirements for Blender and Maya.
Note
For other types of 3D models:
- [General mesh](/docs/roblox-art-modeling-specifications) specifications.
- [Rigid accessory](/docs/roblox-avatar-rigid-accessories-specifications) specifications.
- [Layered accessory](/docs/roblox-avatar-layered-accessories-specifications) specifications.
Geometry
Character body models for avatars are made up of 15 separate mesh objects and require additional geometry requirements to import into Studio and publish successfully. In addition to body scale types, body parts, and triangle budget specifications, ensure that your models also fulfill the following general requirements when modeling your character's body:
- Watertight - All geometry must be watertight without exposed holes or backfaces. Meshes used as outer cages do not need to be watertight.
- No N-gons - Model your assets in quads where possible.
- Transformations - All translation, rotation, and scale values must be frozen and pivots set to
0,0,0. - Orientation - Characters must face positive Z and stand up in positive Y.
- Pose - Before exporting, set your character to an I-Pose, A-Pose, or T-Pose when possible.
Body scale
Roblox supports 3 standards of character body scales: Normal, Slender, and Classic. These standards allow developers to create games and spaces with consistent body sizes for standardizing movement and interactions. You can select a body scale on import using Rig Scale options, or modify the body scale manually. Body scale persists when the asset is uploaded to the Marketplace.
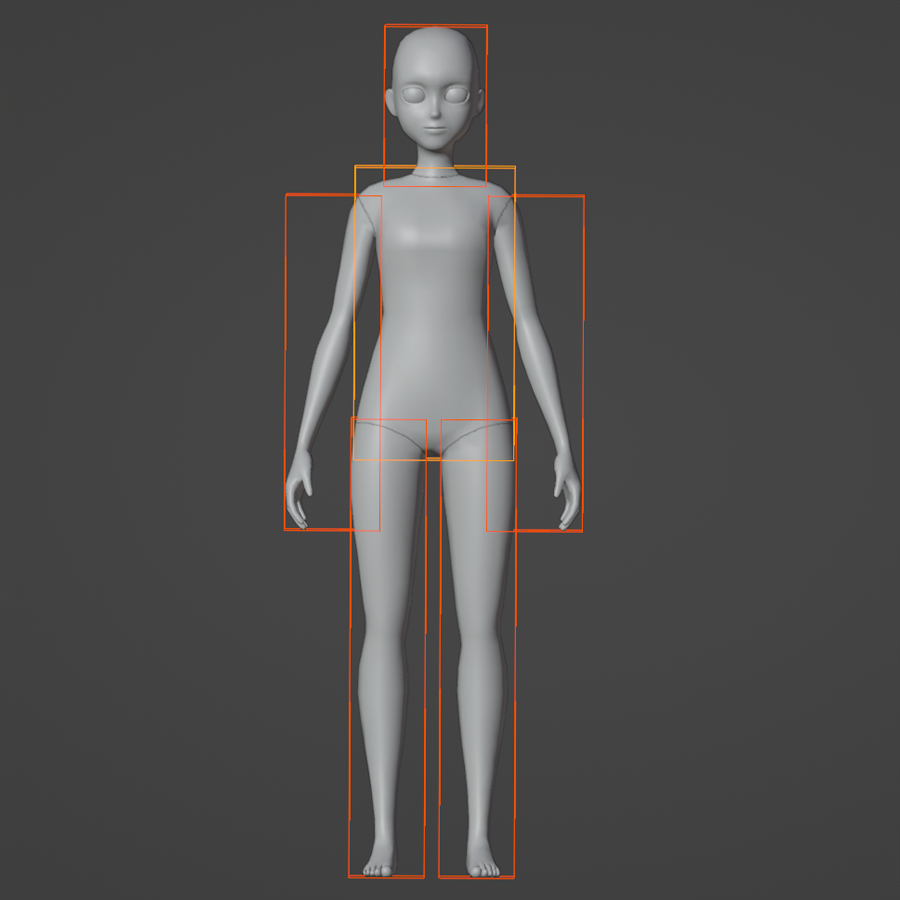
A visualization of how Roblox combines the 15 body parts into 6 distinct assets.
Note
Since body assets partially overlap with each other, the total body dimensions do not represent the sum of the avatar's asset dimensions. The total body dimension is the most important factor of each body scale to ensure a standard avatar size and scale.
Normal
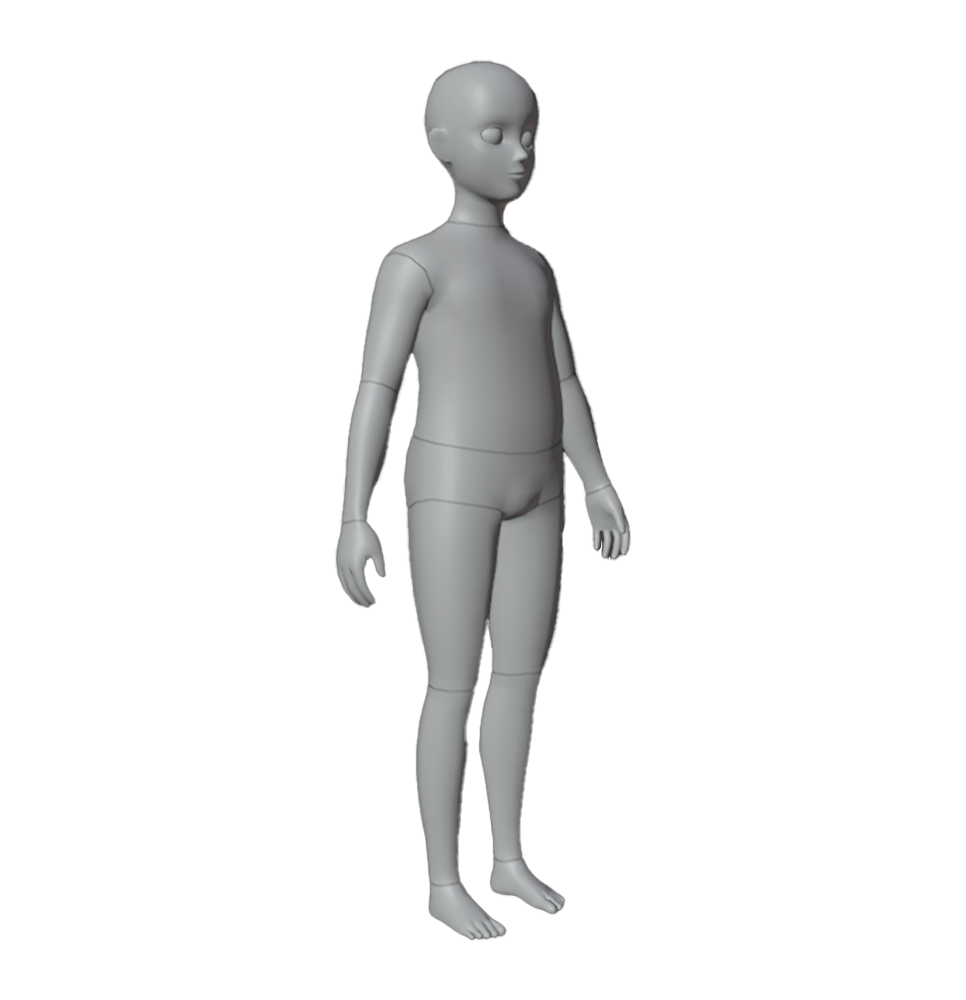
A Rthro Normal body scale downloadable mannequin.
In the Importer, use Rig Type > Rthro to import your model as a Normal body scale.
| Part | X (width) | Y (height) | Z (depth) |
|---|---|---|---|
| Head | .5 | .5 | .5 |
| Arm | .25 | 1.5 | .25 |
| Torso | .85 | 1.7 | .7 |
| Leg | .25 | 1.4 | .5 |
| **Total** | **1.35** | **3.6** | **.7** |
| Part | X (width) | Y (height) | Z (depth) |
|---|---|---|---|
| Head | 3 | 2 | 2 |
| Arm | 2 | 4.5 | 2 |
| Torso | 4.6 | 3.5 | 2.25 |
| Leg | 1.5 | 4 | 2 |
| **Total** | **8.6** | **9.5** | **2.25** |
Slender
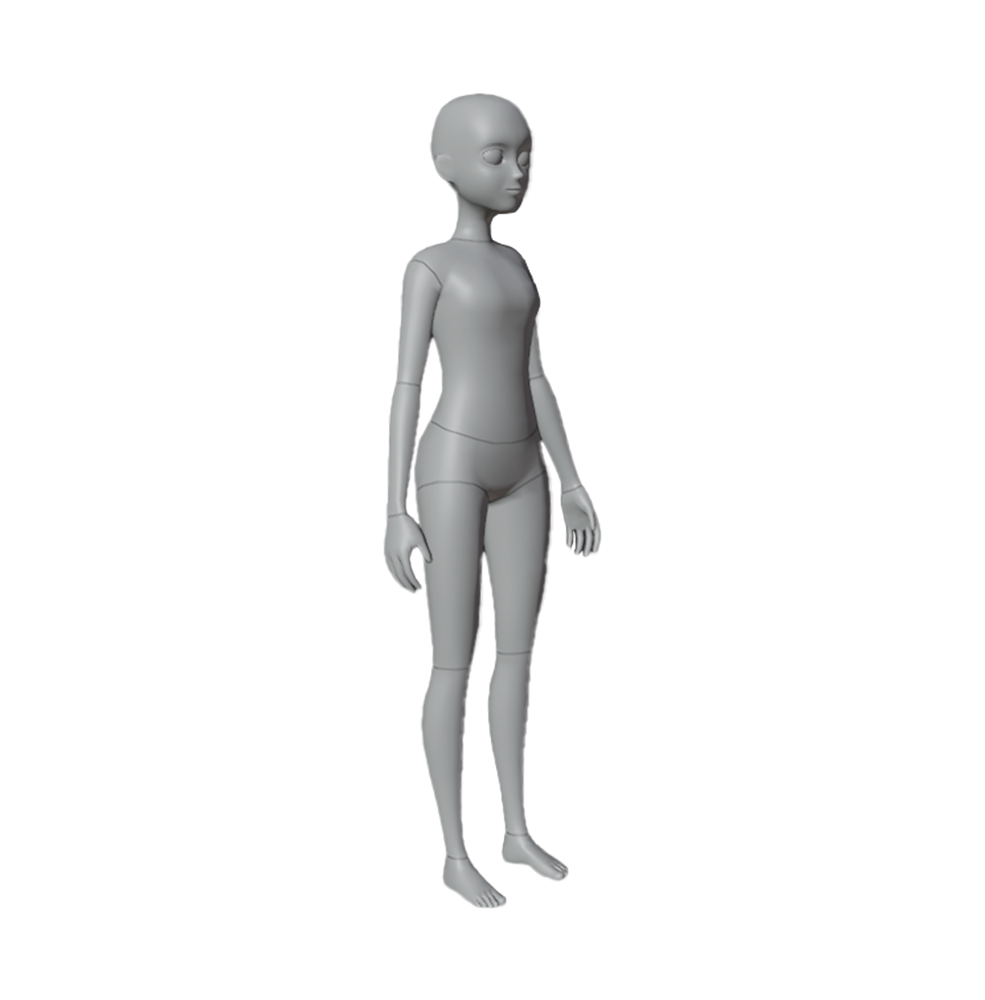
A Rthro Slender (Narrow) body scale downloadable mannequin.
In the Importer, use Rig Type > Rthro Narrow to import your model as a Slender body scale.
| Part | X (width) | Y (height) | Z (depth) |
|---|---|---|---|
| Head | .5 | .5 | .5 |
| Arm | .25 | 1.5 | .25 |
| Torso | .85 | 1.7 | .7 |
| Leg | .25 | 1.4 | .5 |
| **Total** | **1.35** | **3.6** | **.7** |
| Part | X (width) | Y (height) | Z (depth) |
|---|---|---|---|
| Head | 2 | 2 | 2 |
| Arm | 1.5 | 4 | 2 |
| Torso | 3 | 3.5 | 2 |
| Leg | 1.5 | 4 | 2 |
| **Total** | **6** | **9.5** | **2** |
Classic
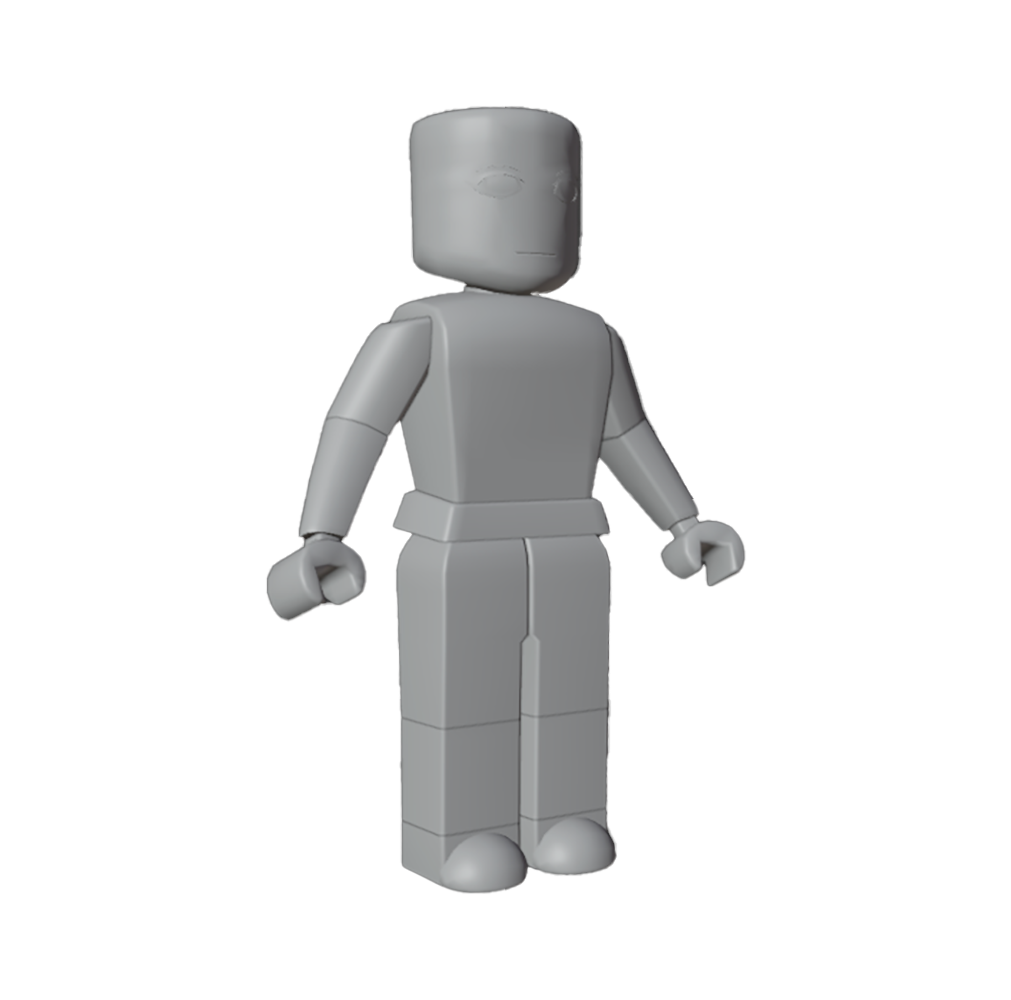
A Classic body scale downloadable mannequin.
In the Importer, use Rig Type > Default to import your model as a Classic body scale.
| Part | X (width) | Y (height) | Z (depth) |
|---|---|---|---|
| Head | .5 | .5 | .5 |
| Arm | .25 | 1.5 | .25 |
| Torso | .85 | 1.7 | .7 |
| Leg | .25 | 1.4 | .5 |
| **Total** | **1.35** | **3.6** | **.7** |
| Part | X (width) | Y (height) | Z (depth) |
|---|---|---|---|
| Head | 1.5 | 1.8 | 2 |
| Arm | 2 | 3 | 2 |
| Torso | 4 | 3.8 | 2 |
| Leg | 1.5 | 3.5 | 2 |
| **Total** | **8** | **9.1** | **2** |
Triangle budgets
Although character body model geometries are typically created using quads, the Roblox Engine converts imported assets into tris. Each asset of your character model must not exceed our maximum tri budget. To quickly get the number of expected tris in your third-party modeling application, you can double the number of quads in your model.
Note
When character body models are uploaded to Studio and created into assets for the Marketplace, the body is split into 6 individual assets: DynamicHead, Torso, LeftArm, RightArm, LeftLeg, RightLeg.
| Asset type | Included mesh objects | Maximum triangles |
|---|---|---|
| DynamicHead | Head | 4000 |
| Torso | UpperTorso, LowerTorso | 1750 |
| LeftArm | LeftUpperArm, LeftLowerArm, LeftHand | 1248 |
| Right Arm | RightUpperArm, RightLowerArm, RightHand | 1248 |
| LeftLeg | LeftUpperLeg, LeftLowerLeg, LeftFoot | 1248 |
| Right Leg | RightUpperLeg, RightLowerLeg, RightFoot | 1248 |
| Total | Head, UpperTorso, LowerTorso, LeftUpperArm, LeftLowerArm, LeftHand, RightUpperArm, RightLowerArm, RightHand, LeftUpperLeg, LeftLowerLeg, LeftFoot, RightUpperLeg, RightLowerLeg, RightFoot | 10,742 |
Body parts
See the following specifications for the individual mesh objects that make up a character body model:
Naming Convention - Limbs must all be specifically named:
- UpperTorso_Geo
- LowerTorso_Geo
- LeftUpperArm_Geo
- LeftLowerArm_Geo
- LeftHand_Geo
- RightUpperArm_Geo
- RightLowerArm_Geo
- RightHand_Geo
- LeftUpperLeg_Geo
- LeftLowerLeg_Geo
- LeftFoot_Geo
- RightUpperLeg_Geo
- RightLowerLeg_Geo
- RightFoot_Geo
- Head_Geo
Caps - Limbs must be capped, so that they form a full watertight mesh when separated from the body. Caps can be rounded or flat depending on design.

Note
Interested in creating a higher-fidelity avatar?
Higher-fidelity character body models require the same 15 mesh objects and naming structure. The only difference is that the mesh objects in higher-fidelity character body models can have additional internal joints in their rigging armatures. When these joints are present in a character body model, their corresponding mesh objects need to be skinned for accurate deformation.
Face accessories
Face accessories, such as eyebrows and eyelashes, are unique layered accessories that you can bundle with an avatar character body upload. Eyebrows and eyelashes cannot be uploaded as standalone accessories and must be bundled either with a character body or makeup assets. For more information on face accessories, see Layered accessory specifications - Face accessories.
Visibility
To ensure that avatar sizes are visually consistent, you must standardize body part visibility with the following requirements:
- Opacity - Body parts must be fully opaque.
- Bounding Boxes - Body part assets must take up a significant visible portion of their bounding box in a front, side, and back view.
Body parts, such as Torso, Left Arm, Right Leg, must take up at least 50% of body part's bounding box.
The head part must take up at least 50% of the mesh's bounding box.
<img src="https://prod.docsiteassets.roblox.com/assets/art/avatar/Valid-Visibility.png" />
An acceptable head mesh example that takes up a majority of the bounding box in the front view
<img src="https://prod.docsiteassets.roblox.com/assets/art/avatar/Invalid-Visibility.png" />A non-acceptable head mesh example that does not take up the appropriate amount of bounding box space in the front view
Attachments
Attachments are points that determine the specific location where accessories and in-game equippable objects attach to the character's body. Like many character components, attachment points are set up in third-party modeling software and imported as Attachment objects.
The Importer automatically recognizes and converts mesh objects as attachment points if the objects include the affix \_Att and follow the naming conventions below. This only applies when importing meshes with caging data, such as bodies (accessory attachment points are created using the Accessory Fitting Tool). Check out examples of this implementation in any of Roblox's downloadable reference models.
Generally, when placing attachment points, position them so they overlap halfway with the character model's mesh part.
<img src="https://prod.docsiteassets.roblox.com/assets/modeling/meshes/Collar-Attachment-1.png" />Incorrect placement of collar attachments
<img src="https://prod.docsiteassets.roblox.com/assets/modeling/meshes/Collar-Attachment-2.png" />Correct placement of collar attachments
Attachments must follow a specific naming convention and positional consistency:
| Mesh part | Attachment name | Details |
|---|---|---|
| Head | FaceCenter_Att | Anywhere within mesh bounding box |
| FaceFront_Att | Front half of mesh bounding box | |
| Hat_Att | Top half of mesh bounding box, can overlap with Hair_Att | |
| Hair_Att | Top half of mesh bounding box, can overlap with Hat_Att | |
| UpperTorso | LeftCollar_Att | Left top half of mesh bounding box |
| RightCollar_Att | Right top half of mesh bounding box | |
| Neck_Att | Top half of mesh bounding box | |
| BodyBack_Att | Back half of mesh bounding box | |
| BodyFront_Att | Front half of mesh bounding box | |
| LowerTorso | Root_Att | Must set to `0`, `0`, `0` position |
| WaistFront_Att | Front half of mesh bounding box, can overlap with WaistCenter_Att | |
| WaistBack_Att | Back half of mesh bounding box | |
| WaistCenter_Att | Anywhere in mesh bounding box, can overlap with WaistFront_Att | |
| RightUpperArm | RightShoulder_Att | Top half of mesh bounding box |
| RightHand | RightGrip_Att | Anywhere in mesh bounding box. Orient grip attachments **perpendicular** to the lower arm bone. For example, for I-Pose (arms pointing down), set the grip attachment to `90`, `0`, `0` (grip attachment pointing forward).  |
| LeftUpperArm | LeftShoulder_Att | Top half of mesh bounding box |
| LeftHand | LeftGrip_Att | Anywhere in mesh bounding box. Orient grip attachments **perpendicular** to the lower arm bone. For example, for I-Pose (arms pointing down), set the grip attachment to `90`, `0`, `0` (grip attachment pointing forward).  |
| RightFoot | RightFoot_Att | Anywhere in mesh bounding box |
| LeftFoot | LeftFoot_Att | Anywhere in mesh bounding box |
Rigging
Unlike generic rigs, humanoid models require a specific hierarchy and naming conventions for the internal bone or joint structure.
<img src="https://prod.docsiteassets.roblox.com/assets/animation/importing-custom-3d-rigs/Birdcaller-Imported.jpeg" />Humanoid rig model
<img src="https://prod.docsiteassets.roblox.com/assets/animation/importing-custom-3d-rigs/Rig-Hierarchy-Birdcaller-Blender-Bones.png" width="100%" />Humanoid rig bone structure (Blender)
Standard R15 rigs
The following requirements are for standard R15 rigs.
Rig Hierarchy - Humanoid rigs require a specific bone or joint hierarchy and naming convention:
- Root
- HumanoidRootNode
- LowerTorso
- UpperTorso
- Head (representing the base of the neck)
- LeftUpperArm
- LeftLowerArm
- LeftHand
- LeftLowerArm
- RightUpperArm
- RightLowerArm
- RightHand
- RightLowerArm
- LeftUpperLeg
- LeftLowerLeg
- LeftFoot
- LeftLowerLeg
- RightUpperLeg
- RightLowerLeg
- RightFoot
- RightLowerLeg
- UpperTorso
- LowerTorso
- HumanoidRootNode
- Root
Blender standard humanoid rig hierarchy with all bones

Maya standard humanoid rig hierarchy with all joints

- LowerTorso and Root - The LowerTorso and Root bone or joint position must be set to
0,0,0. - Pose - Export your character model in an I-Pose, A-Pose, or T-Pose for the best Studio compatibility. The LeftUpperArm and RightUpperArm bones can be exported with rotation values to meet this requirement.
Advanced R15 rigs
Advanced R15 rigs have the same requirements as standard rigs, but they support up to 37 additional optional bones or joints for a higher level of realism with articulated hands, shoulders, and spine movements.
You do not need to include every optional bone or joint for an advanced R15 rig, but each optional bone or joint you include must follow a specific hierarchy and naming convention for the respective body part.
Torso
| Hierarchy | Example Rig Setup |
|---|---|
|  |
LeftHand
| Hierarchy | Example Rig Setup |
|---|---|
|  |
RightHand
| Hierarchy | Example Rig Setup |
|---|---|
|  |
LeftFoot
| Hierarchy | Example Rig Setup |
|---|---|
|  |
RightFoot
| Hierarchy | Example Rig Setup |
|---|---|
|  |
Blender humanoid rig hierarchy with all optional bones

Maya humanoid rig hierarchy with all optional joints

Note
Make sure that you skin each additional bone or joint's corresponding mesh object for accurate deformation.
After you import an advanced R15 character rig into Studio, you must insert HumanoidRigDescription and/or DigitsRigDescription objects into your rig to be able to sell your character on the Marketplace, and for your animations to work properly:
HumanoidRigDescriptionobjects are necessary for animating individual body parts and adjusting behavioral characteristics of the rig, such as each bone or joint's size and range of motion.DigitsRigDescriptionobjects are necessary for hand articulation. Your character needs one for each hand with optional bone or joints.
Both of these object types detect bones or joints by their naming conventions, so it is very important to ensure every optional bone or joint is named correctly following the table above before you import your character rig into Studio. For a set of advanced R15 rigs that you can reference, see Resources - Advanced R15 rigs.
Skinning
Roblox supports skinning for rigged meshes. For more details on implementing skinned meshes in Studio, see Rigging and Skinning.
The following requirements are for skinning character bodies:
- Max Influences - A vertex can not be influenced by more than 4 bones or joints.
- No Root Influences - Do not apply influences to the Root bone or joint.
- Symmetry - When possible, maintain symmetry when applying influences to a rig.
Facial animation
For information on required facial animation support, see head specifications.
Textures
- Textures for Marketplace assets can't exceed 2048x2048 resolution.
- Textures created for accessories must meet Roblox's texture specifications. High resolution textures are automatically converted to lower-resolution textures to optimize performance.
- Avatar characters must follow Roblox's texture specifications. Characters created for the Marketplace can take advantage of custom skin tones, which use alpha layers to allow users to select their own base color.
Custom skin tone
When texturing an avatar character body model where the user can set their own skin tone, set the exposed skin areas as transparent so a default color or texture is not baked into the texture. When rendering, Studio applies the transparent layer on top without any layer effects. This step applies mostly to human-like characters with exposed skin that you intend users to customize.
The following are examples of skin tone shading for the face, and you can apply this process with any part of an avatar with exposed skin:
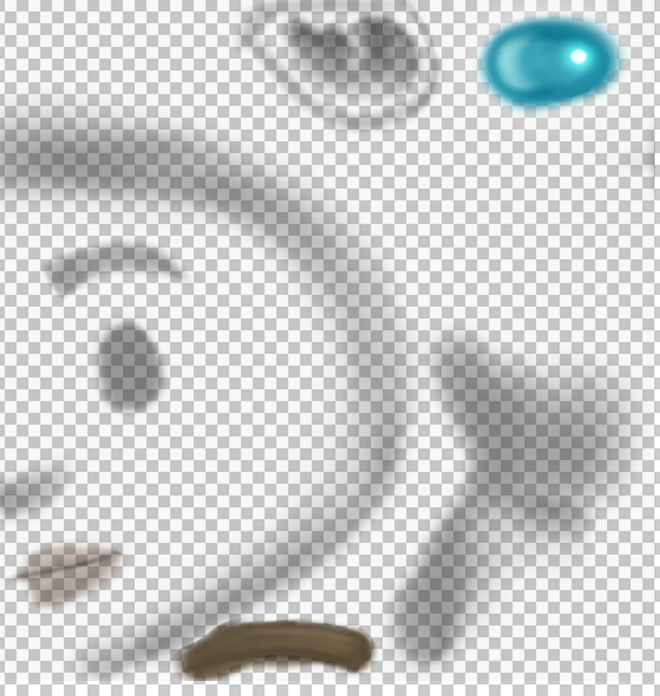
- Use 100% opacity for areas not related to a customized skin tone, such as eyes and brows.
- When applying shading, use black at low opacity and adjust opacity when needed.
- For areas that are partially translucent, such as shading contours or certain cosmetic features, leave some transparency for partial visibility of the skin tone.
- You should consistently test out how various colors layers can interact with your shading.
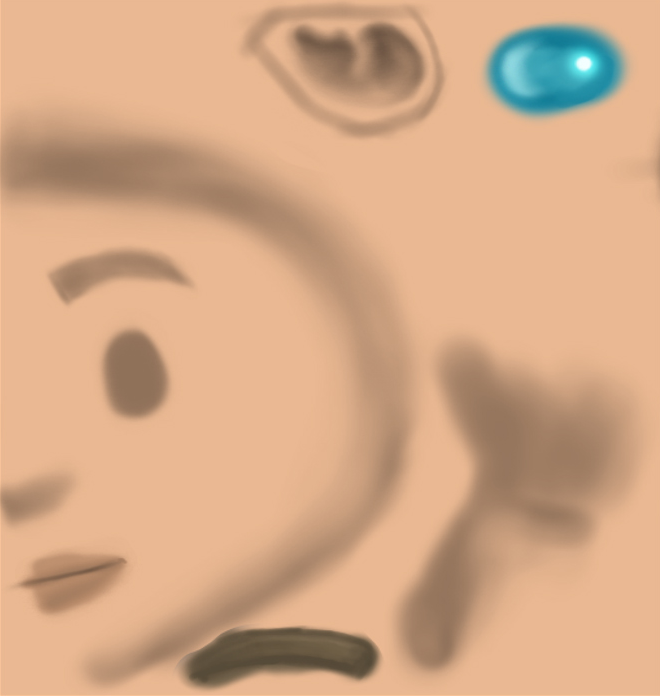
Beige
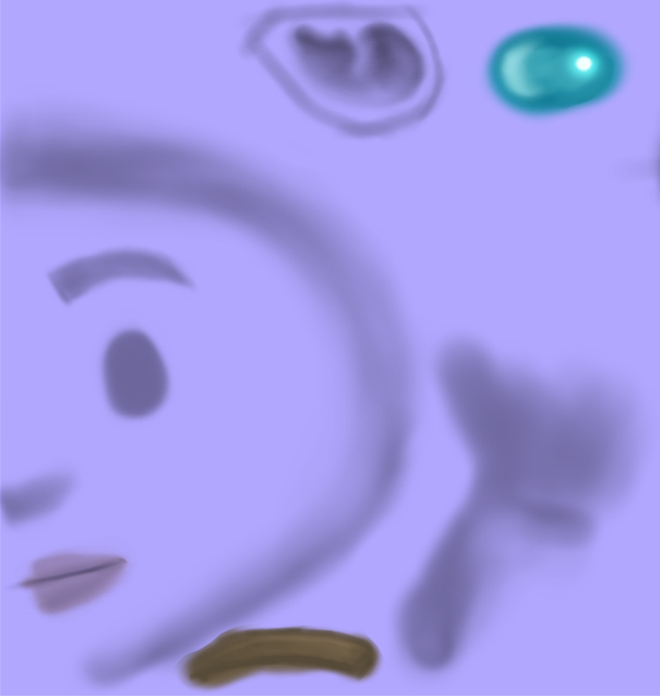
Blue
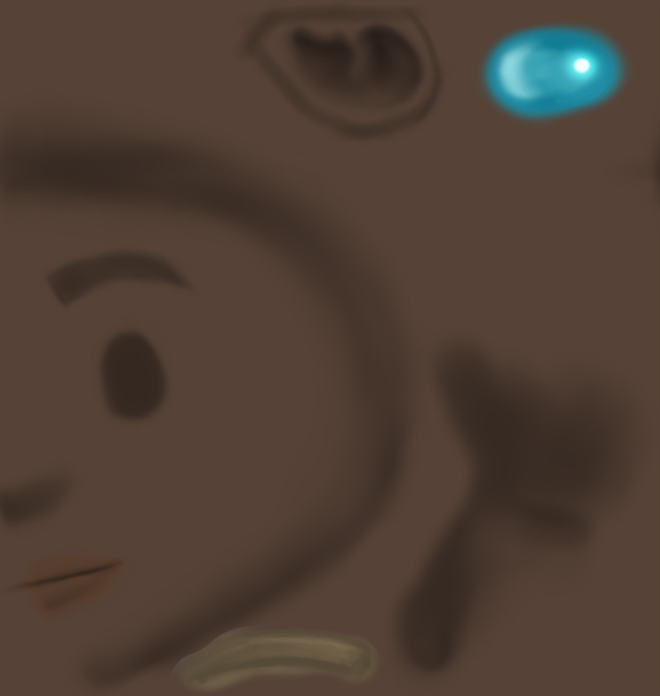
Brown
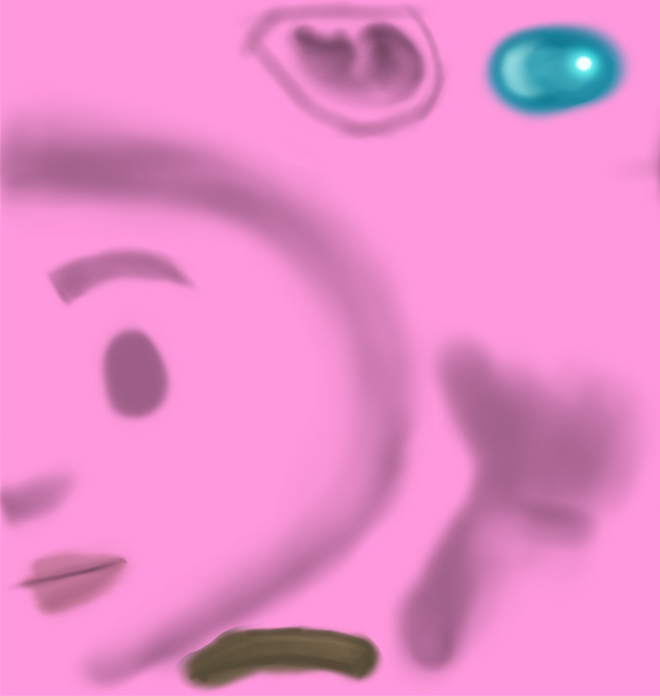
Pink
Outer cages
Outer cages on your character model allow your character to wear layered accessories, such as shirts and jackets that stretch and wrap around the body. Review the following list for requirements on adding outer cage meshes to your character body model:
- Use Roblox's Avatar Setup or Roblox's body cage templates to ensure naming conventions and other configurations are correct.
- Naming Conventions - The outer cage of a body part must be named after the primary mesh object with _OuterCage affixed, for example
LeftUpperArm_OuterCage. - Vertices and UV Map - Don't delete vertices or alter the UVs on outer cages as this can cause errors when importing in Studio or when equipping onto a character. Use Roblox's provided templates for cage meshes to ensure compatibility with other layered assets.
- Symmetry and consistency - Keep each face of your geometry consistently sized and retain symmetry wherever possible by using symmetry tools in your modeling software.
- For information on dynamic head cages and best practices when caging, see Dynamic head specifications.
Note
Character bodies only require an outer cage, but layered accessories require both an inner and outer cage to deform properly. For more information, see Layered accessory specifications - Cage meshes.
Marketplace requirements
Along with the other technical requirements listed, your items must meet the following additional specifications before uploading them to the Marketplace to sell:
- Ensure that your character bodies adhere to Marketplace policies.
- Whenever applicable, ensure that your character bodies adhere to Roblox's custom mesh specifications.
- Object
Materialis set toPlastic. - Object
Transparencyis set to0. - Object
VertexColoris the default1, 1, 1. - If your character's head includes separate eyelash and eyebrow assets, you must add them to your character body model as
Accessoryobjects. For more information, see Publish bodies with eyelashes and eyebrows. - Your
Modelinstance doesn't contain extraneous objects, likeScriptor additionalPartinstances.