
Source: Roblox Creator Hub · CC BY 4.0 · View source · Code samples: MIT Imported 2026-10-03. Formatting adapted for this site.
Adventure game part 1
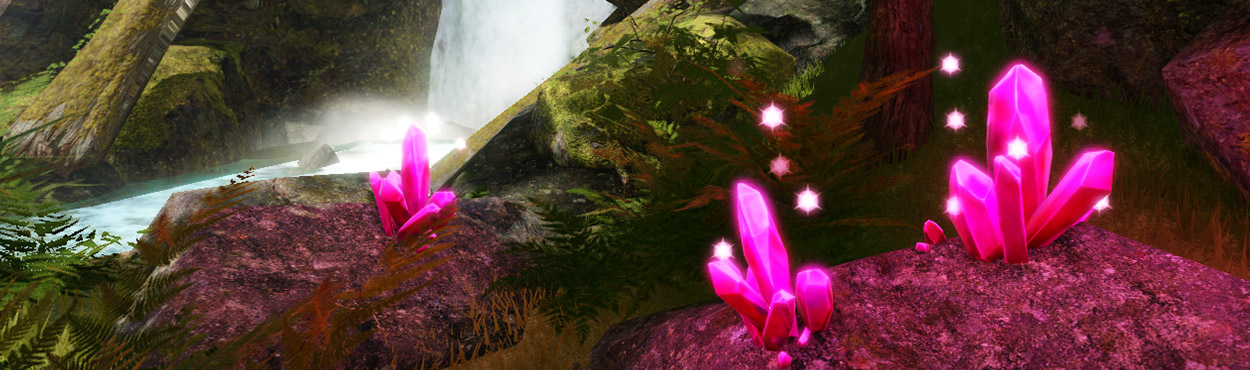
Lesson description: After learning the basics of using Roblox Studio and scripting, students take their skills further by starting a more complex project, the adventure game. They'll plan out elements of their game, create a virtual world, and setup basic gameplay components like keeping track of player items.
| Lesson objectives |
|
| Skills and concepts |
|
| Materials |
Overview
| Duration | Activity | Description |
|---|---|---|
| 5 min | Introduction | Introduce the session. |
| 10 min | Guided Work: Planning a Game | Create a game design document to plan out elements of the project. |
| 10 min | Guided Work: Creating the World | Design an environment using terrain tools based off the previous vision document. |
| 30 min | Guided Tutorial: Setting up The Game | Code scripts to keep track of player items and build the first item players will collect. |
| 5 min | Wrap-up | Reflect on project and recap concepts learned. |
Lesson plan
Introduction
- Explain that students will be using skills learned in previous sessions to build a game over the next three sessions. They will:
- Plan out their unique world using a game design document.
- Create a world in Roblox referencing their plans in the game design document.
- Create and code items for players to gather in-game.
Guided work - Plan a game
- Note that students don't need access to computers at the start of this section.
- Lead students through the lesson: Create the Map, stopping before the section: Creating the Environment.
- As students draw their starting area, keep in mind the following.
- Areas drawn should be achievable in scale of what a student can do in a week - such as a house with a front lawn or a simple forest vs a detailed city block. This helps focus students and they can always add more when finished.
- Drawings don't have to be complex - simple symbols like circles and squares are enough.
Guided work - Create the world
- Students should be at their computers for this section.
- Lead students through the lesson: Create the Map, starting at Creating the Environment
- Briefly show students each terrain tool at once and give at most six minutes to create their starting areas. They can always add more later.
Guided tutorial - Set up the game
- Lead students through the following tutorials: Coding the Leaderboard.
Wrap-up
- Recap what students have created and vocabulary: game mechanic and pre-production.
- Optional: Have students to reflect on the mid-point of their sessions by asking one or more of the following questions:
- One thing that was challenging but how they overcame it.
- One skill you're looking to improve over the next two sessions (e.g. better at troubleshooting, making more interesting worlds, etc).
- What was the most exciting thing you accomplished today. How did you do that and why was it exciting?
Appendix
Troubleshooting tips
- The name of the
leaderstatsvariable must be"leaderstats". Without this, the script won't know to create a new leaderboard. - Handout: Adventure Game Reference helps students keep track of variable names. This is especially useful if they replaced default variable names, like
"Gold"with something of their own, like"Rubies". - Remind students to build everything using parts, not by using the Toolbox. Using the Toolbox may introduce unexpected issues into their games.
Classroom management
- As students work on their project, help them keep in mind a reasonable scale of what they can accomplish by the end of the sessions.
- If students have ambitious goals (I want to build three different worlds in my game), remind them to focus on their goals for today's current session. Have them write down their additional ideas on the game design document.
- Set strict expectations as to how much time students can spend working on their starting area. They can always continue in later sessions.
Customize the lesson
- Students can spend more time building out their starting area using the terrain tools or adding decorative parts.
- If students are unclear what to add, ask questions about what objects they'd expect to find in that themed world (E.g. If you were on a moonbase, what would you see? How can you build that using parts?)
- Students can add more than one type of item to harvest. Just remember that each item follows the same organization in the Explorer and has a BoolValue named
CanHarvestset to true.