
Source: Roblox Creator Hub · CC BY 4.0 · View source · Code samples: MIT Imported 2026-10-03. Formatting adapted for this site.
Explore Studio UI
Welcome to your first session in Roblox Studio! Before you jump in and begin building games, let's take a moment to walk through Studio's essential UI. While this overview provides a solid foundation to get started, there are many additional windows and tools that you can discover and customize in the Studio interface.
Note
Coming to Studio from another game engine?
Check out one of the following guides that explains the key differences between Studio and Unity or Unreal: Roblox for Unity developers or Roblox for Unreal developers.
Mezzanine

The mezzanine is the top-most section of Studio and it includes:
- Playtest options that allow you to simulate what players see on their devices.
- Tabs like Model, Avatar, and Script that filter the toolbar tools for their respective tasks.
- Collaborator information for games that you work on with others.
- The Assistant tool that you can use as an aid to supplement your skills and assist with development tasks.
Toolbar
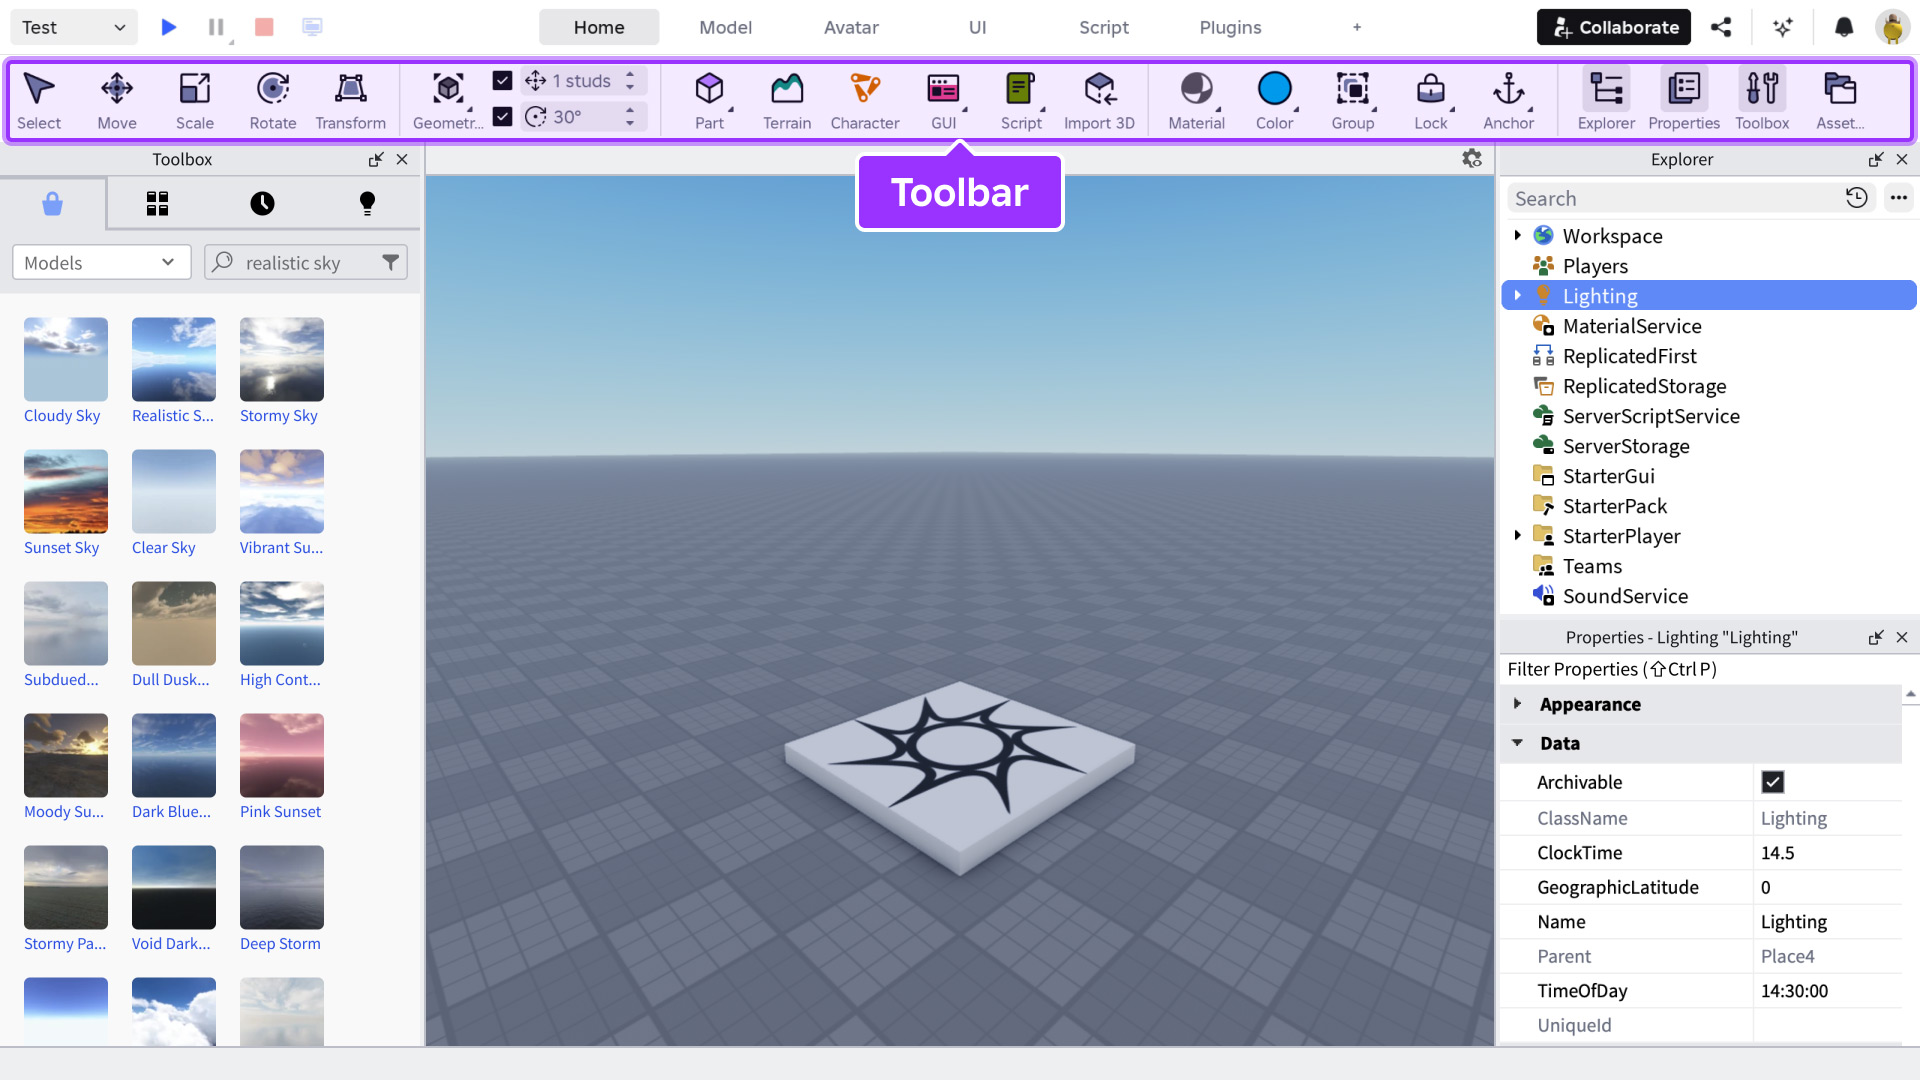
The toolbar is the section right below the mezzanine that displays all tools and insertable objects that relate to your active tab:
Home contains the core transform tools, part inserter, the color and material widgets, the group and lock tools, and anchor toggle. Also contains the Terrain Editor.
Model contains the core transform tools, the pivot and align tools, insertion widgets for effects and constraints, and solid‑modeling tools.
Avatar contains the core transform tools, as well as specialized tools for building default rigs, configuring avatars, working with animations, and creating/fitting accessories.
UI contains insertion widgets for UI objects and lets you access the Style Editor, a comprehensive tool that allows you to create, manage, and apply UI styles.
Script contains tools for writing and testing scripts, including debugging tools.
Plugins contains plugins created by the community or plugins you've created yourself to use across your games.
When you are more comfortable with Studio, you can also create custom tabs for your own development needs.
3D viewport
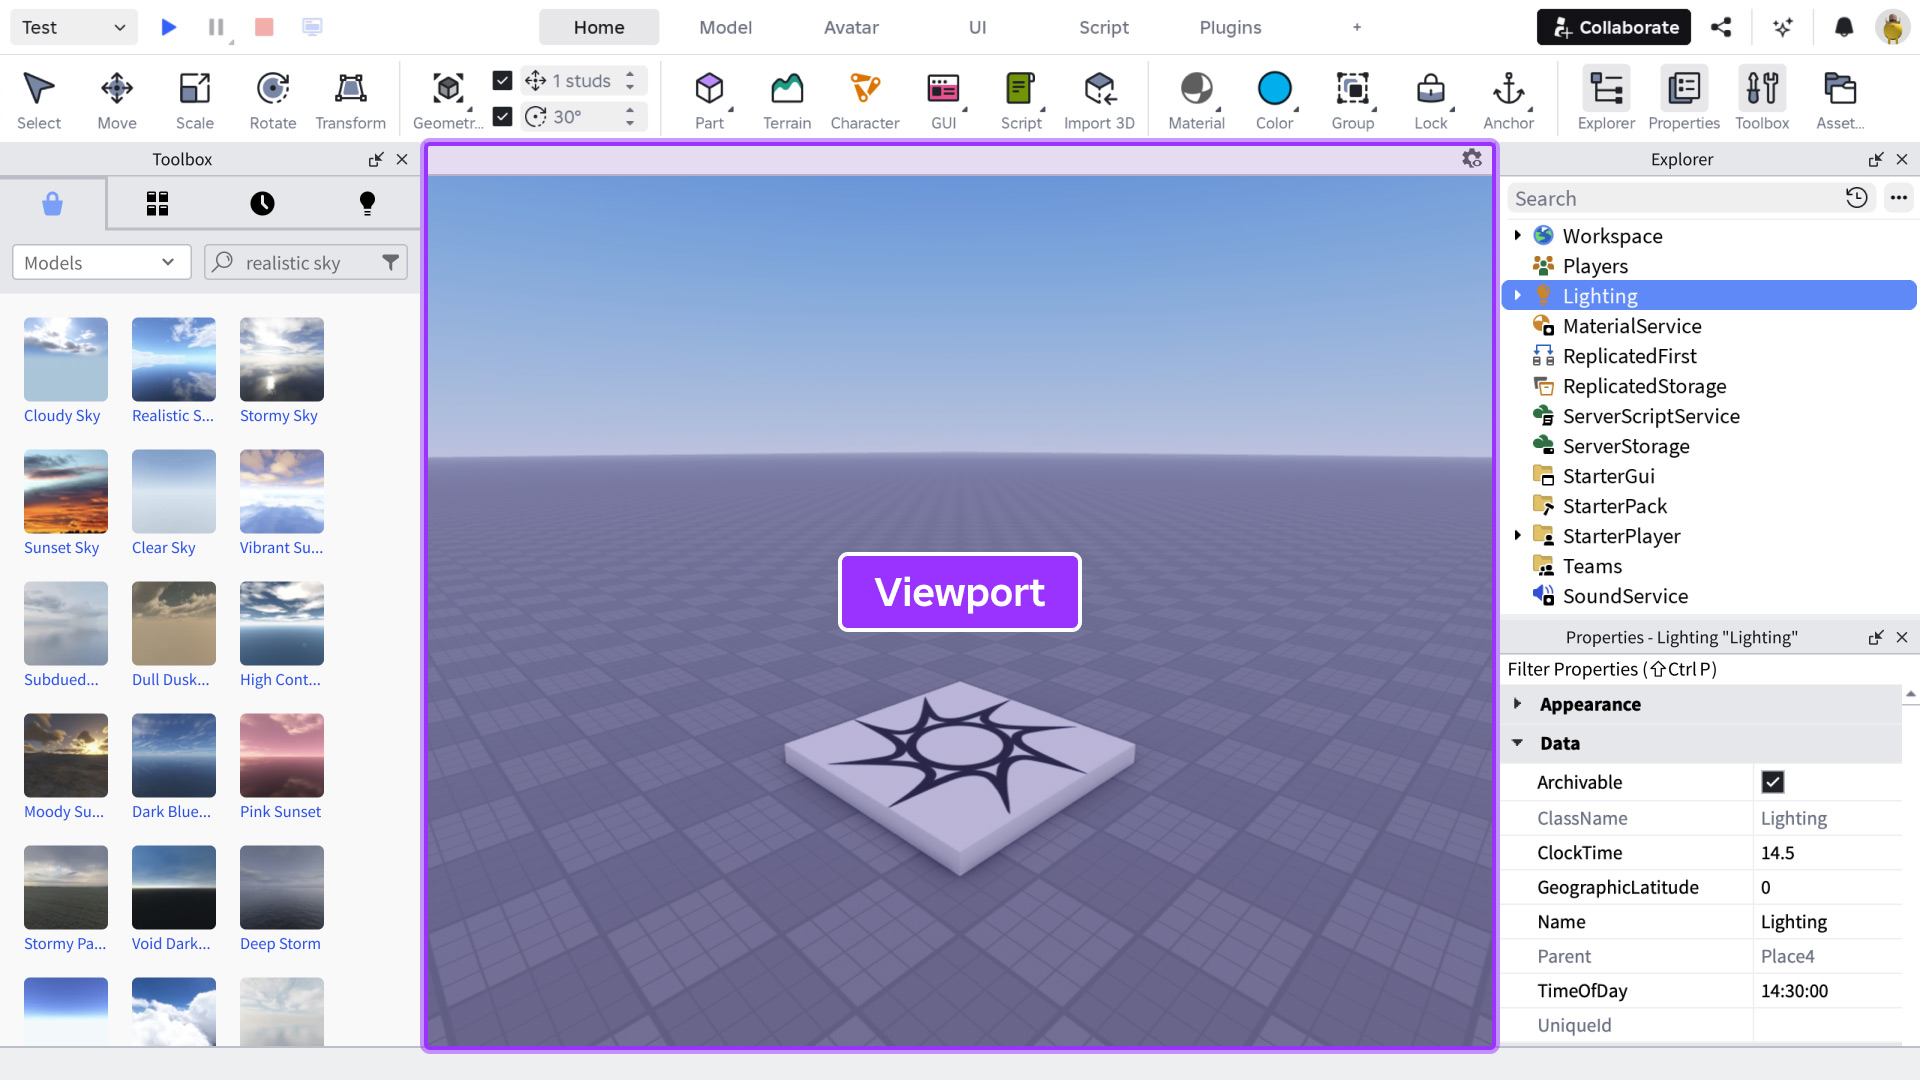
The 3D viewport is the largest window in Studio that provides you a view into the 3D space. After you click in the 3D viewport, you can move the camera, edit objects with your mouse, and playtest the game from your players' point-of-view.
For common camera controls, see the following table.
| Keys/Shortcuts | Action |
|---|---|
| W A S D | Moves the camera forward/left/back/right. |
| Q E | Moves the camera down/up. |
| Shift | In combination with any movement key, changes the camera speed. |
| F | Focuses the camera on a selected part. |
| **Right Mouse Button** | When pressed, dragging the mouse moves the camera view around. |
| **Mouse Scroll Wheel** Ctrl= or ⌘= Ctrl- or ⌘- or O | Zooms the camera in or out. Zooms the camera in. Zooms the camera out. |
| , / . | Rotates the camera left/right. If a part/model is in focus via the F shortcut, rotates the camera counterclockwise/clockwise around that focused object. |
| **Middle Mouse Button** | When pressed, dragging the mouse pans the camera. |
| **Right Mouse Button** & **Mouse Scroll Wheel** | Pressing the right mouse button and scrolling the mouse wheel **up** increases the camera scroll speed. Conversely, pressing the right mouse button and scrolling the mouse wheel **down** reduces the camera scroll speed. Note This feature is currently in beta. Enable it through File ⟩ Beta Features ⟩ New Studio Camera Controls. |
Note
It's strongly recommended to use a 2-button mouse with a scroll wheel to make navigating the 3D space easier.
Toolbox

The Toolbox contains a selection of models, images, meshes, audio, plugins, videos, and fonts from either Roblox or fellow creators on the platform. It offers four tabs:
- Creator Store is a marketplace of both free and for sale assets to use within your games.
- Inventory contains assets that you or your groups have uploaded, or those that you found on the Creator Store.
- Recent contains your most recently used assets.
- Creations is similar to Inventory, but it excludes assets from the Creator Store.
Explorer
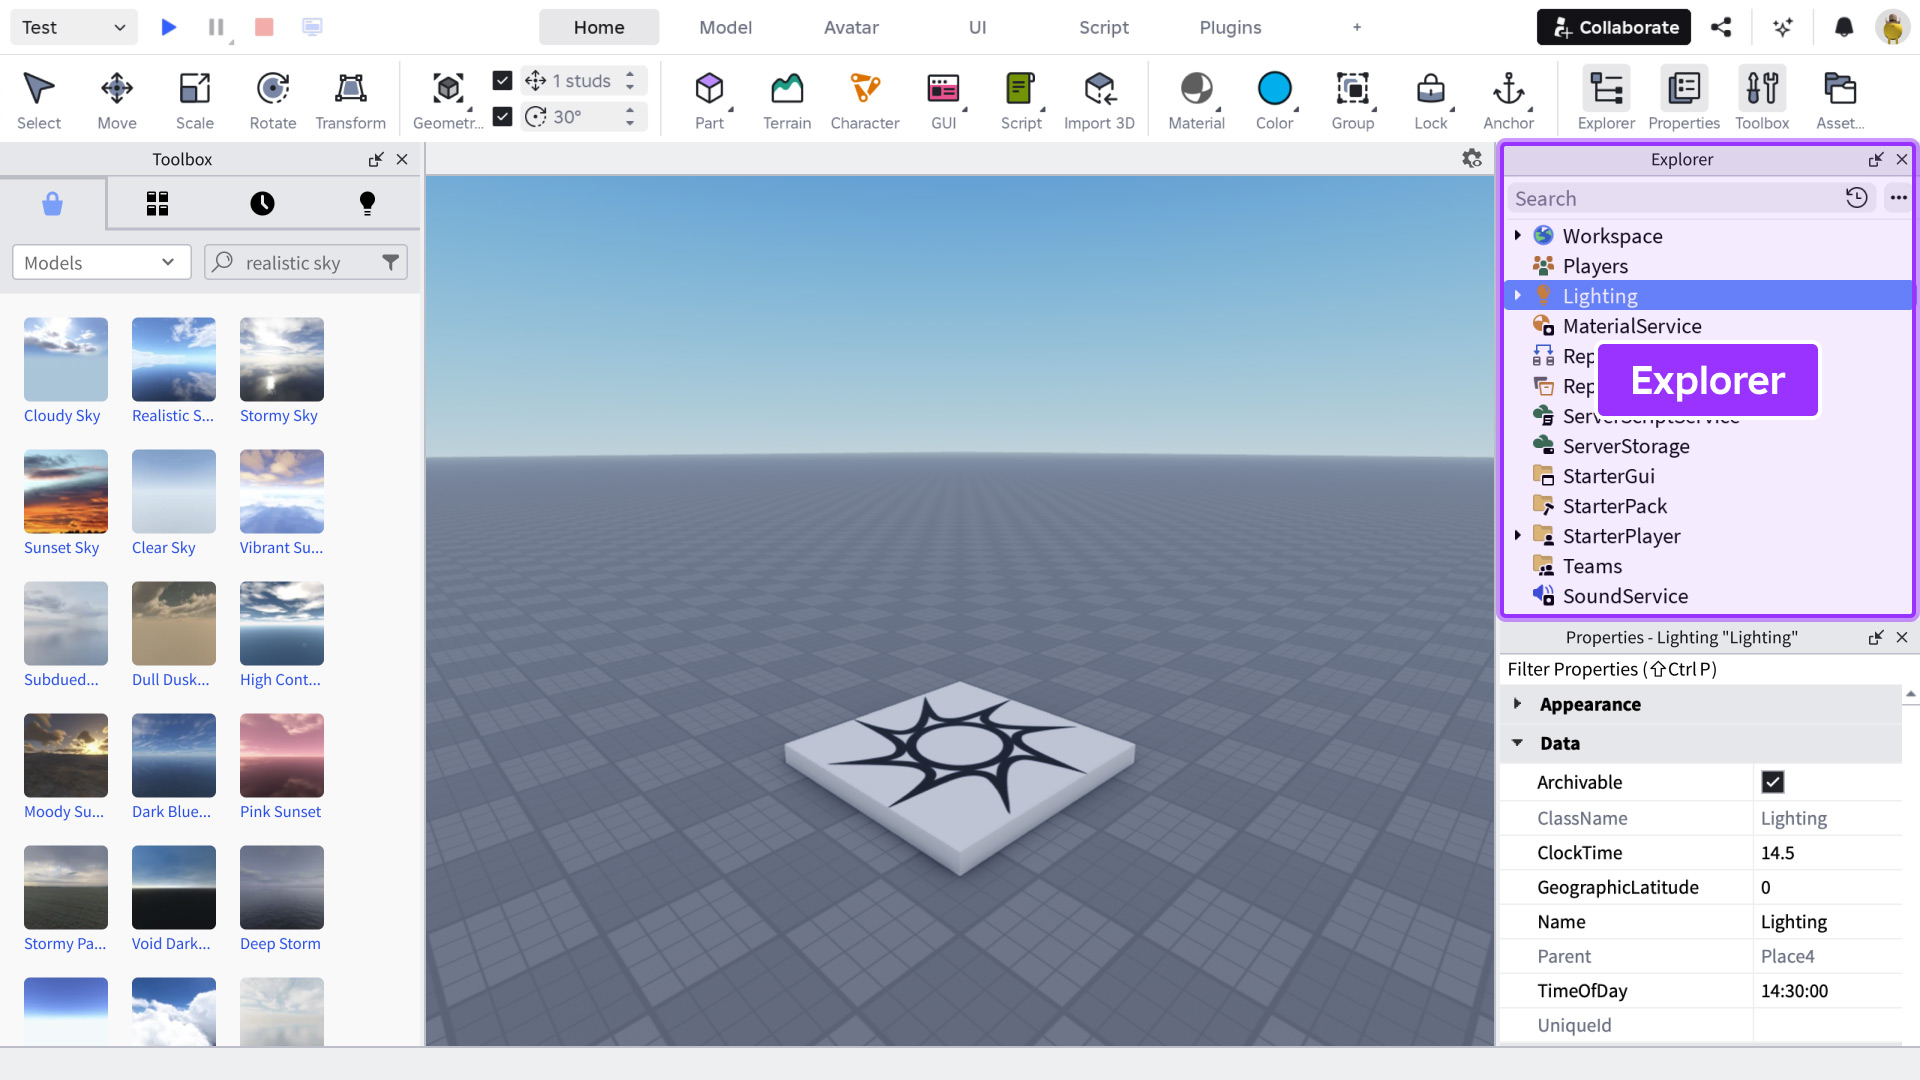
The Explorer window displays a hierarchical list of every object and service that runs out-of-the-box gameplay logic for the active place of your game. You can think of places like levels inside of a game.
Note
Places are comparable to scenes in Unity or maps in Unreal Engine.
Games can have one or multiple places that each contain all components for that portion of the game, including its specific environment, 3D objects, and scripts; these components collectively are called the data model. When you switch to a different place, the Explorer window updates accordingly to show that place's data model.
For more information on how the Explorer window organizes objects in the data model, see Data model.
Properties
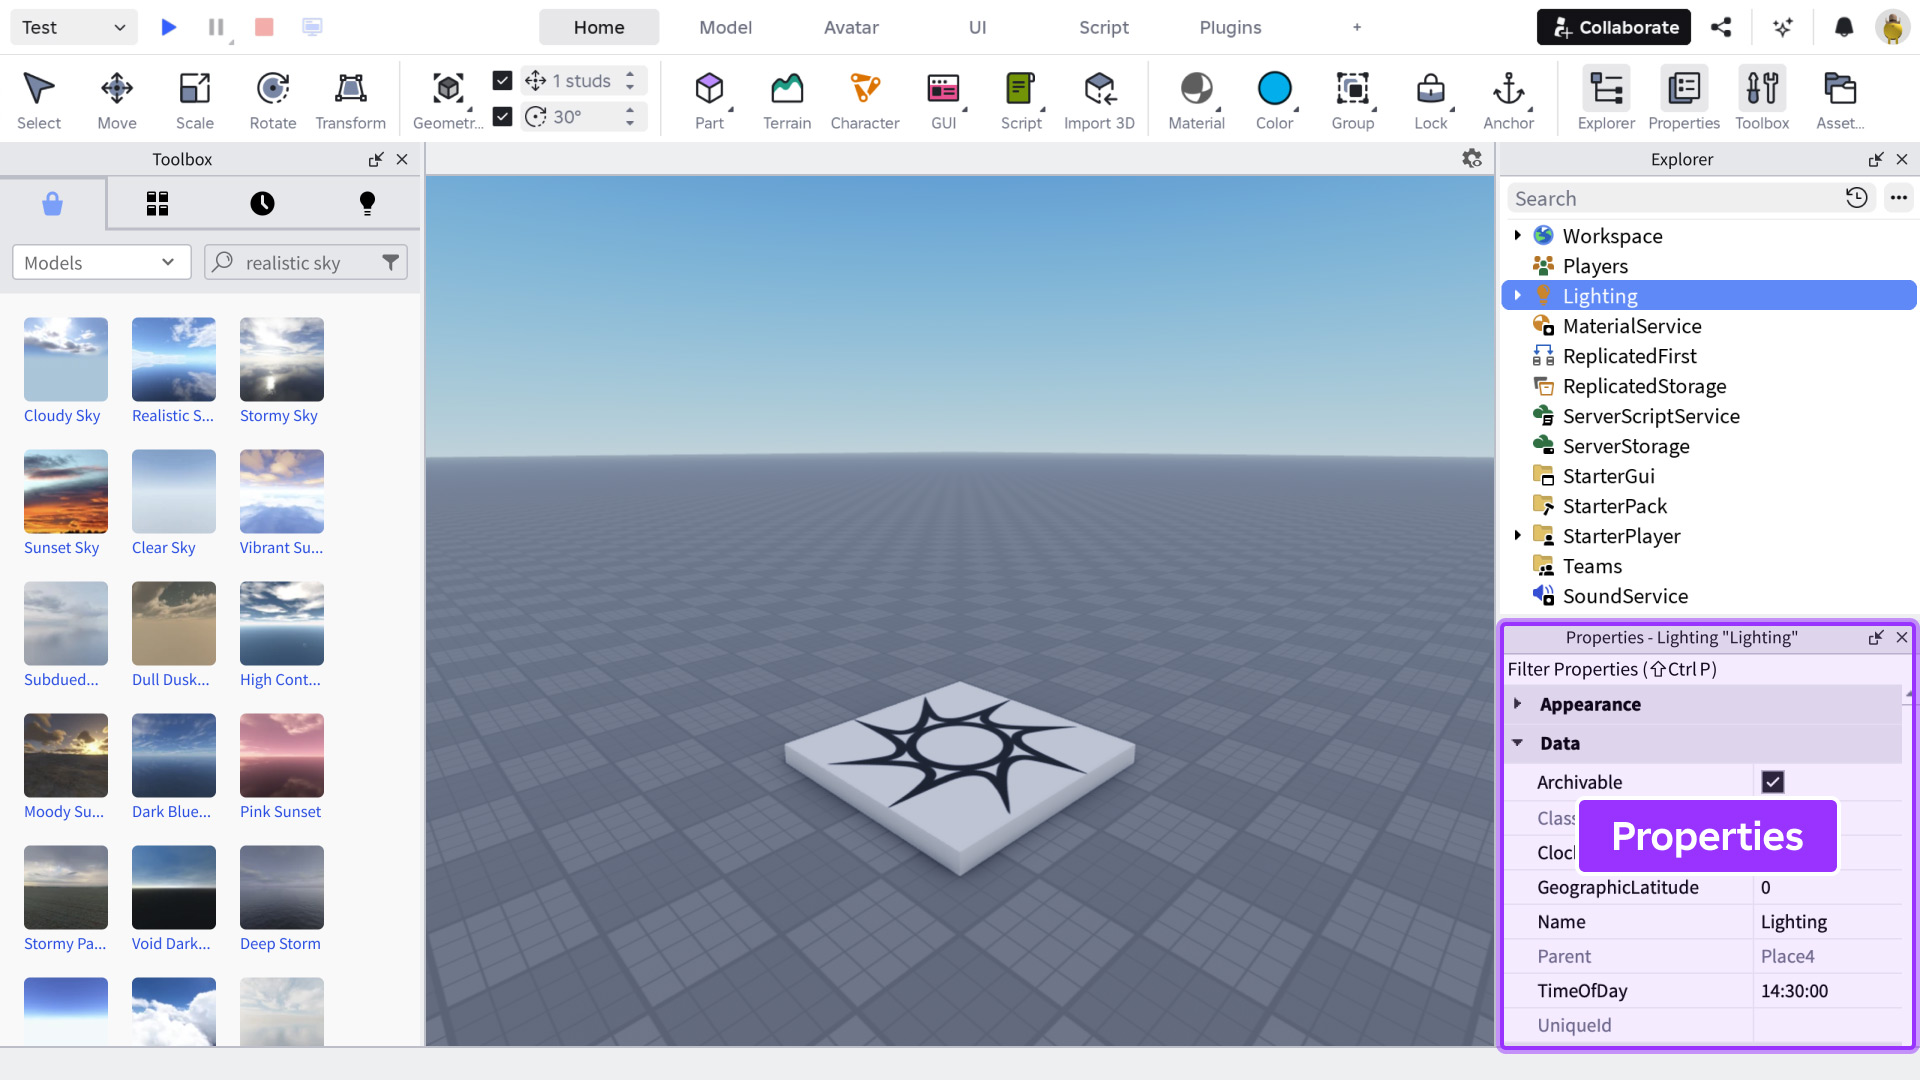
The Properties window displays a selection of properties for a selected object that you can customize to change how the object looks and behaves in the 3D environment. Every time you select a different object in the 3D viewport or Explorer window, the Properties window updates accordingly to show that object's properties.
Now that you're familiar with Studio's core UI and what they're responsible for, you can continue learning about how to create with Studio.