Source: Roblox Creator Hub · CC BY 4.0 · View source · Code samples: MIT Imported 2026-10-03. Formatting adapted for this site.
Building architecture
Building the station in a modular way allowed us to update and propagate content updates smoothly and it was key to making sure we didn't spend hours updating individual meshes, textures, parts, and more.
Roblox packages let us achieve this modular design by letting us package together a palette of Meshparts that easily snapped together, trim sheet sets, and SurfaceAppearance nodes that the MeshParts could share. This let us adapt to changes in layout and size during early playtests and made the process of filling out the station much faster.
Flexible designs to final art
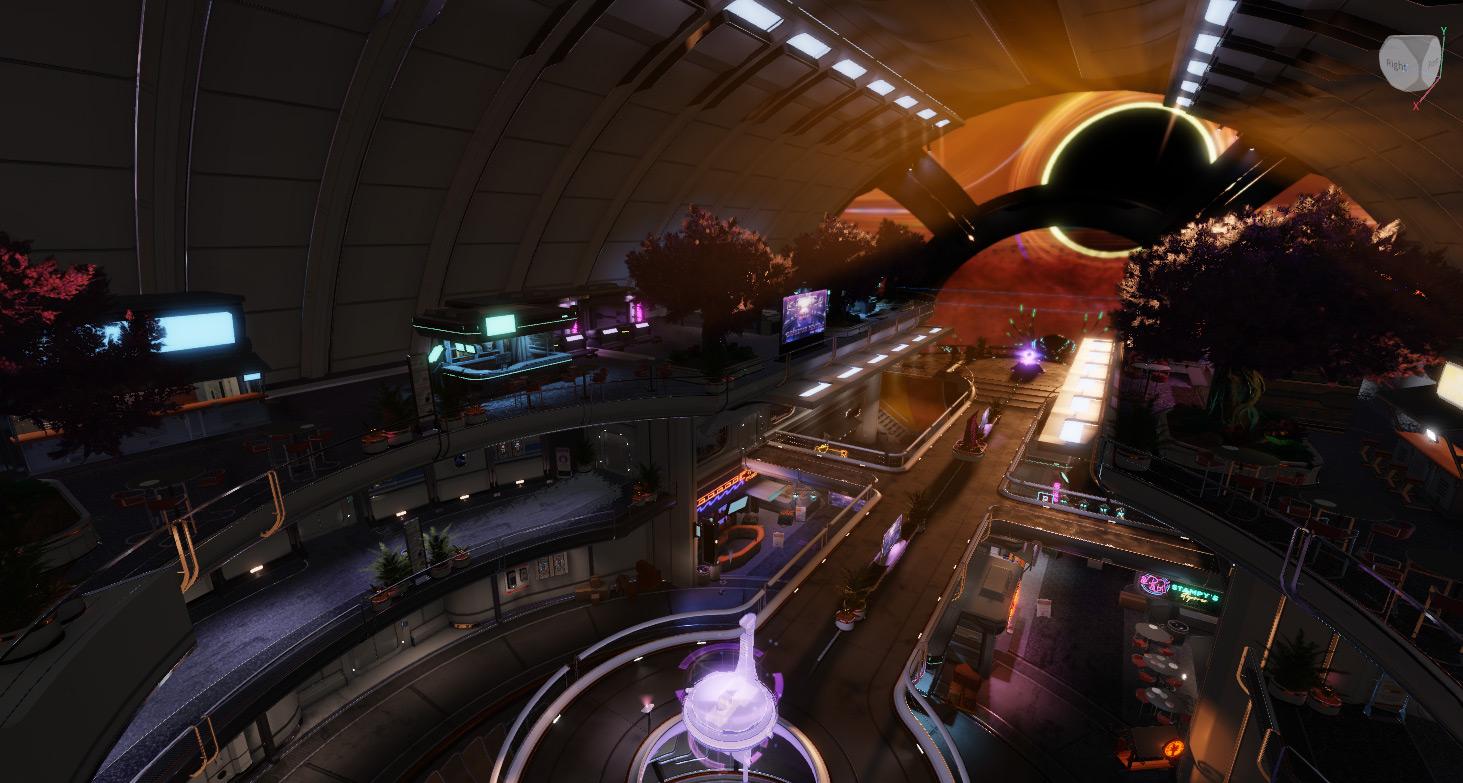
When we first started, we didn't have complete understanding of what we wanted to be in the station, or how big it needed to be for 50 players.
To figure that out, we started first building out the environment using Parts and bringing in some meshes like the rotunda shape from our external DCC application, such as Maya or Blender. With these simple shapes, we adjusted the scale of the map, arrangement of the rooms, and pathways to find the most fun arrangements. Whether for a game or a social experience, this early stage tends to be the most dynamic.
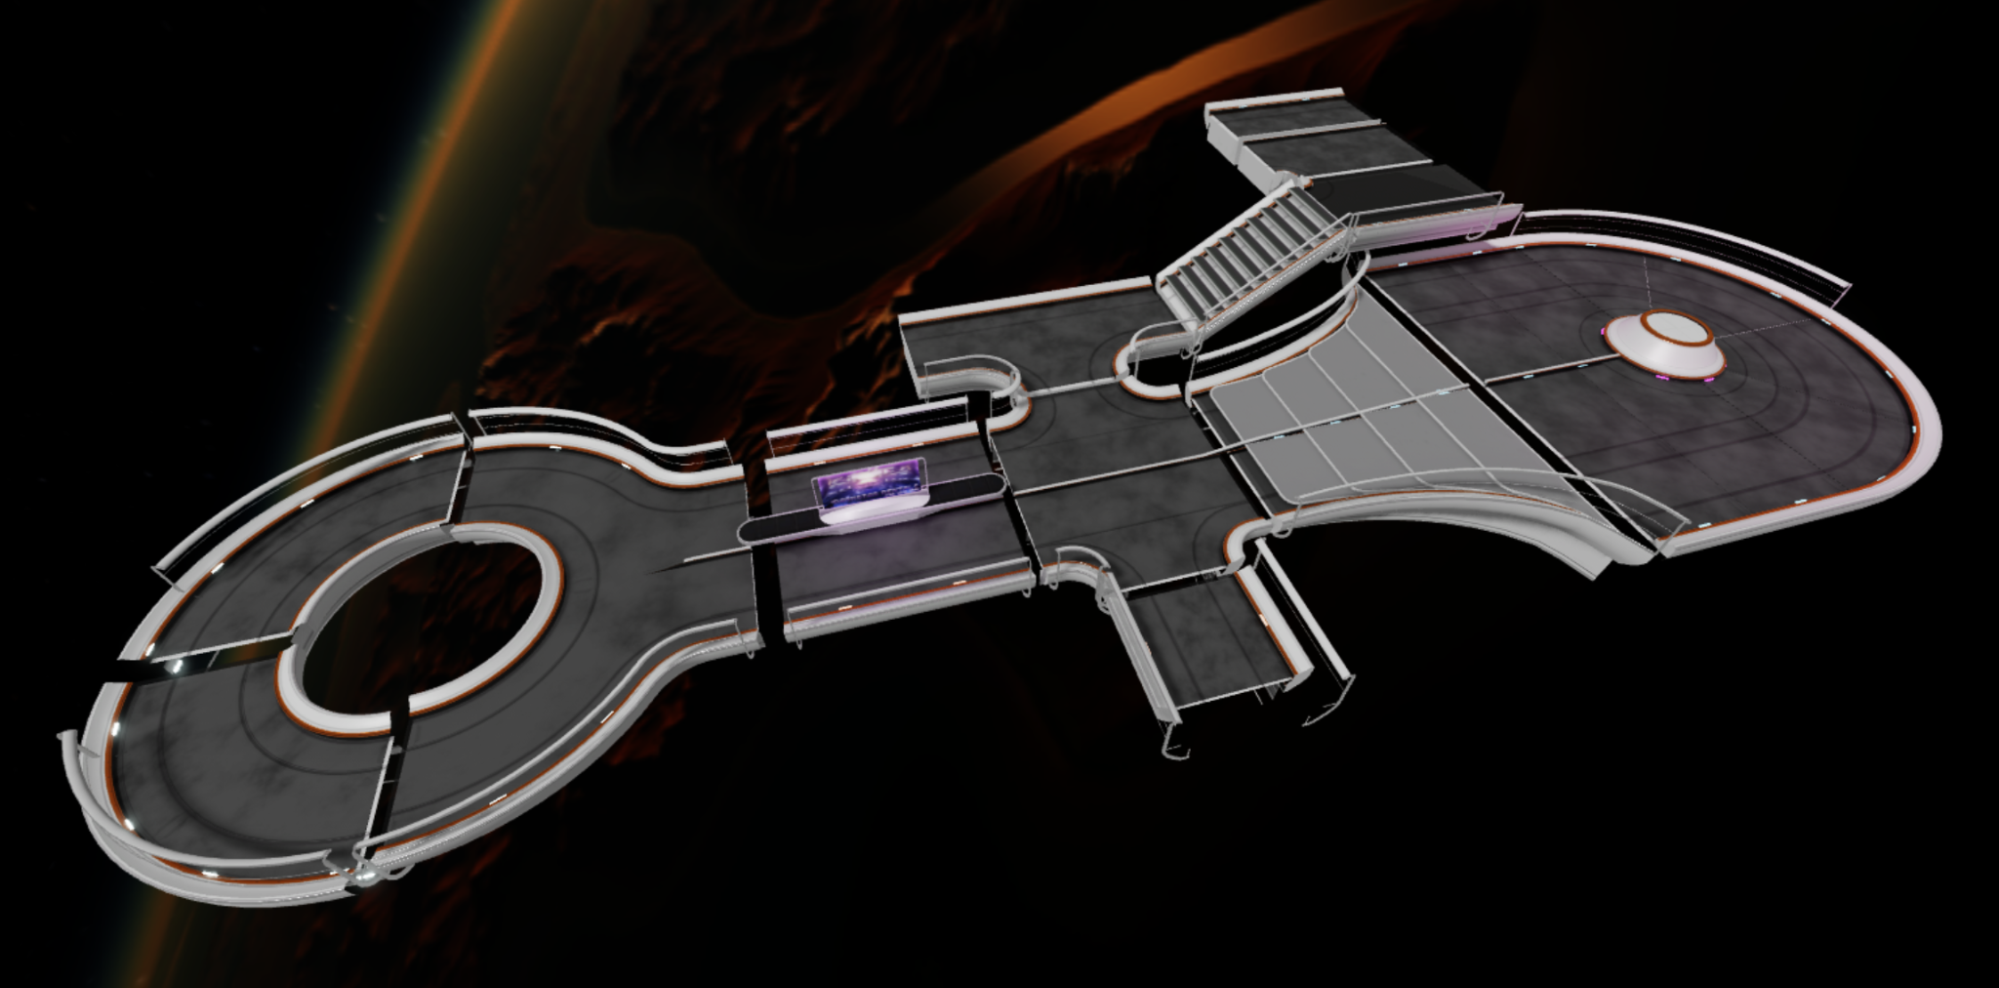
When building the layout of the station, the most important thing to drive exploration was to give the user a goal. In this case, the most obvious goal is to get a closer look at the black hole. Next, we knew giving them a straight path to the black hole would be boring, because a player can just walk from spawn to the end of the map. We broke the path so the player couldn't get to the black hole without first going around and seeing other things that might draw them in too.
The modular design allowed us to make such changes to the environment without catastrophic reworking of the overall design. We could move entire sections of the station to play with different gameplay ideas. Ultimately, these same modular pieces could then be updated using packages so we didn't have to rebuild multiple versions of the same asset.
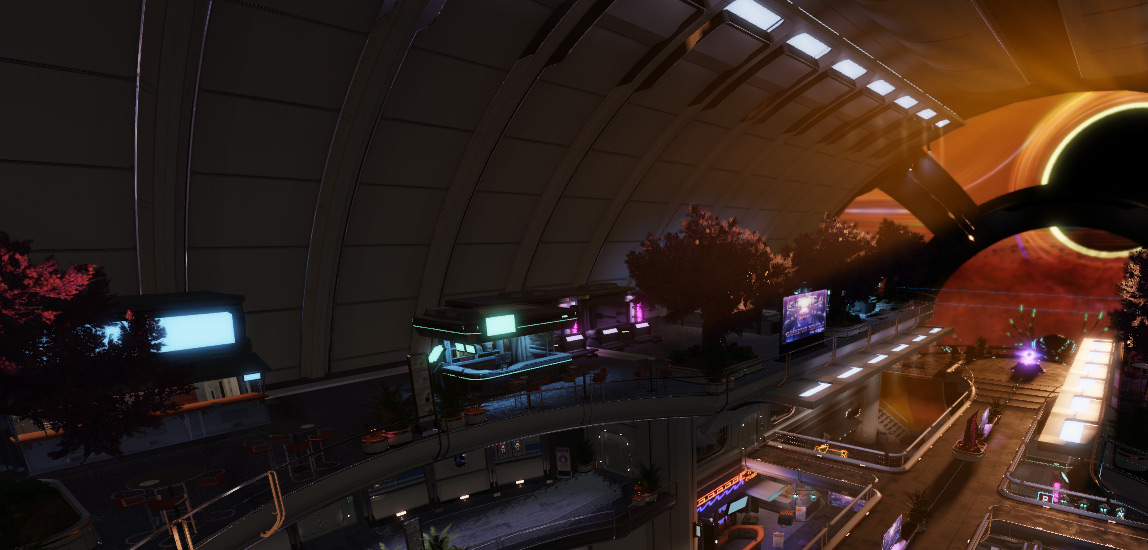
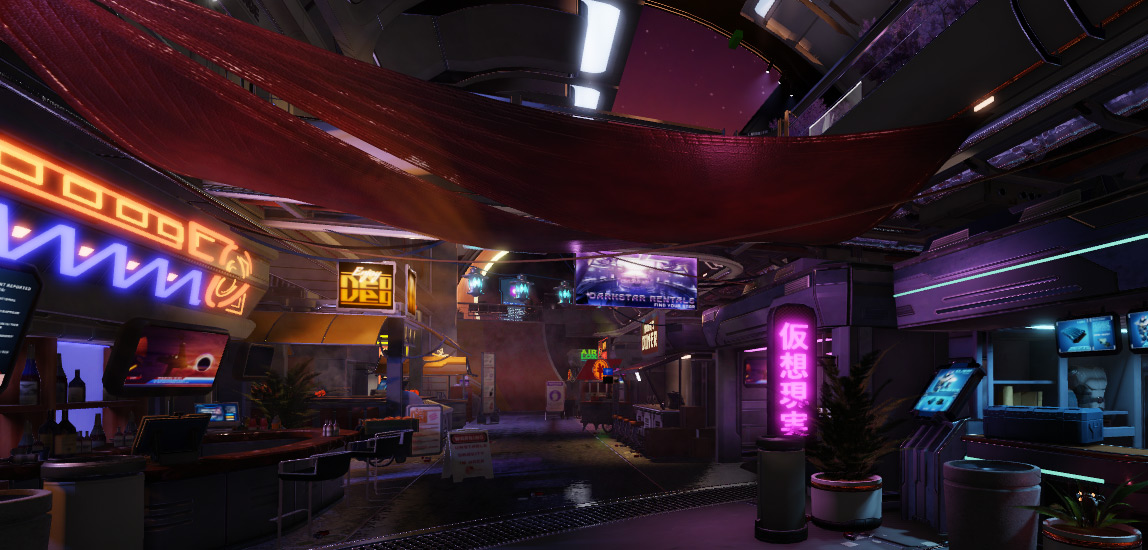
Modular design of Kerr-Newman DSR-14
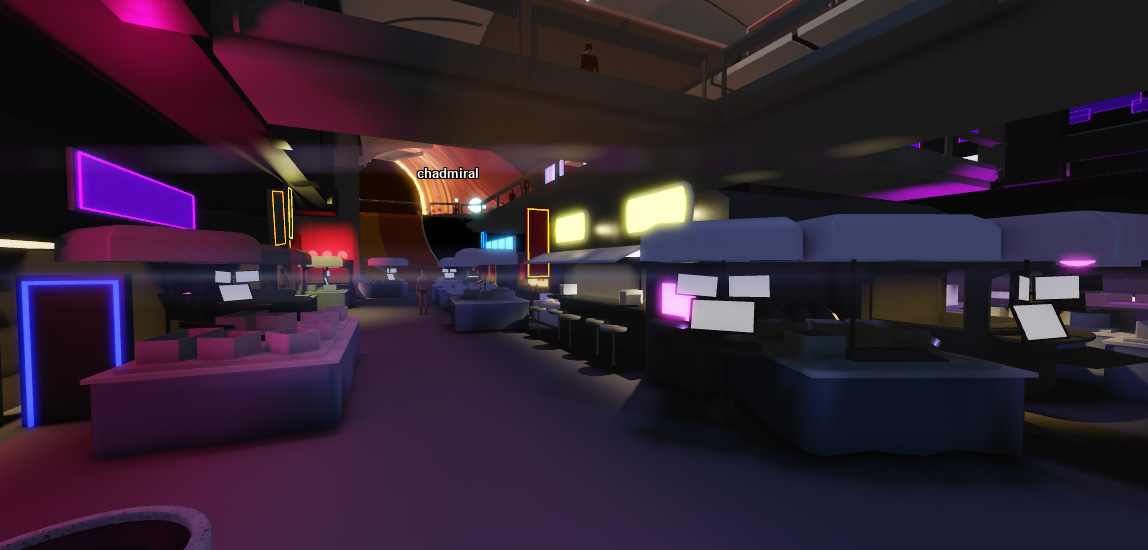
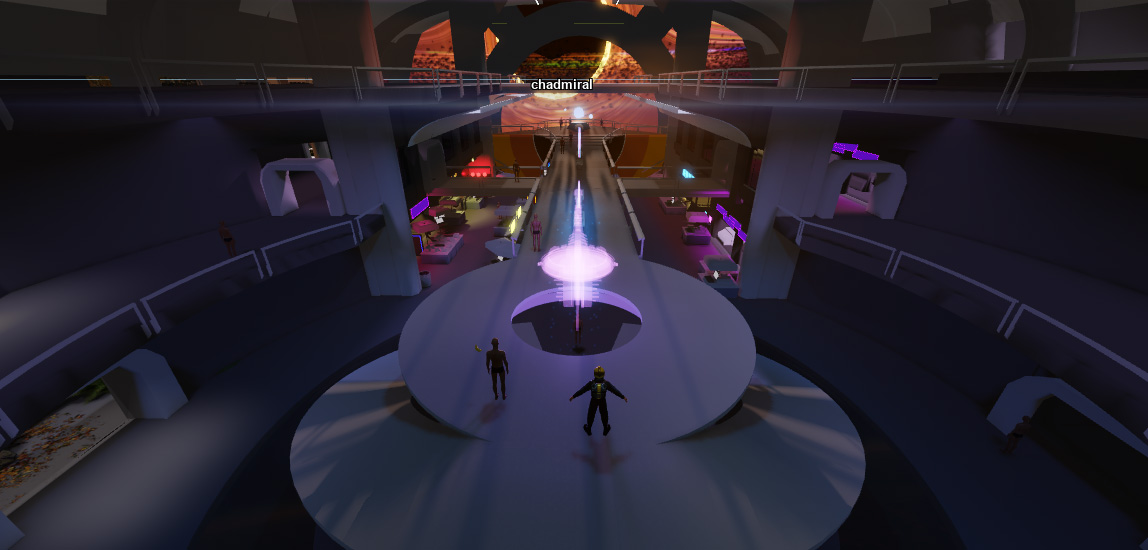
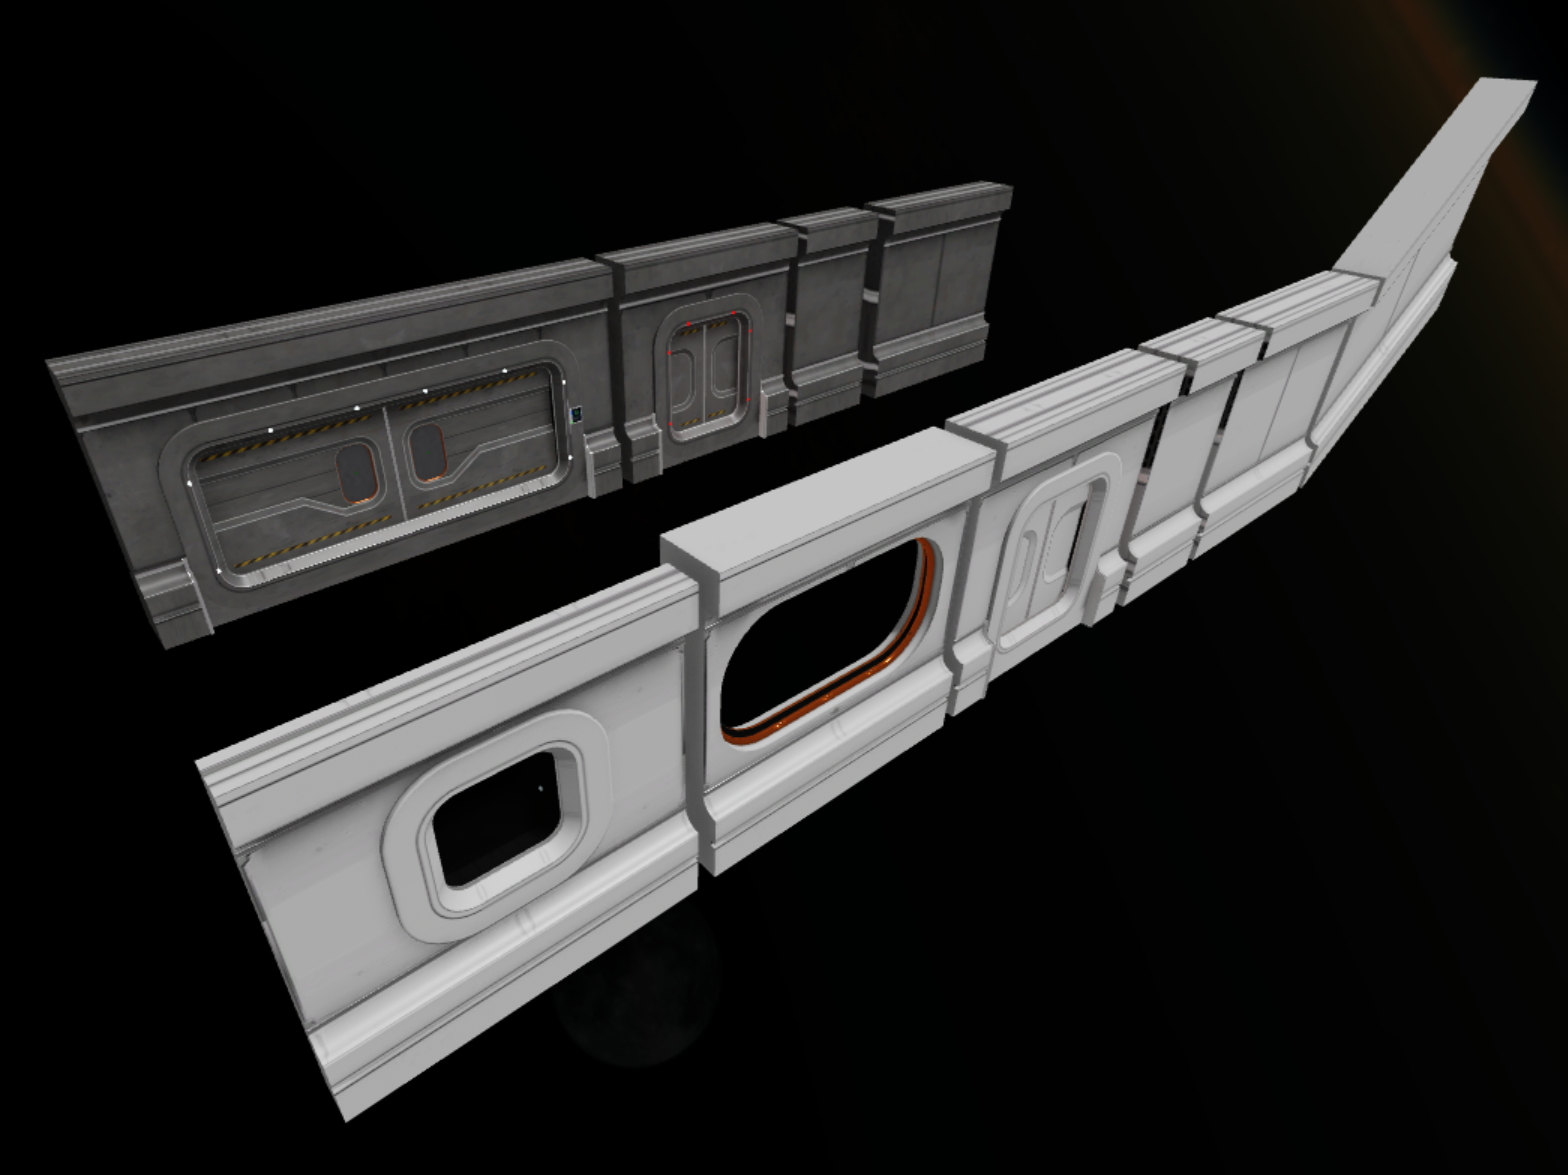
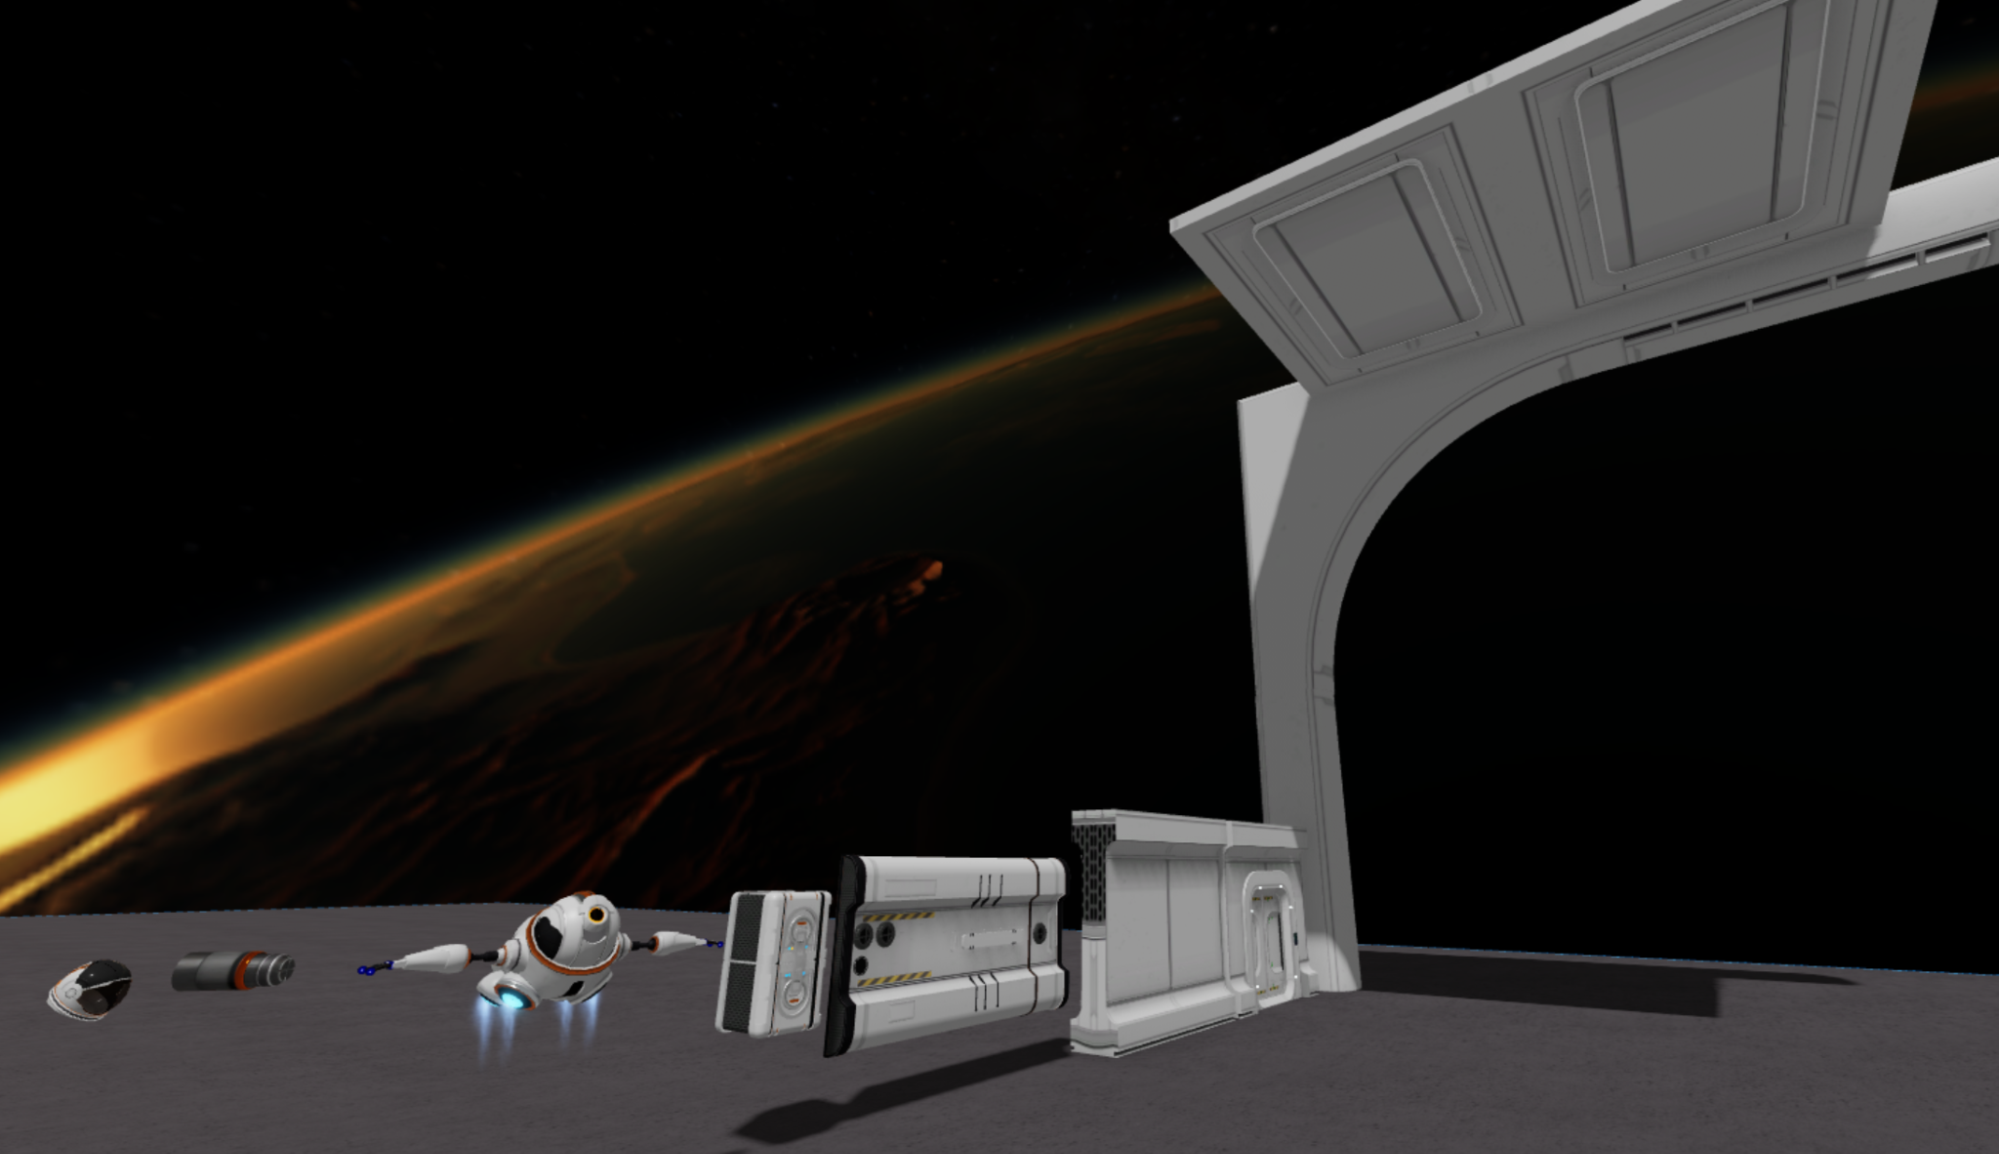
The space station uses just a handful of modular palette pieces. Modular palette pieces are reusable assets, meaning we don't have to create each wall uniquely but instead can put together several smaller walls. This allows flexibility in layout as we're building.
Here are some tips that helped us create our modular design:
Settle on a uniform grid size — For the station, we settled on a 16 stud grid size to create most of the modular set. The grid size you use is arbitrary, but should be consistent throughout the project and across all artists working on that project. Settling on a grid size at the beginning of your project ensures each piece fits nicely with the piece next to it. It also allows you to swap pieces easily, for example swapping a wall section for a door section.
All units are imported as studs — When creating meshes in other DCC applications, such as Maya or Blender, Studio doesn't convert meters, centimeters, feet, or inches — it simply replaces the incoming units with the same units in studs. For example, if you set your units to meters, Studio converts 2 meters to 2 studs. It's best to treat your unit scales in your application of choice as stud scales in Roblox. The closest real-world scale for a single stud in Roblox is 28 centimeters.
Keep pieces simple — Don't try to build out every piece that you think you'll ever need. The idea is to have a few very versatile pieces and not a lot of one-offs. The more pieces you have, the more time it takes to create each piece, and the more it affects your overall memory and performance budget. You can always add another piece to your kit if it's absolutely needed.
Use packages — Convert every modular piece to a package and also put materials in packages before you start populating them in your game. This lets you easily push updates to all instances. We'll dive into packages a bit later on.
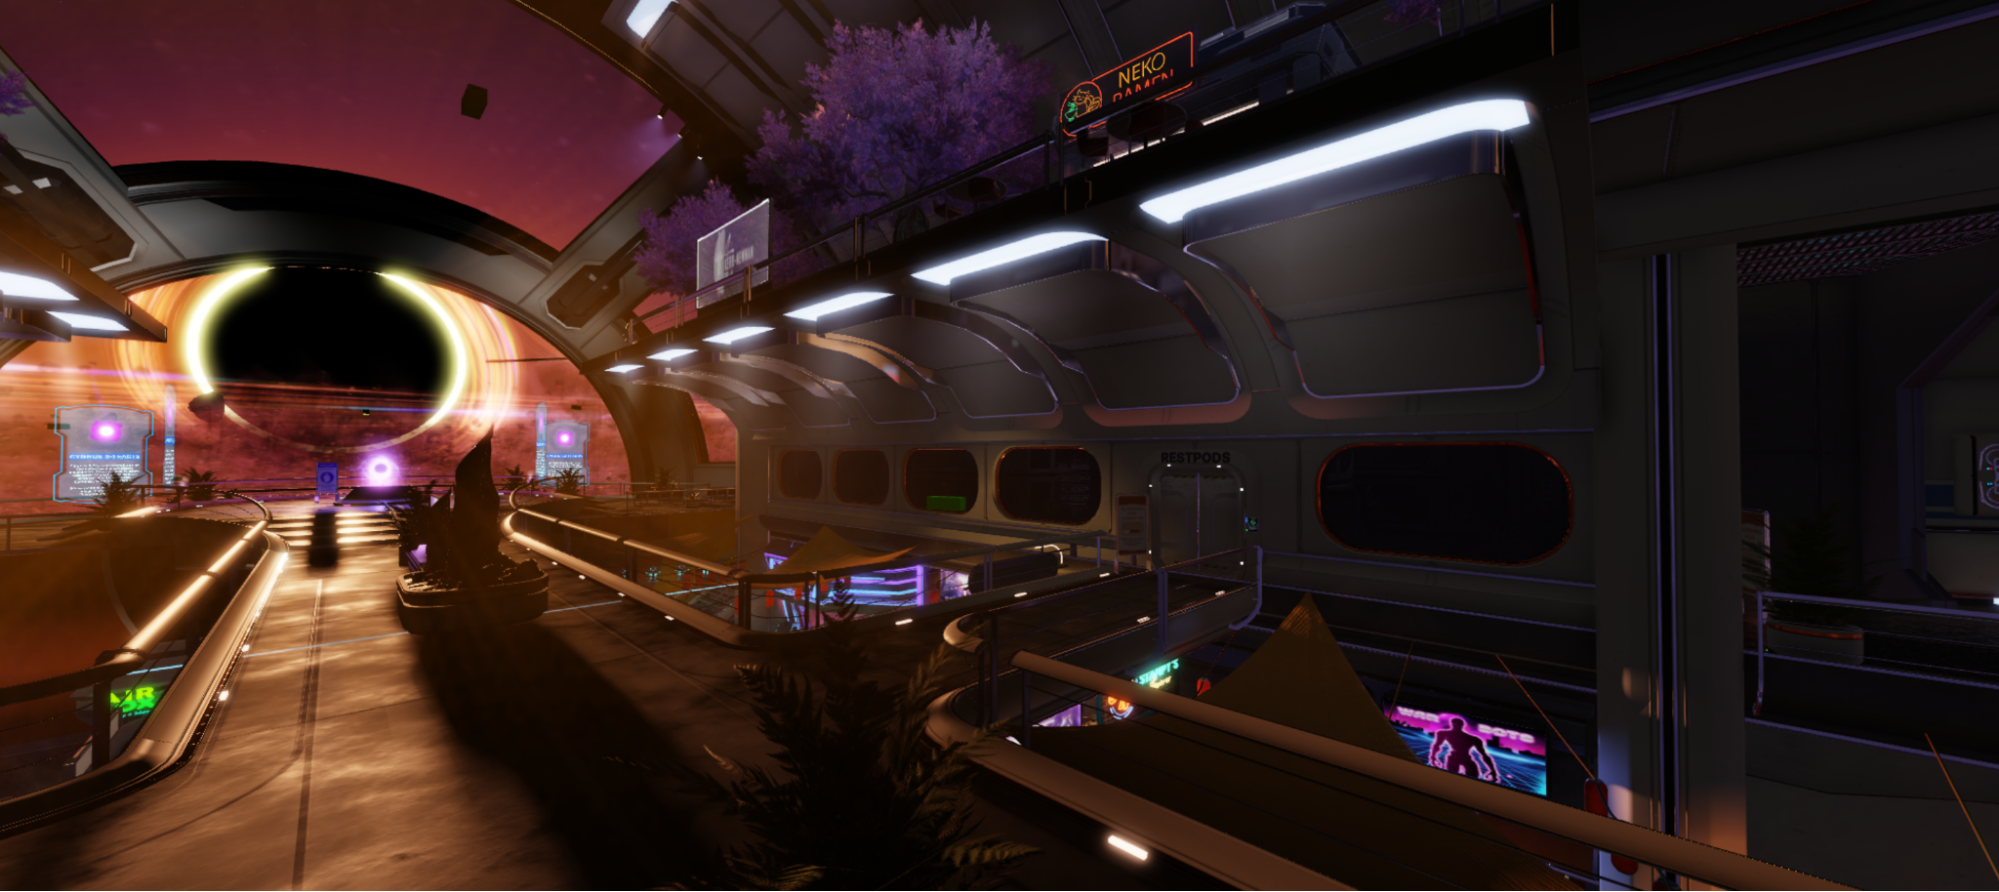
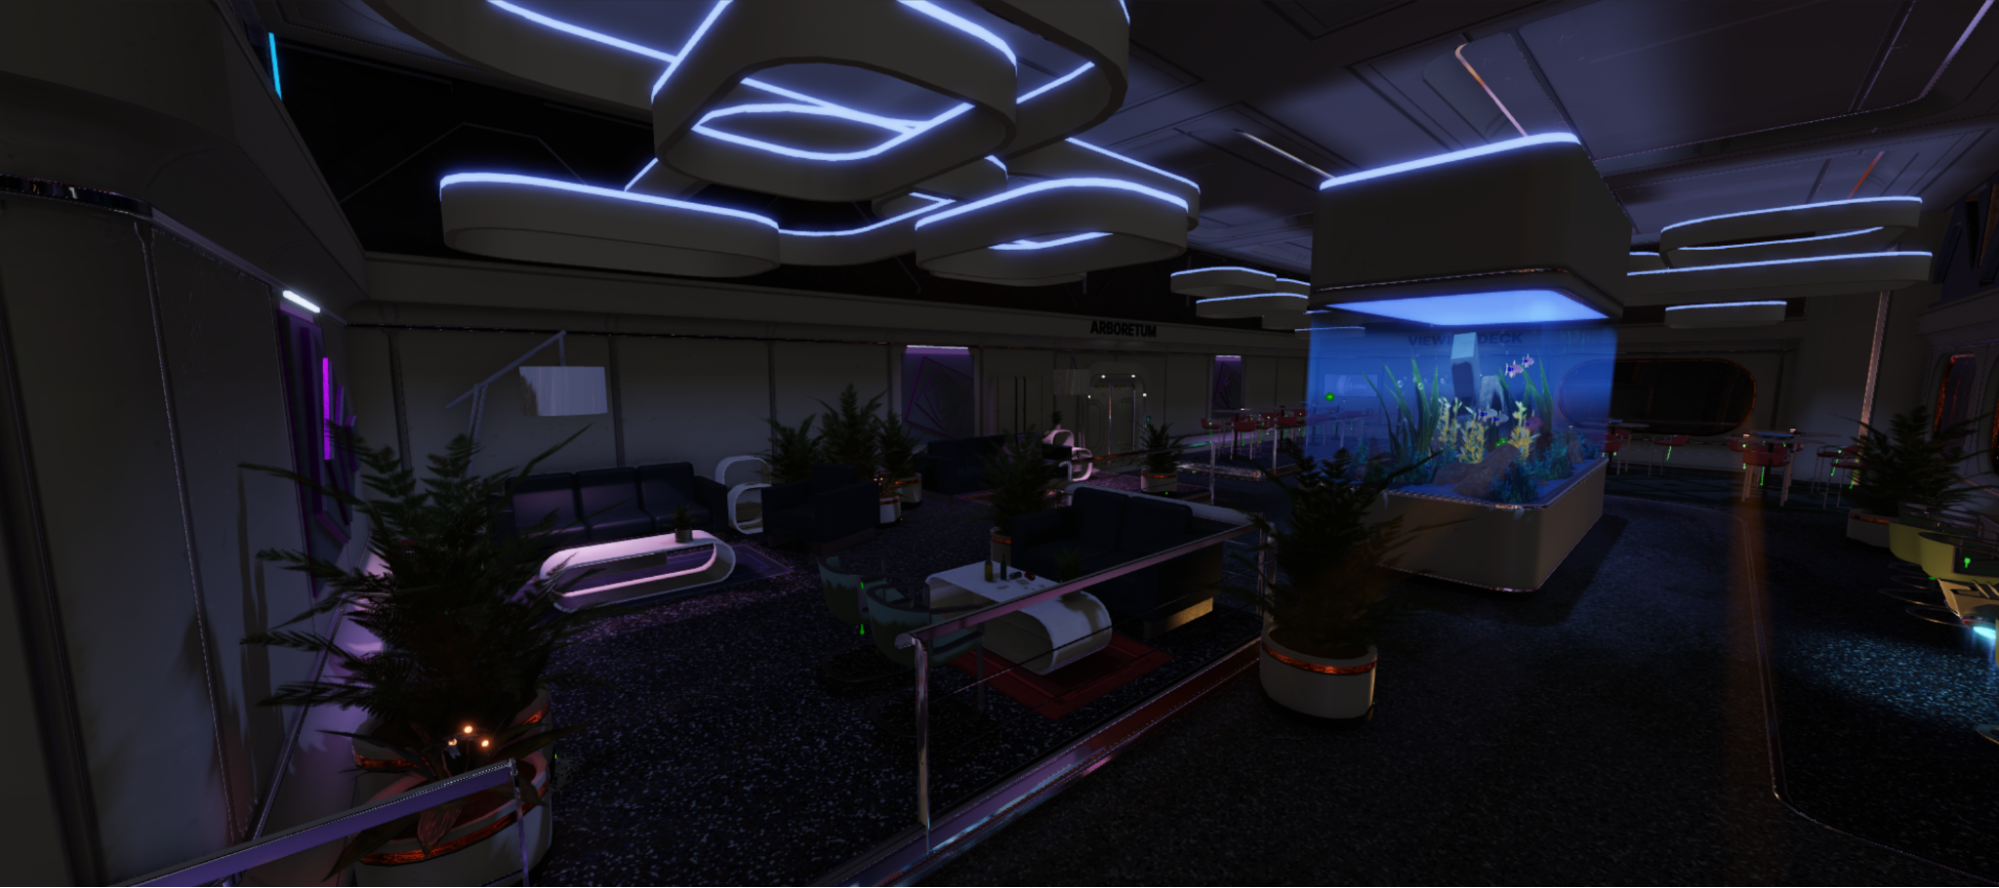
The following screenshots show you various ways we used modular design to construct portions of the station.
Create trim sheets
1:1 textures are the way of the future, but they become costly in regards to memory budgets and time to create. For the space station, 90% of the architectural elements used a handful of swappable trim sheet sets, which are a set of texture maps that are laid out in either a vertical or horizontal fashion. Each row or column of the sheet has a unique look to it, giving you a bunch of different surface treatments to choose from when unwrapping a model, all while using one image sheet.
Here's some tips for making trim sheets:
Start with an inventory of the type of objects and materials you need — Trim sheets can include a large variation in material types, such as wood, metal, rubber, and more. Before you start to model your first object, create a trim sheet template. This is the starting point for all your other trim sheet sets and it gives you a quick starting point for unwrapping your models. These trim sheets live within the
SurfaceAppearancenode, which we'll cover later.Include a variety of surface treatments in one sheet — This lets you keep more of the mesh together, so you can apply new treatments without having to break your meshes into multiple meshes. This improves runtime performance by decreasing object and material draw calls.
Make a trim sheet template — A template ensures that you can swap out any map set for another. For example, you can swap a clean metal set with a rusted metal set.
Here's how we created trim sheets for the station:
We created a rough outline of what the sheet should look like:
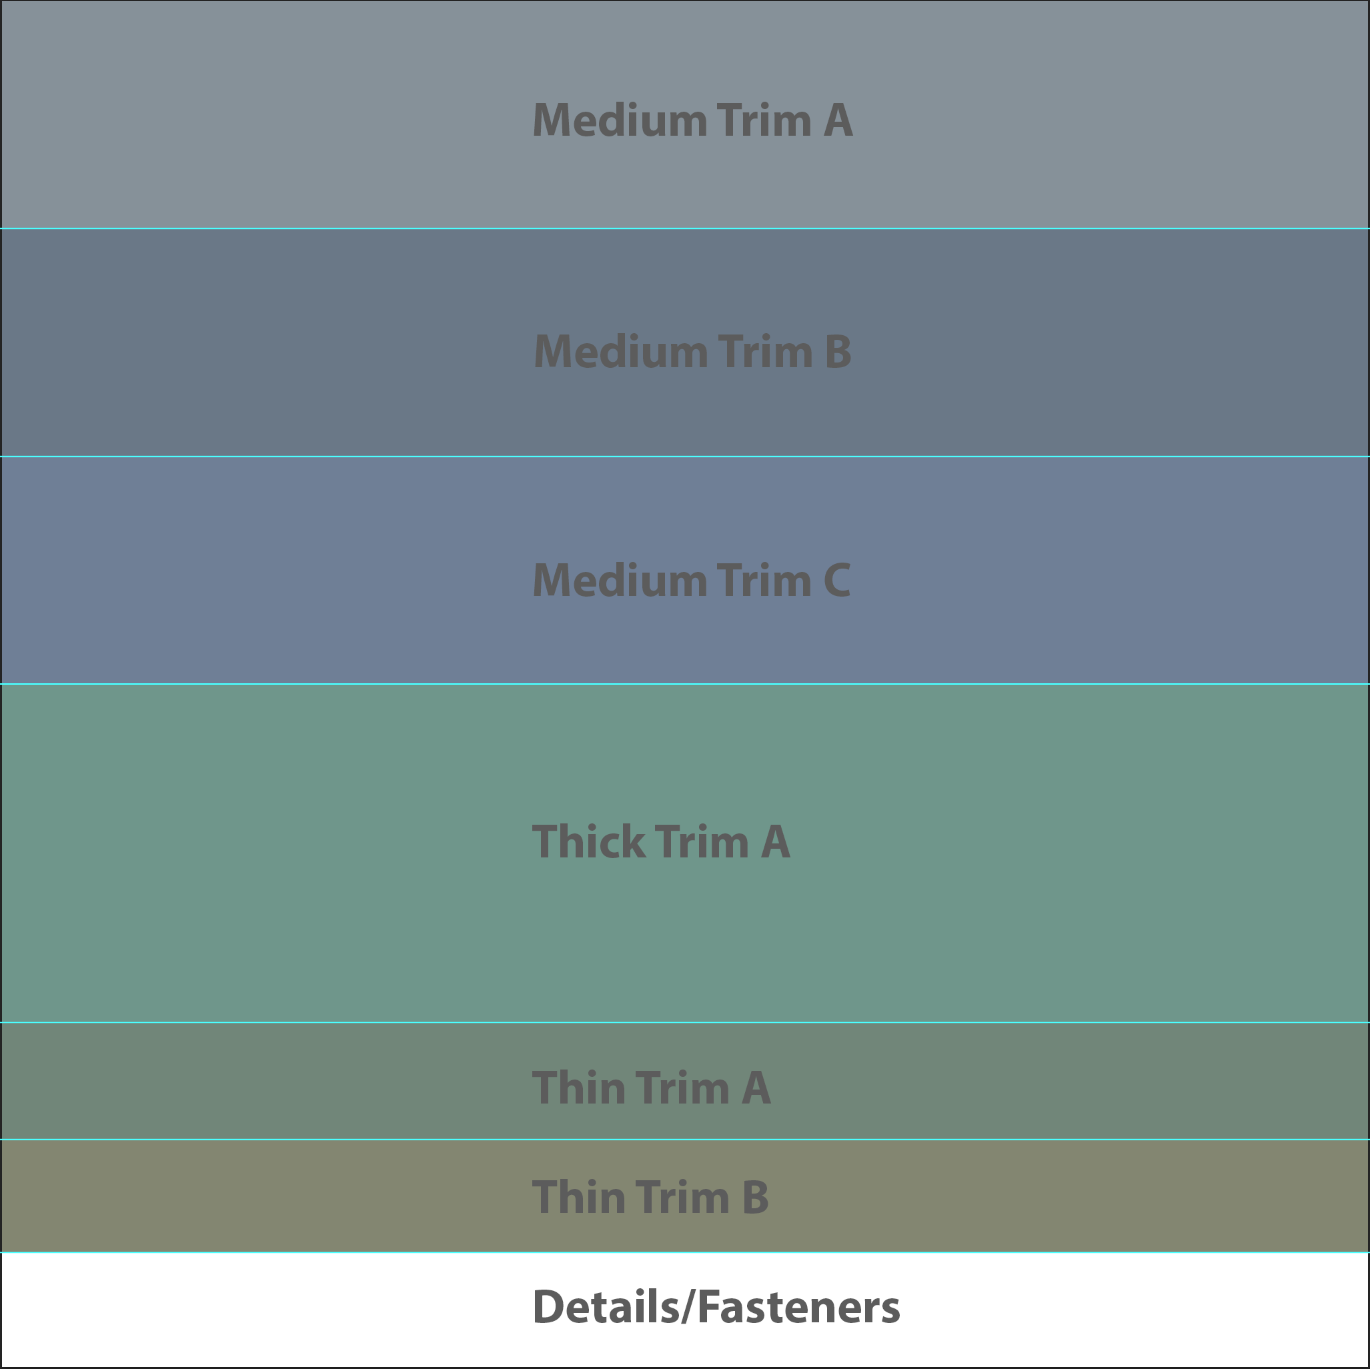
In Photoshop, we created a mockup to get a quick idea of what each trim section of the sheet would look like.
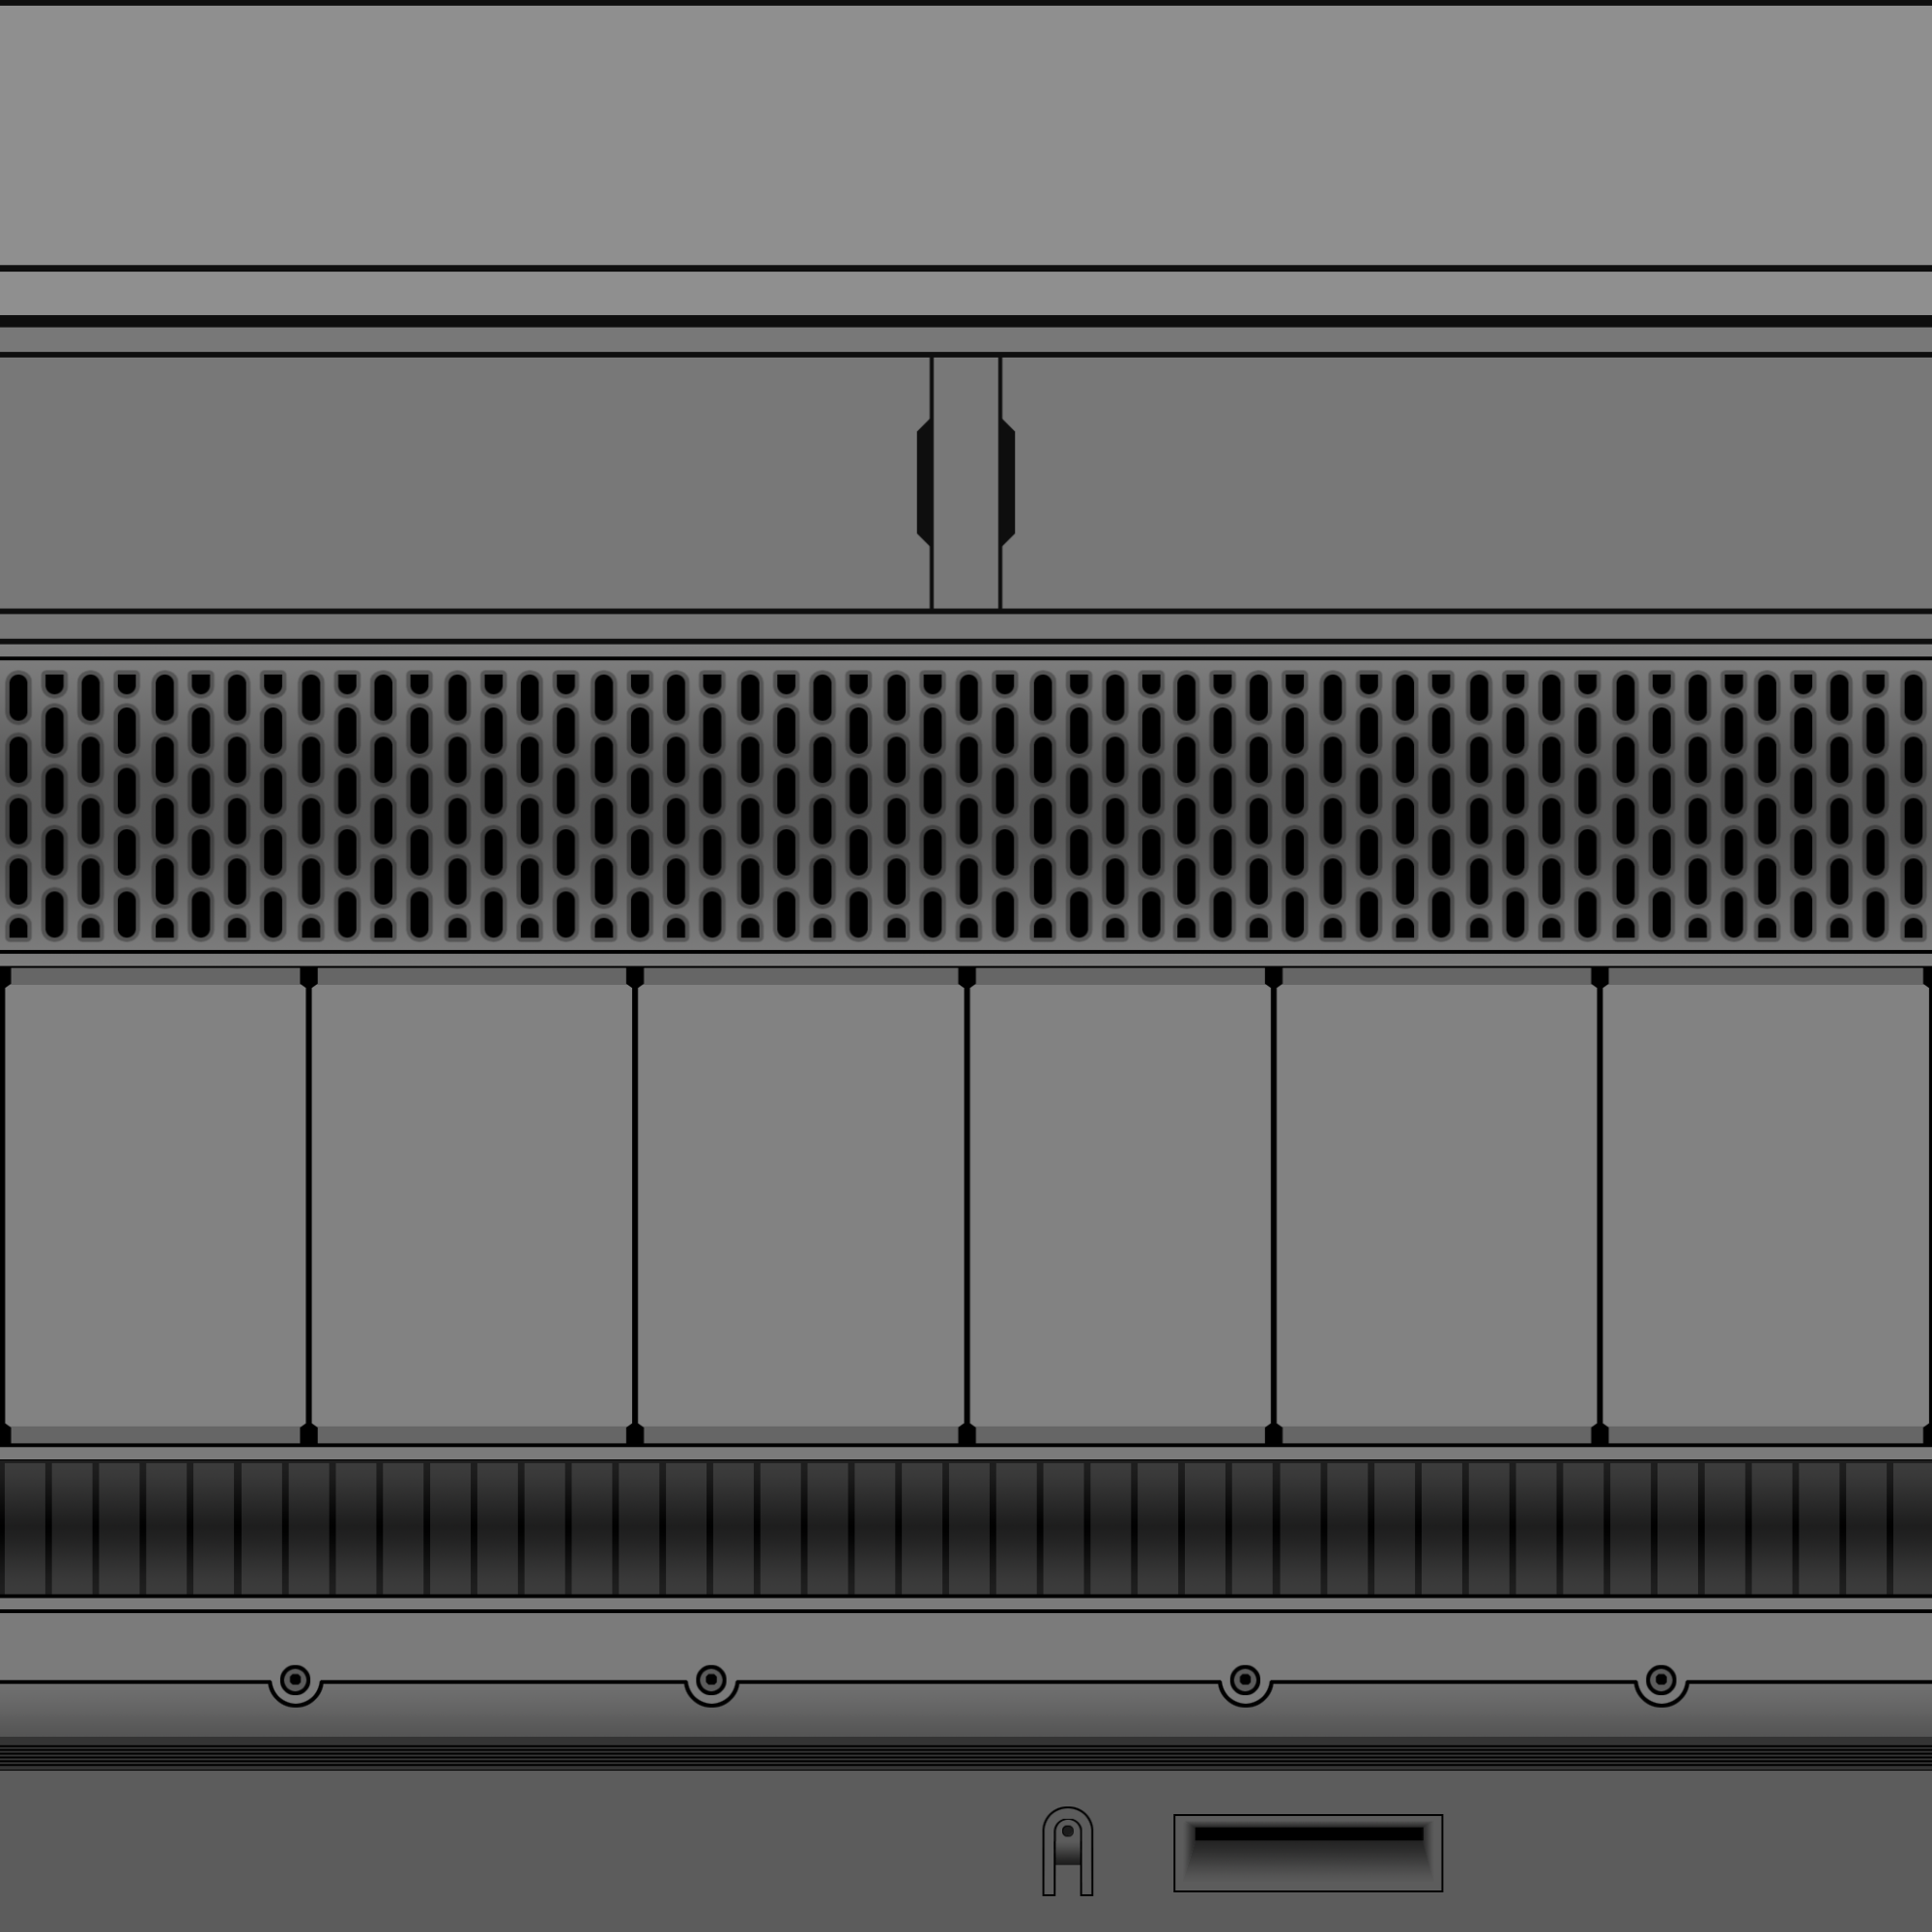
We used Substance, but you can use whatever application suits you to create the final maps. This is the final set of trim sheet maps that were generated in Substance. All four maps work together within a SurfaceAppearance node to produce a Physically Based Rendered (PBR) material.
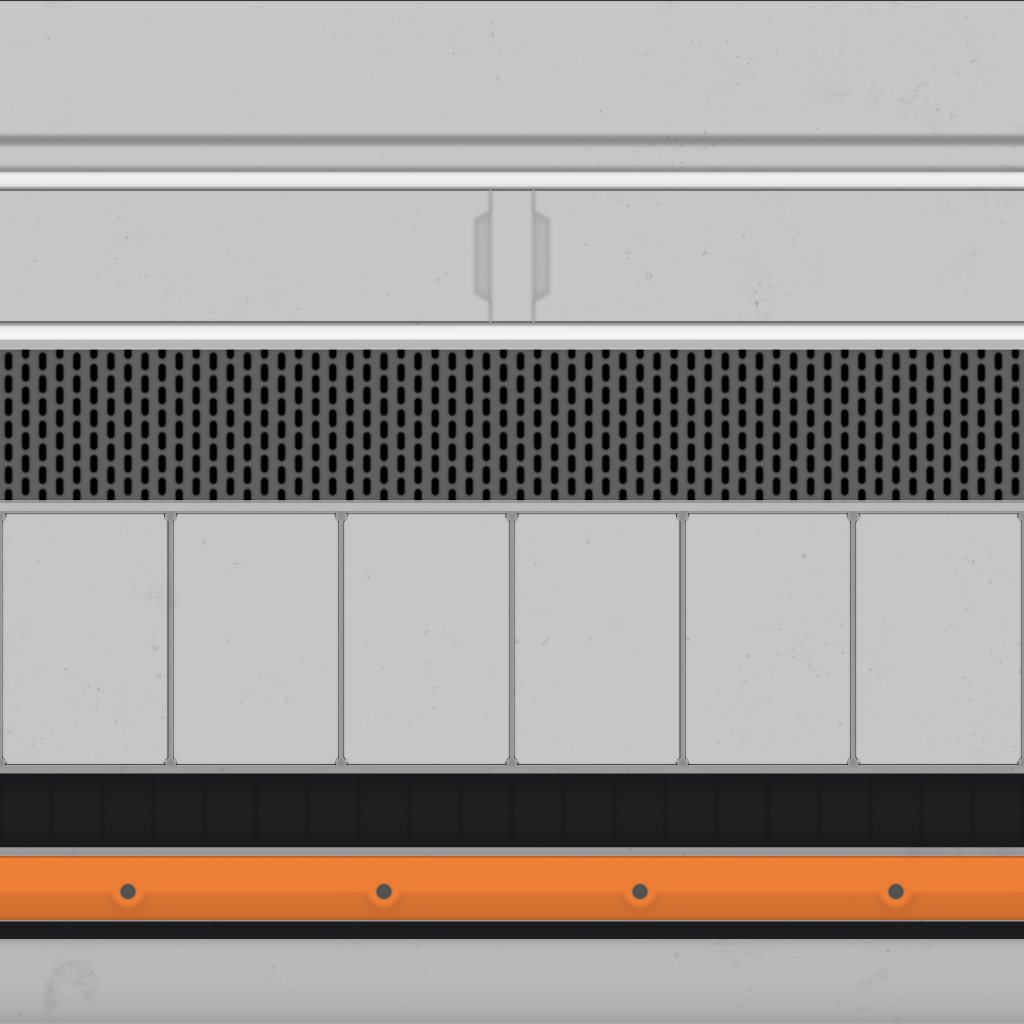
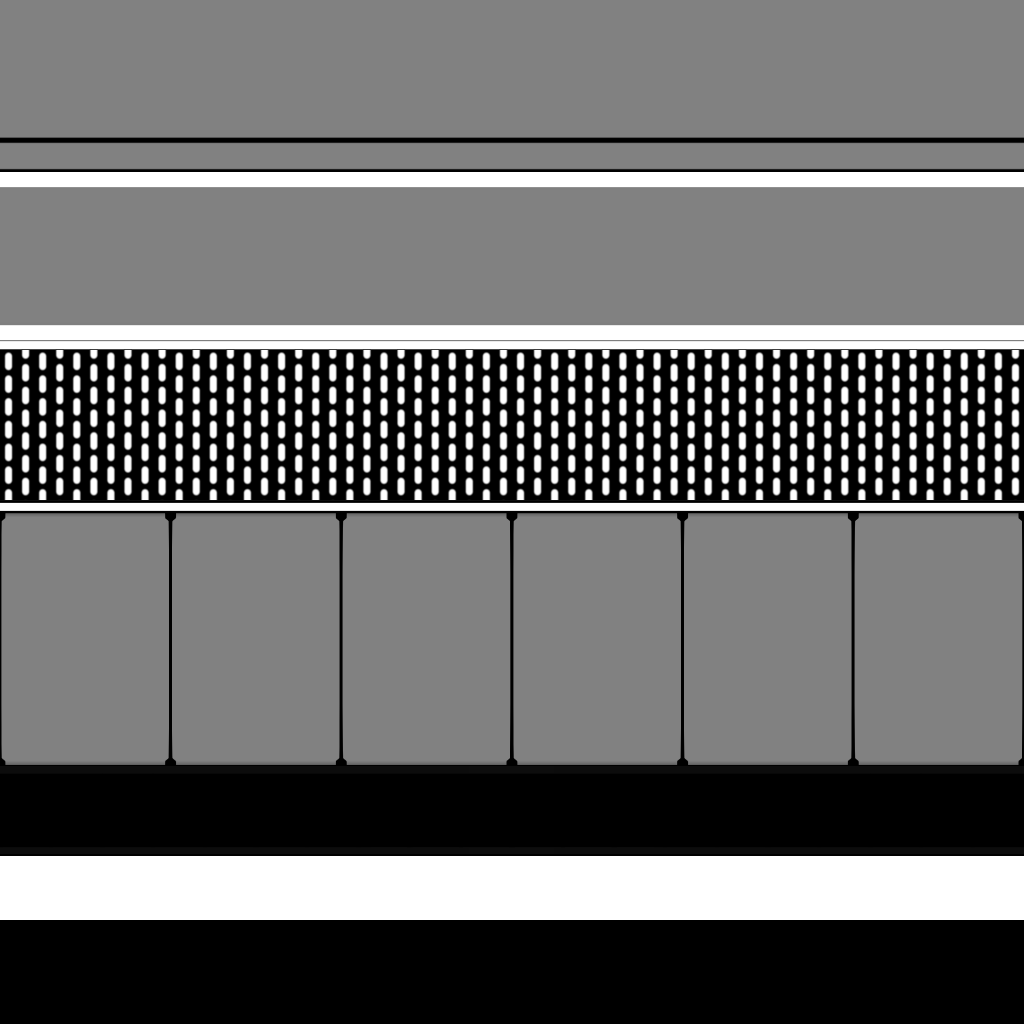
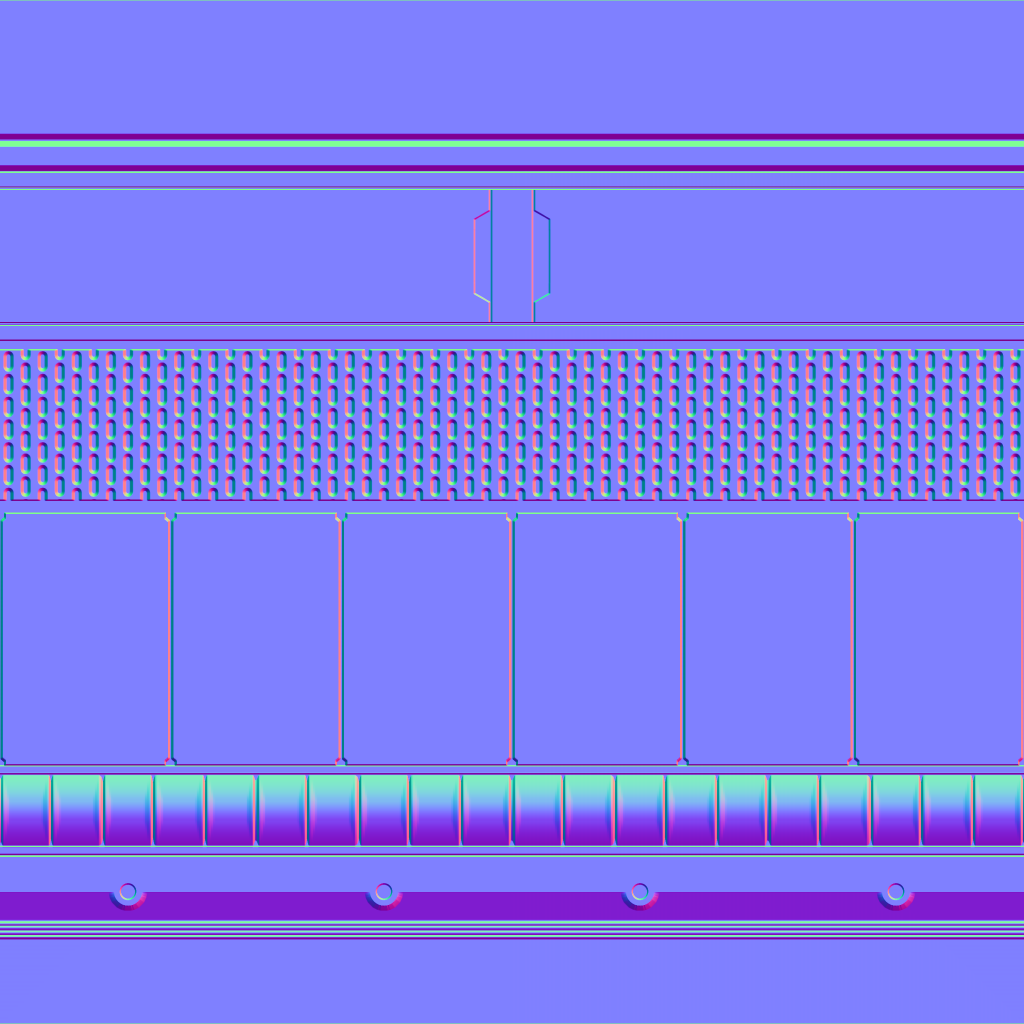
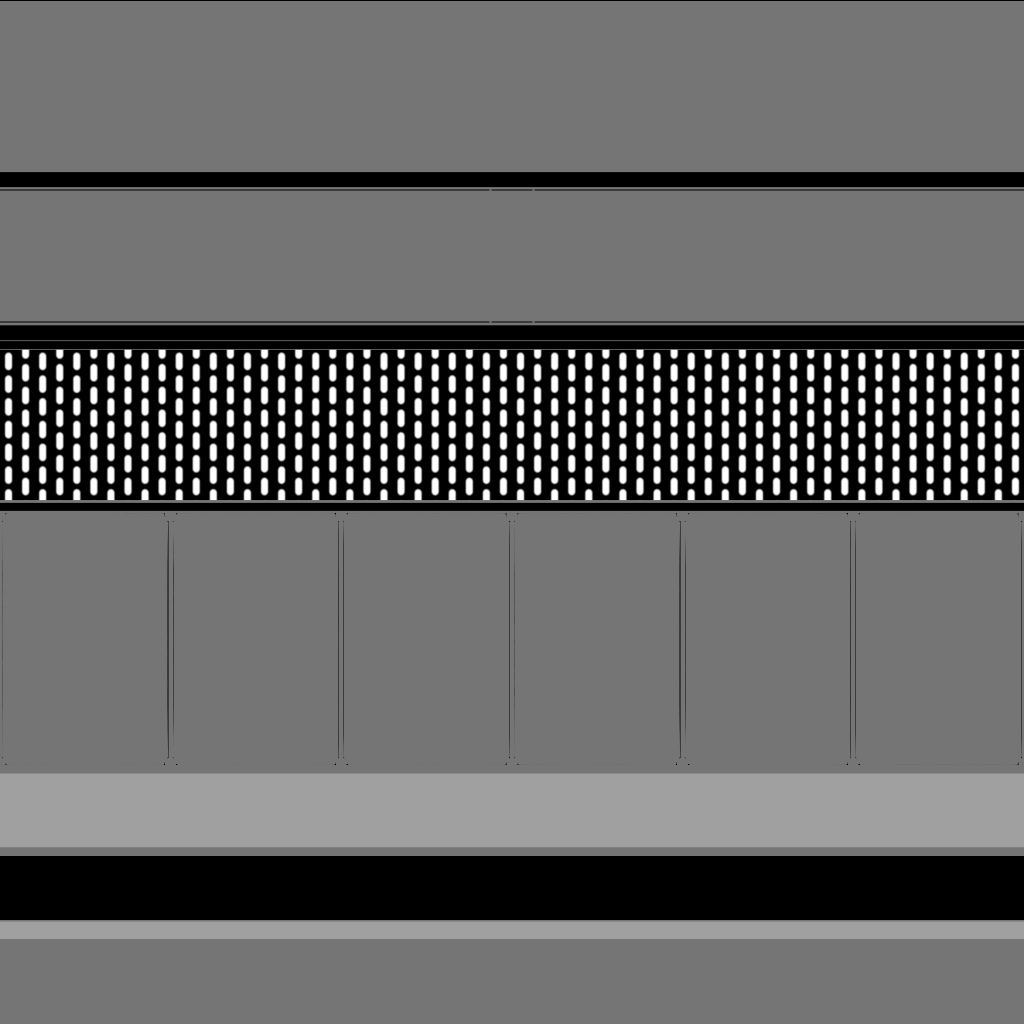
Here are some final renders of the trim sheet inside of Substance Designer:
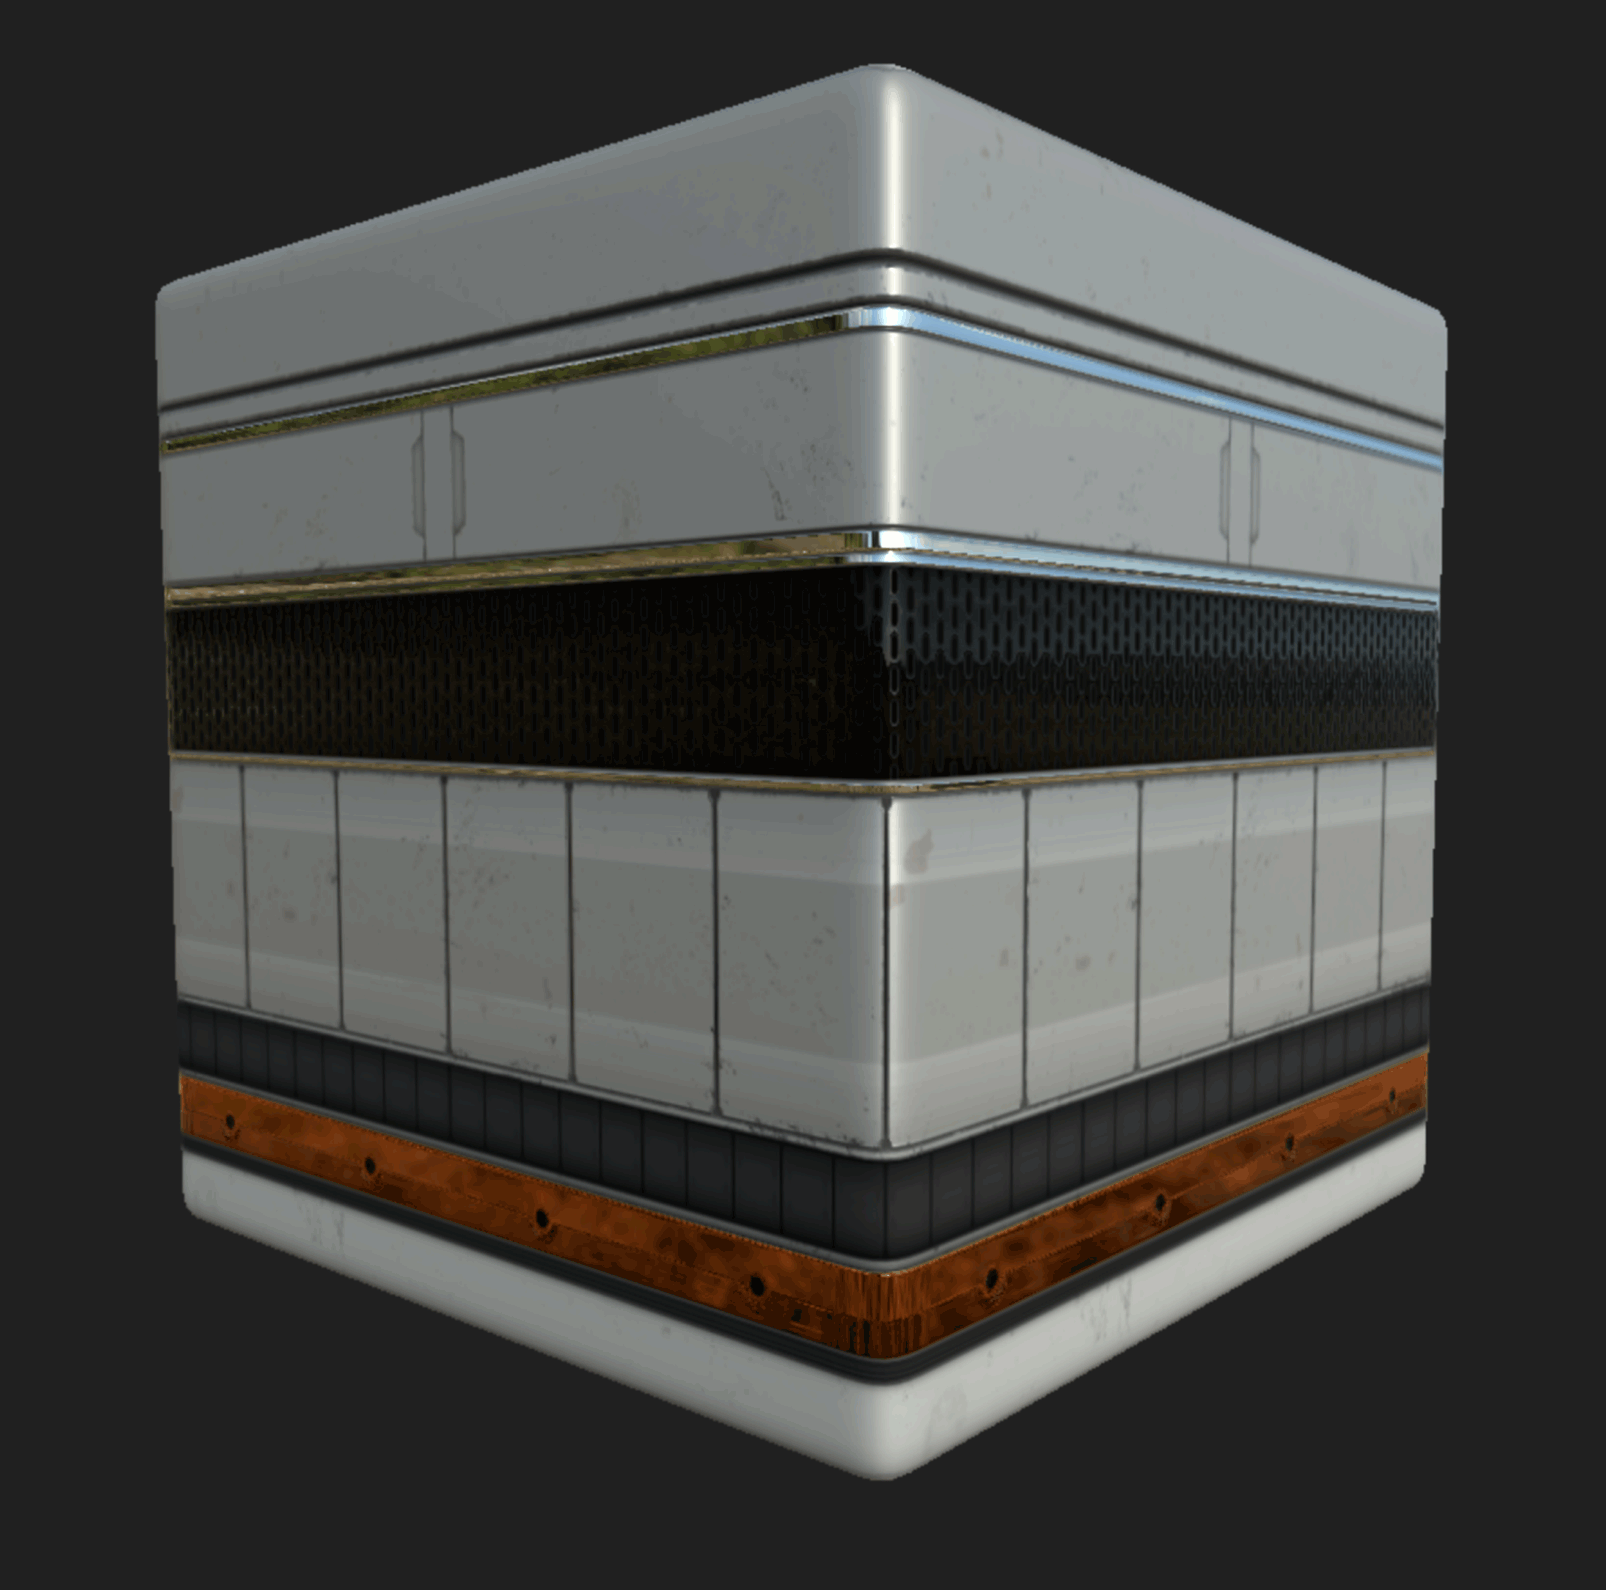
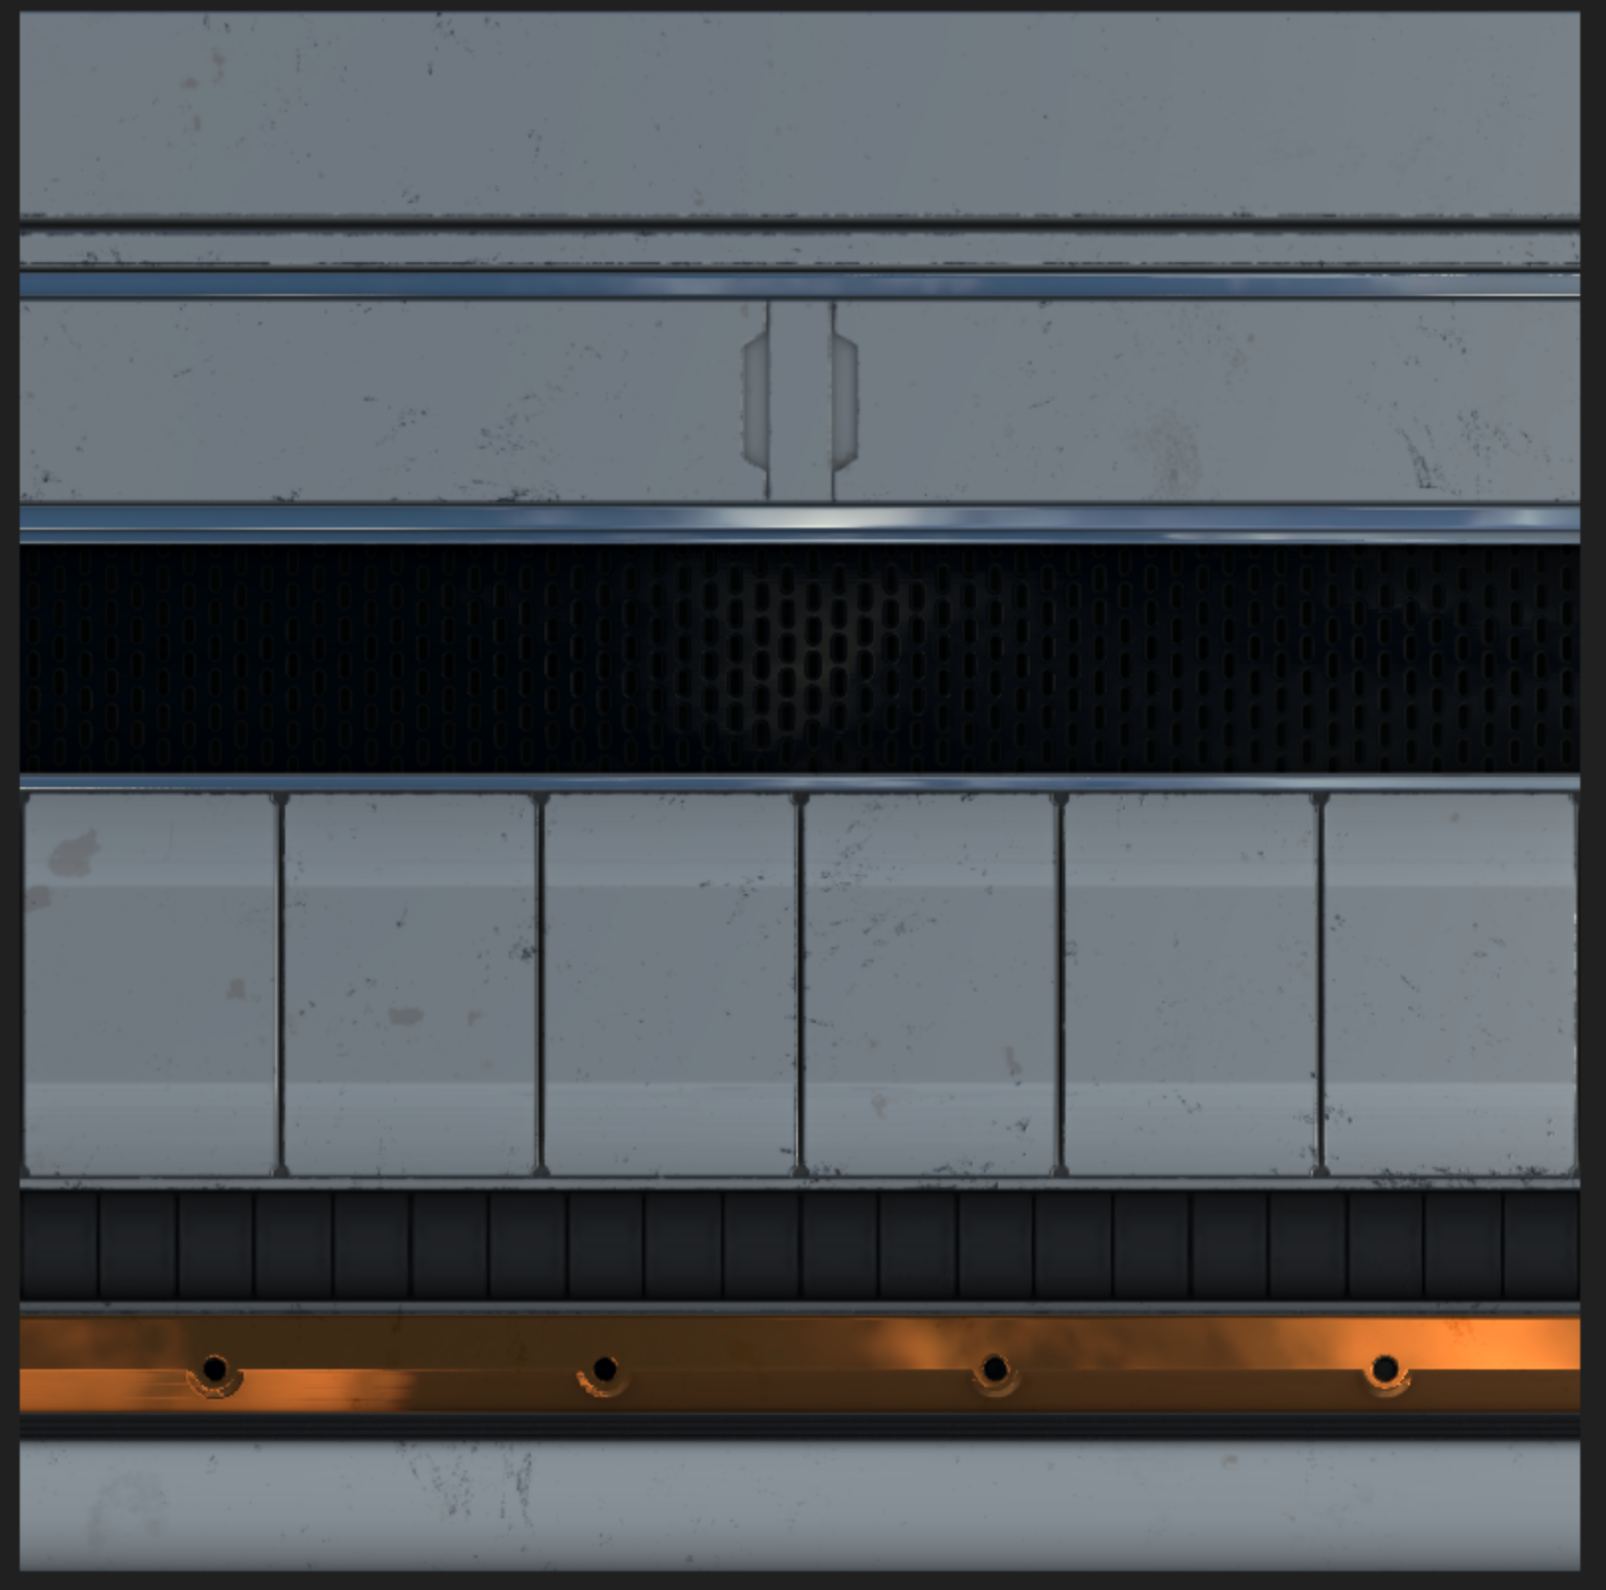
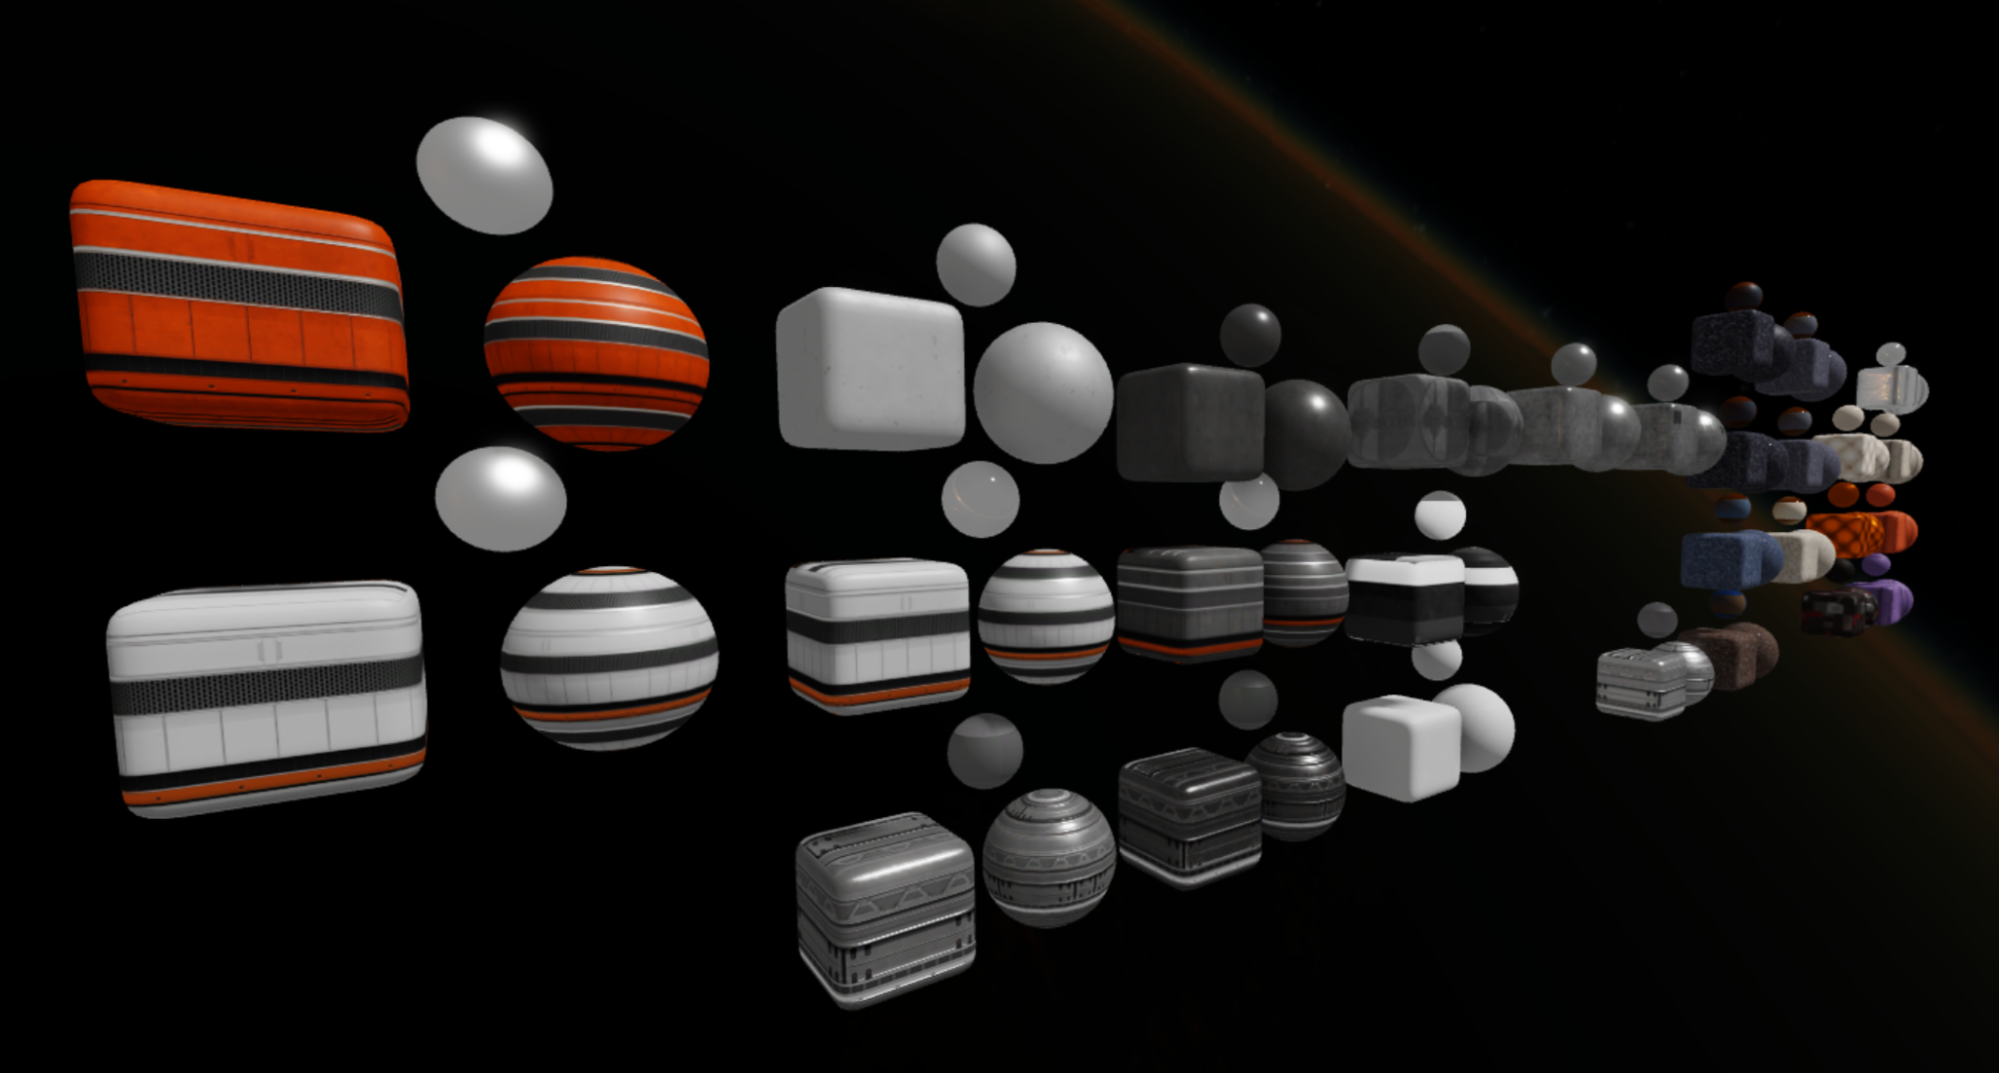
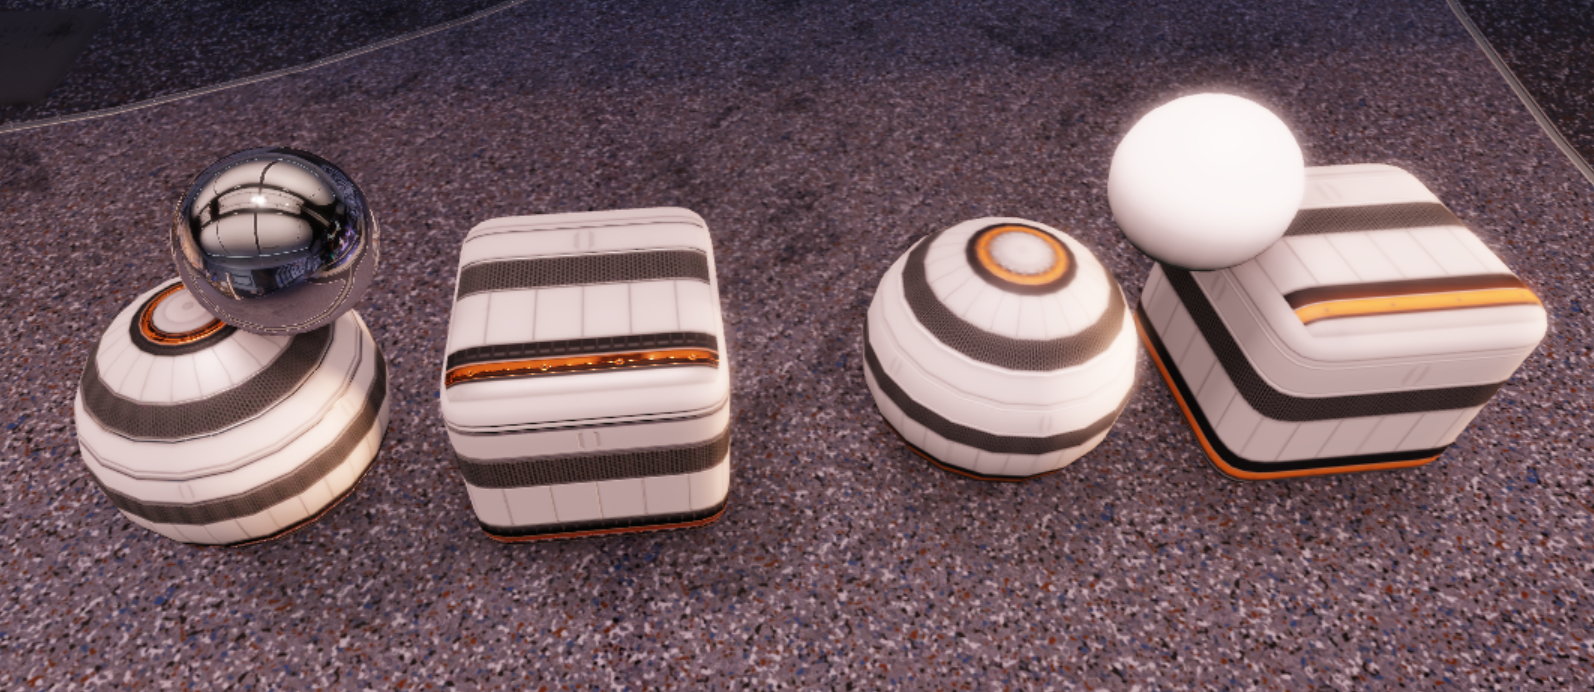
And here are examples of the same trim sheets being used on a large range of objects:
If you want to learn more about Trim Sheet UV Mapping, just search the topic on the web; there are many great tutorials out there.
Apply surface appearances
SurfaceAppearance lets you specify new texture inputs to our Physically Based Rendering system for MeshParts and lets you override the appearance of a mesh with advanced graphics options, including ColorMap, MetalnessMap, RoughnessMap, and NormalMap. It also makes use of the new dynamic cubemap system that Roblox uses for reflections in materials, such as chrome. For example, here's a side-by-side image of a mesh with SurfaceAppearance applied next to a mesh without it:
When using surface appearance, keep the following tips in mind:
- If your trim maps contain alpha information for transparency, change the AlphaMode from Overlay to Transparency.
- Surface appearance doesn't work with Parts because they don't have the UV information required to apply the maps with. Parts use world-aligned projections in place of UV information. MeshParts are normally created in another app such as Maya, 3ds Max, or Blender and contain UV unwrap information.
To apply SurfaceAppearance:
Click on the at the end of a
MeshPartor folder name in the Explorer and search forSurfaceAppearance. Adding one will override any BrickColor, Color, Material, and TextureID you may have already applied.Rename the
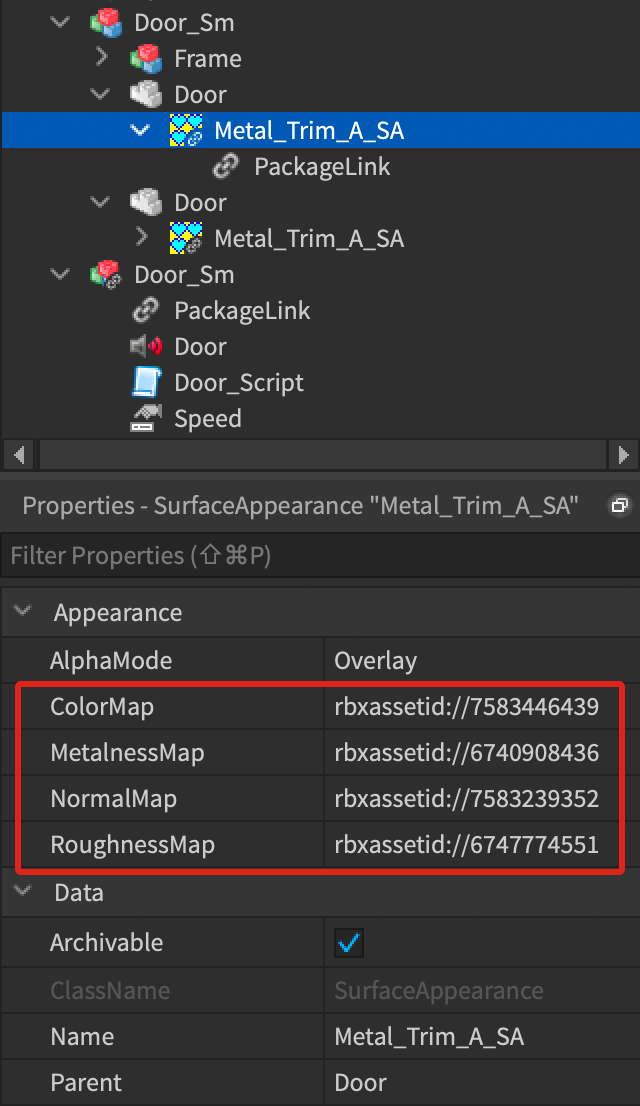
SurfaceAppearancenode to something unique and add a postfix of_SAto make them easy to search for. In this example, we usedMetal_Trim_A_SA.Import the trim sheet maps, copy the IDs from the Asset Manager window, and paste them into the appropriate slots in the Properties window. Here's how the
Metal_Trim_A_SAnode looks with all the map IDs inserted into and applied to the door.
Note
For more information on Physically Based Rendering (PBR), see Adobe's Substance Designer documentation Part 1 and Part 2.
Increase efficiency with packages
Packages let you create object instances throughout your Roblox games, so that updates you make to the package are published to all instances of that package. We used packages for almost every object we put into the station, so we didn't have to hunt down each placement if we needed to make tweaks. For example, we used over 1,000 wall panel instances of a package and were able to publish updates to them instantly by modifying the package.
Follow these tips when using packages:
Turn on the auto-update feature in PackageLink. All modifications are applied to all uses of the package when this is enabled, saving you the step of having to use the "update all" feature.
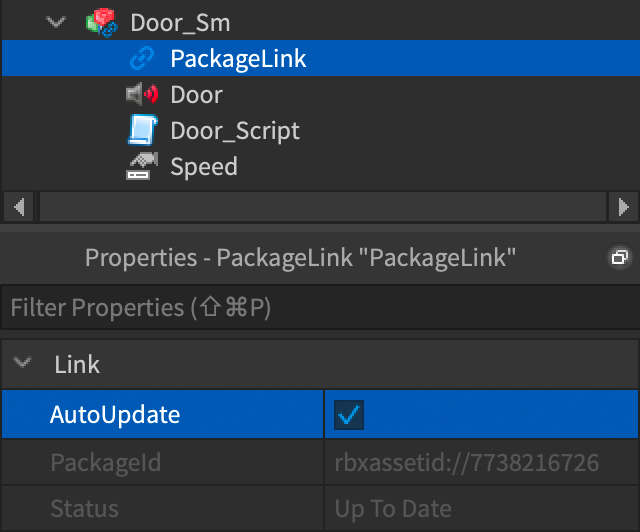
You can use packages for SurfaceAppearance objects to create a "material library." This lets you modify bitmaps in a SurfaceAppearance object and publish them out to every object that uses it. The following screenshot shows master materials used throughout the demo. If we needed to modify the maps, we just had to update the master material and republish the package.