
Source: Roblox Creator Hub · CC BY 4.0 · View source · Code samples: MIT Imported 2026-10-03. Formatting adapted for this site.
Add to the garage
Remember how you flew a test speeder earlier? To fly your own speeder, it needs to be placed in the garage with the other vehicles.
Right-click on the driftspeeder. In the menu, select Cut. The speeder will disappear for now, but will reappear once you add it into the correct folder.
In the Explorer window, scroll to find a folder named Garage.
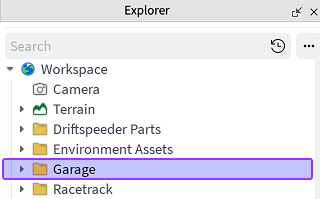
Note
If you don't see it the Explorer window, enable it from Studio's Window menu.
Instead of using paste, right-click on Garage and select Paste Into. Your speeder will then reappear.
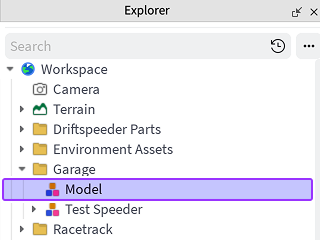
Note
Driftspeeder not appearing?
To get your speeder back, use undo (CtrlZ or ⌘Z) and repeat the process of Cut and Paste Into.
Name your driftspeeder something descriptive like The Lightning.
- In the Explorer window, right-click on Model. A contextual menu displays.
- In the menu, select Rename.
- Type the new name and then finish by pressing Enter.
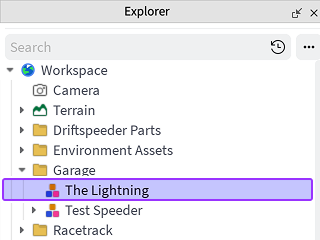
Note
Making changes after grouping
To make changes to your speeder, just ungroup it and then make your changes. Group it all back together again when you're done.
If you've added new parts, you'll have to move the model back to the garage:
Ungroup and make changes.
- In the 3D viewport, right-click the driftspeeder, then select Ungroup.
- Make your changes.
Group the parts back together.
- Select all parts of the speeder.
- Right-click anywhere in the 3D viewport, then select Group from the contextual menu (CtrlG or ⌘G).
Place back into the Garage folder if necessary.
- In the Explorer window, make sure that your speeder is in the Garage folder. If not, move it back with Cut and Paste Into.
- Name the driftspeeder by right-clicking on Model and selecting Rename.