
Source: Roblox Creator Hub · CC BY 4.0 · View source · Code samples: MIT Imported 2026-10-03. Formatting adapted for this site.
Create teams
Creating teams lets you sort players into groups that compete to complete a common objective, such as scoring the most points or crossing a finish line before other enemy team members. For a first-person shooter, creating teams is particularly important because it establishes complex, coordinated gameplay strategies beyond the skill set of any individual player.
Using the sample laser tag game as a reference, this section of the tutorial teaches you how to sort players into teams, including scripting guidance on:
- Using the
Teamsservice's default functionality to assign players into either the green or pink team. - Helping players differentiate between their allies and enemy team members through on-screen and in-game team indicators.
- Enabling forgiving gameplay that doesn't penalize players for blasting their teammates.
After you complete this section, you will learn about the scripts that allow players to spawn or respawn to a neutral lobby or team spawn zone, customize first-person force field visuals, and handle client state both from the server and the client.
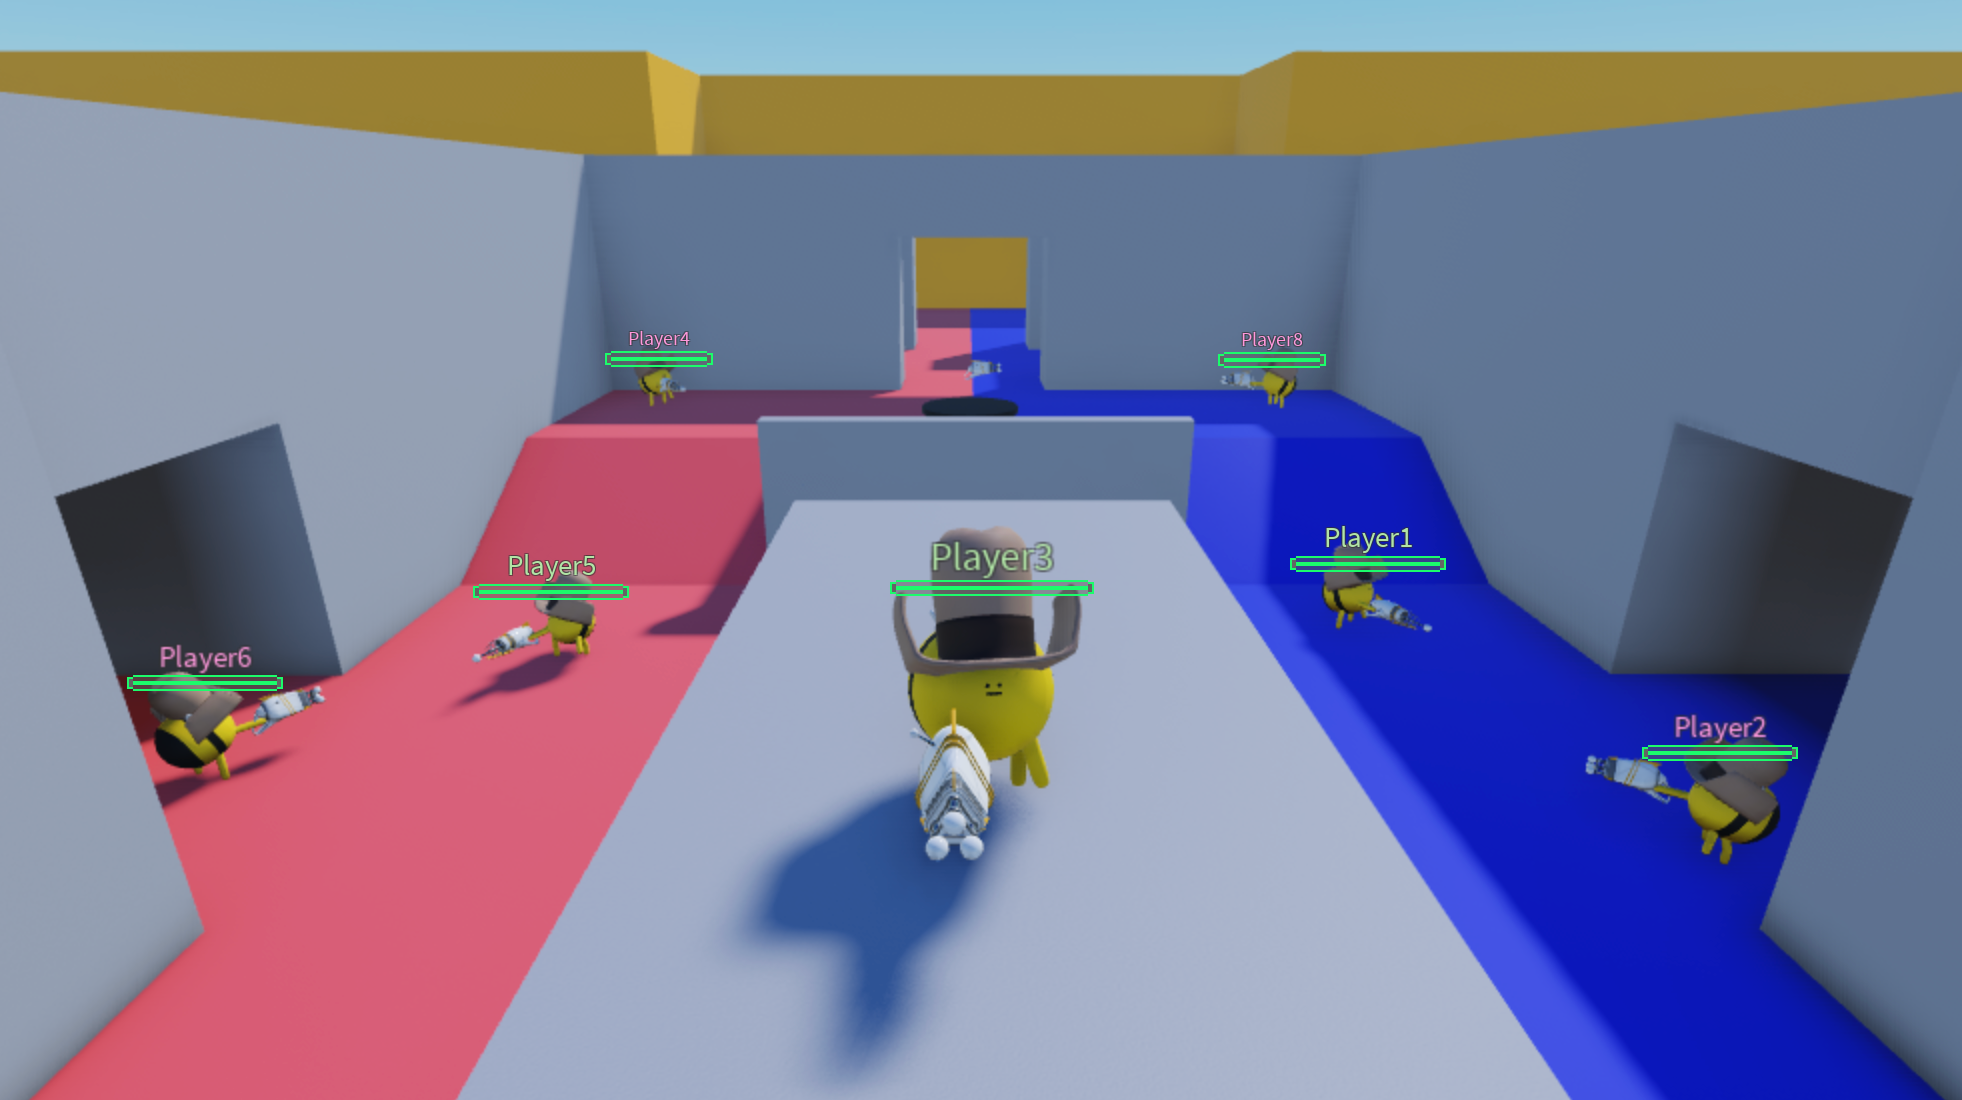
Assign team colors
The sample laser tag game uses the Teams service as a basis for creating two teams because the service offers built-in team sorting behavior that broadly works out-of-the-box. For example, without any additional scripting effort, the service handles actions like:
- Sorting and balancing players evenly into each team.
- Grouping players under their team on the leaderboard.
- Tinting player names in the 3D space to their corresponding team color.
- Spawning players to distinct spawn locations that only their team can access.
Because of this default functionality, the sample enables the Teams service, then uses two distinct Team objects with different Team.Color properties values to represent each team: mint for the team that assembles on one side of the map, and carnation pink for the team that assembles on the opposite side of the map. These specific colors are useful because they are complementary, meaning that they contrast each other well, and they enable players to easily scan their surroundings and orient themselves within the building and to other players.
<img width="100%" img src="https://prod.docsiteassets.roblox.com/assets/tutorials/gameplay-scripting/Creating-Teams/Green-Team-Players.jpg" alt="" />


<img width="100%" img src="https://prod.docsiteassets.roblox.com/assets/tutorials/gameplay-scripting/Creating-Teams/Pink-Team-Players.jpg" alt="" />


<img width="100%" img src="https://prod.docsiteassets.roblox.com/assets/tutorials/gameplay-scripting/Creating-Teams/Green-Team-Properties.png" alt="" />


<img width="100%" img src="https://prod.docsiteassets.roblox.com/assets/tutorials/gameplay-scripting/Creating-Teams/Pink-Team-Properties.png" alt="" />
Note
To learn more about this color theme, see Select a Color Theme from the UI Curriculum.
It's important to note the exact BrickColor name for the Team.Color property because the game uses this name throughout many scripts in the game to keep track of players as they sort into teams, increment points as players tag out enemy players during a round, and update custom UI elements. For example, when a round begins, ReplicatedStorage ⟩ HUDGuiSetup requires startSyncingTeamColor,and startSyncingTeamPoints which both reference Team.Color to perform unique actions for each team.
startSyncingTeamColor
startSyncingTeamColor references Team.Color so that it can assign the correct color and icon for the player's team indicator at the bottom-left corner of their screen.
<img src="https://prod.docsiteassets.roblox.com/assets/tutorials/gameplay-scripting/Creating-Teams/Green-Team.jpg" width="100%"/>Green Team
<img src="https://prod.docsiteassets.roblox.com/assets/tutorials/gameplay-scripting/Creating-Teams/Pink-Team.jpg" width="100%"/>Pink Team
local function setPlayerTeamIcon(gui: ScreenGui)
	for _, teamColorIcon in gui.PlayerDisplay.TeamIcons:GetChildren() do
		local iconTeamColor = teamColorIcon:GetAttribute(GuiAttribute.teamColor)
		teamColorIcon.Visible = localPlayer.TeamColor == iconTeamColor
	end
end

local function startSyncingTeamColor(gui: ScreenGui)
	setPlayerTeamIcon(gui)
	localPlayer:GetPropertyChangedSignal("Team"):Connect(function()
		setPlayerTeamIcon(gui)
	end)
end
startSyncingTeamPoints
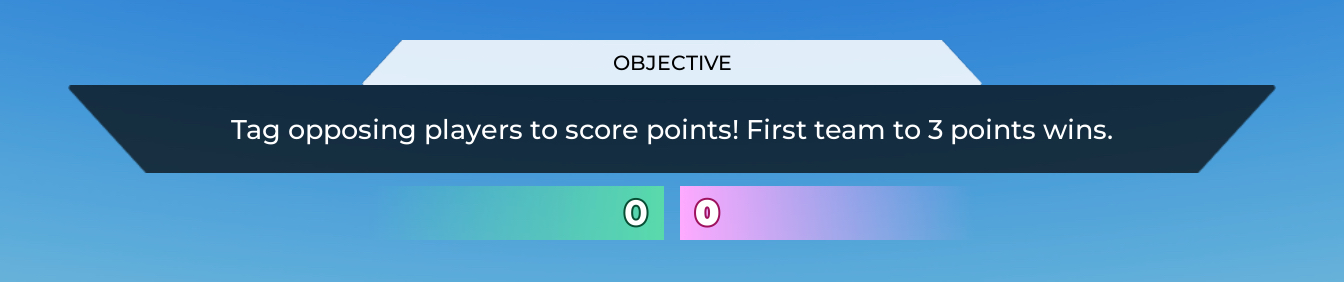
startSyncingTeamPoints references Team.Color so that it can track team points correctly in the objective UI at the top of the screen.
local function getTeamFromTeamColor(teamColor: Color3): Team?
	for _, team in Teams:GetTeams() do
		if team.TeamColor == teamColor then
			return team
		end
	end

	return nil
end

local function startSyncingTeamPoints(gui: ScreenGui)
	for _, teamPointCounter in gui.Objective.TeamPointCounter:GetChildren() do
		if not teamPointCounter:IsA("GuiObject") then
			continue
		end

		local iconTeamColor = teamPointCounter:GetAttribute(GuiAttribute.teamColor)

		local team = getTeamFromTeamColor(iconTeamColor)
		if not team then
			warn(`No team found matching the color {iconTeamColor} to sync team points on {teamPointCounter}`)
			continue
		end

		teamPointCounter.TextLabel.Text = team:GetAttribute(GuiAttribute.teamPoints)

		team:GetAttributeChangedSignal(GuiAttribute.teamPoints):Connect(function()
			teamPointCounter.TextLabel.Text = team:GetAttribute(GuiAttribute.teamPoints)
		end)
	end
end
Display team indicators
Once a player is sorted into a team, they need to be able to quickly decipher what team they belong to, and differentiate between their allies and enemy team members. This ability is important because the gameplay of a first-person shooter game requires players to make quick strategic decisions while they're in combat zones so that they don't get tagged out and lose the round.
To set players up for success, the sample laser tag game provides multiple team indicators both on-screen and in the 3D space:
- Player Indicator – Custom on-screen UI that displays the player's team color and icon.
- Team Indicator – Custom in-game UI that displays the player's team color.
- Leaderboard Indicator – Default Teams service on-screen UI that groups players underneath their team color.
- Name Tint – Default Teams service in-game UI that tints the player's name above their head to their team color.
On-screen Indicators
<img width="100%" img src="https://prod.docsiteassets.roblox.com/assets/tutorials/gameplay-scripting/Creating-Teams/Player-Indicator.jpg" alt="" />Player Indicator
<img width="80%" img src="https://prod.docsiteassets.roblox.com/assets/tutorials/gameplay-scripting/Creating-Teams/Leaderboard-Indicator.jpg" alt="" />Leaderboard Indicator
In-game Indicators
<img width="100%" img src="https://prod.docsiteassets.roblox.com/assets/tutorials/gameplay-scripting/Creating-Teams/Team-Indicator.jpg" alt="" />Team Indicator
<img width="100%" img src="https://prod.docsiteassets.roblox.com/assets/tutorials/gameplay-scripting/Creating-Teams/Name-Tint.jpg" alt="" />Name Tint
You don't need to do any additional work for the Leaderboard Indicator or Name Tint outside of assigning team colors from the previous section of the tutorial, but the custom UI team indicators require more programming effort to both display the indicators and occlude enemy indicators when they are behind walls. For a full explanation of the scripts that control the custom UI behavior, as well as how to implement each UI element itself, see Player Indicator and Team Indicator from the UI Curriculum.
Disable friendly fire
While some first-person shooter games penalize players who blast their own teammates, the sample laser tag game allows for more forgiving gameplay by disabling friendly fire. This design decision allows everyone to only increase their team score, not subtract from it due to gameplay accidents.
To understand how the sample implements this functionality, examine how ServerScriptService ⟩ LaserBlastHandler ⟩ processTaggedPlayers ⟩ onPlayerTagged handles dealing damage to tagged players. When the server detects a collision between a player's blast and another player, it calls the onPlayerTagged function to understand which player fired the blast, which player was hit by the blast, and how much damage it should remove from the player's health according to the blaster type.
local function onPlayerTagged(playerBlasted: Player, playerTagged: Player, damageAmount: number)Before it decreases health, the script first verifies if the tagged player is on the same team as the player who initiated the blast. If they are on the same team, the script ignores the blast data entirely.
	local character = playerTagged.Character
	local isFriendly = playerBlasted.Team == playerTagged.Team

	-- Disallow friendly fire
	if isFriendly then
		return
	end
However, if the tagged player is on the enemy team, the player takes the appropriate amount of damage according to the blaster type. In addition, if the player takes enough damage to become tagged out, the script rewards a point to the team of the player that initiated the blast. For more information on how the sample tracks points, see Add rounds later in the tutorial.
	local humanoid = character and character:FindFirstChild("Humanoid")
	if humanoid and humanoid.Health > 0 then
		local damage = math.min(damageAmount, humanoid.Health)
		humanoid:TakeDamage(damage)
		if humanoid.Health <= 0 then
			Scoring.incrementScore(playerBlasted, 1)
		end
	end
end

return onPlayerTagged
Note
For more information on what happens when a player fires their blaster, see Implement blaster behavior and Detect hits later on in the tutorial.
If you were to test the game right now, all players would randomly spawn at either spawn zone at opposite ends of the arena regardless of what team they belong to, meaning that each team would spawn right next to each other.
To address this issue, the following section of the tutorial teaches you about the custom logic behind restricting team spawning to certain spawn locations, handling client state as players leave the spawn area after selecting their blaster, and respawning players back to their spawn zone or lobby area when their health reaches zero.