
Source: Roblox Creator Hub · CC BY 4.0 · View source · Code samples: MIT Imported 2026-10-03. Formatting adapted for this site.
Rigid accessories
A high-level overview of rigid accessories on Roblox.
Create and sell your first basic rigid accessory.
Rigid accessories are 3D objects that attach to attachment points around an avatar character's body. When users purchase rigid accessories on the Marketplace, such as props, weapons, and hats, they can adjust the position and rotation of the item away from the attachment point according to their avatar's body type.
There are two main layers of a rigid accessory that structure how the accessory looks and works on the platform:
- Mesh & textures that make up the rigid accessory's visual appearance.
- Attachments that determine how the accessory attaches to the character's body.
While you can create the first of these layers manually in third-party modeling tools like Blender or Maya, attachments have strict configuration requirements to meet Roblox's technical rigid accessory specifications that guarantee your rigid accessories behave consistently from game to game. Before you create your first custom rigid accessory, it's recommended to:
- Understand the essential components of a rigid accessory and how they work together.
- Review all resources that Roblox provides to standardize and expedite the creation process, such as Blender and Maya project files, Studio tooling, and step-by-step guides.
- Follow the basic rigid accessory creation tutorial that covers how to convert a simple 3D model into a rigid accessory.
Once you have a custom rigid accessory, you can import it into Studio and use the Avatar Setup tool to process your creation into an avatar asset that's ready to be sold on the Marketplace.
Note
Unlike rigid accessories that don't deform when they attach to a specific point on the avatar, layered accessories stretch and wrap over a target until it fits over the character's body. For more information, see Layered accessories.
Rigid accessory components
All rigid accessories are made up of the same fundamental components that allow users to equip 3D items with consistent behavior according to the character's body type.
Note
Layered accessories require additional components to apply the layerable effect to the 3D item.
Mesh part
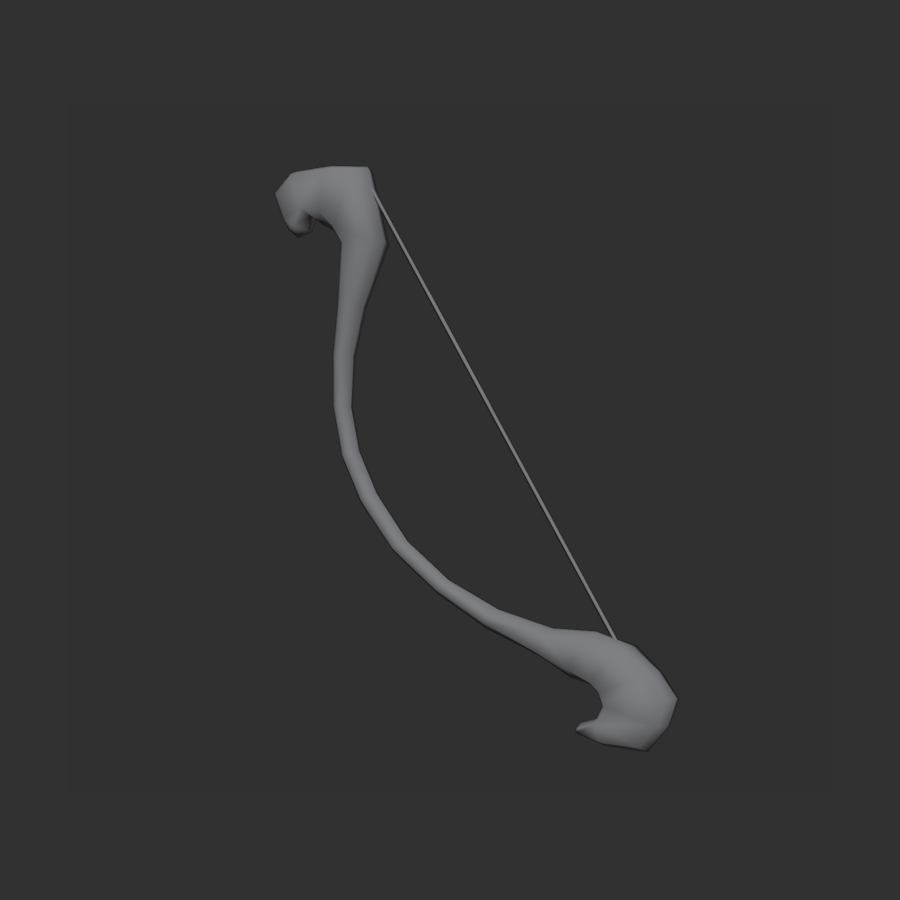 Bow rigid accessory mesh object.
 Hair rigid accessory mesh object.
All rigid accessories require a single mesh object that represents the accessory's geometry. In Studio, this mesh object is represented as a MeshPart nested under a single Model.
Textures
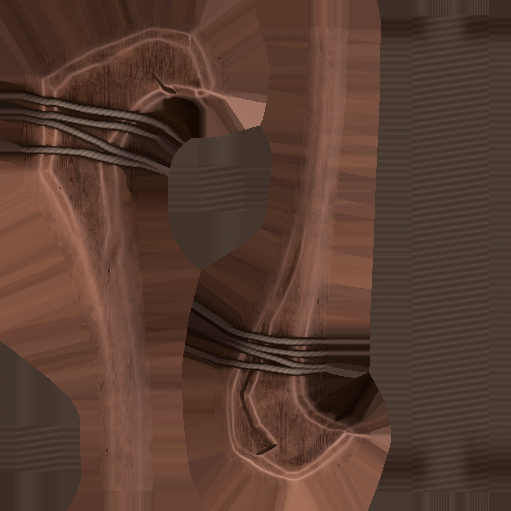 2D texture map for the bow rigid accessory.
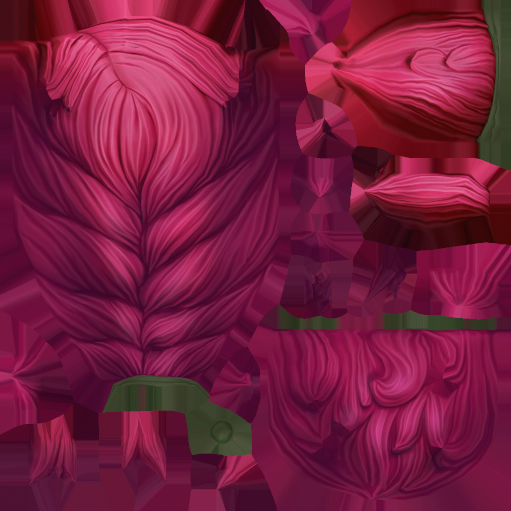 2D texture map for the hair rigid accessory.
Textures are image files that define the surface appearance of your rigid accessory. You can create textures within a texture painting program or 3D modeling software.
In Studio, you must import textures as image files and set them to MeshPart objects by a child SurfaceAppearance object or the mesh's TextureID property.
Attachments
 The bow's attachment point enables the bow to connect to a character's back.
 The hair's attachment point enables the hair to connect to a character's head.
Attachment points define where accessories attach to a character's body. In Studio, attachment points are represented by Attachment objects.
Note
You can automatically generate attachment points for your rigid accessories using the Accessory Fitting Tool.
Creation process
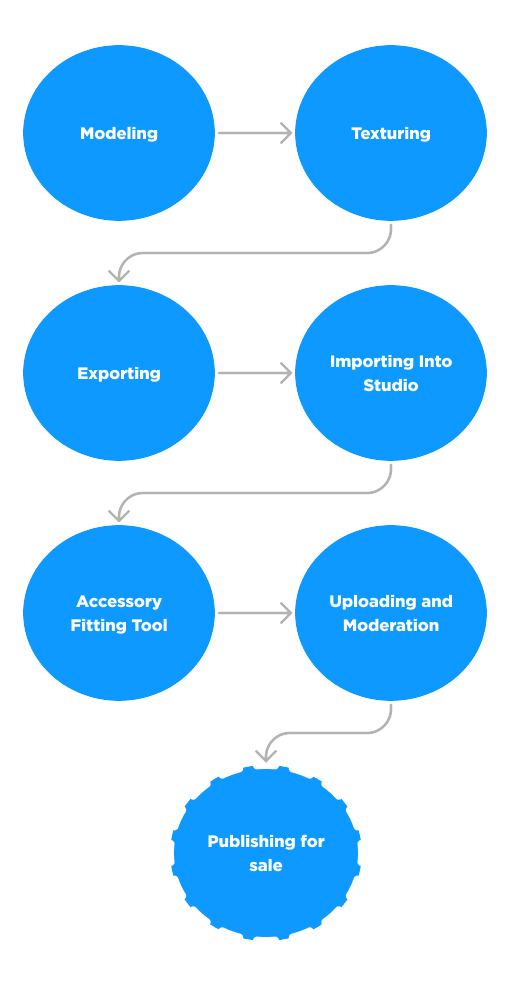
When designing a rigid accessory in Blender or Maya, you must export all of the avatar components in a single .fbx or .gltf for import into Studio. Since 3D creation isn't a linear process and always requires reiteration and testing, the process of creating a rigid accessory can differ between individuals and various creation workflows.
In general, the creation process follows the following workflow:
Resources
There are a variety of resources available for creators of all backgrounds to get started with rigid accessory creation. Review the following table for specific topics and resources:
| Topic | Resources |
|---|---|
| Tutorials | [Rigid accessory creation](/docs/roblox-art-accessories-creating-rigid) |
| Reference files | [Accessory and clothing reference files](/docs/roblox-art-modeling-project-files) |
| Technical specs | [.FBX export settings](/docs/roblox-art-modeling-export-requirements) [General mesh specifications](/docs/roblox-art-modeling-specifications) [Rigid accessory specifications](/docs/roblox-avatar-rigid-accessories-specifications) [Marketplace policy](/docs/roblox-marketplace-marketplace-policy) |
| Cosmetic creation | [Rigid accessories overview](/docs/roblox-avatar-rigid-accessories) [Layered clothing overview](/docs/roblox-avatar-layered-accessories) [Accessory Fitting Tool](/docs/roblox-avatar-accessory-fitting-tool) [Rigid accessory specifications](/docs/roblox-avatar-rigid-accessories-specifications) [Marketplace requirements](/docs/roblox-marketplace-marketplace-policy) |
| Texturing | [Texturing requirements](/docs/roblox-art-modeling-texture-specifications) [PBR textures](/docs/roblox-art-modeling-surface-appearance) |
| Rigging and skinning | [Rigging and skinning overview](/docs/roblox-art-modeling-rigging) [Humanoid rig requirements](/docs/roblox-avatar-character-bodies-specifications#rigging) [Rig facial bones](/docs/roblox-art-characters-facial-animation-create-basic-heads#rig-and-skin-the-head) [Automatic Skin Transfer](/docs/roblox-avatar-automatic-skinning-transfer) [Skin facial bones](/docs/roblox-art-characters-facial-animation-create-basic-heads#skin-joints) |
| Publishing and Marketplace | [Uploading to Marketplace](/docs/roblox-marketplace-publish-to-marketplace) [Marketplace Policy](/docs/roblox-marketplace-marketplace-policy) [Fees and commissions](/docs/roblox-marketplace-marketplace-fees-and-commissions) |