
Source: Roblox Creator Hub · CC BY 4.0 · View source · Code samples: MIT Imported 2026-10-03. Formatting adapted for this site.
Create basic visual effects
A static world can feel lifeless. Visual effects add motion, make the environment feel more dynamic, and help draw players' attention to important areas.
In this section, you'll use particle emitters to create two effects. The first is a glowing flare on top of the tallest sea stack that draws players' eyes upward, and the second is a layer of drifting dust motes that adds atmosphere and depth to the environment.
Note
Particle emitters are primarily configured through numeric properties, making them a good fit for Assistant. Use the Build with Assistant tabs to generate a set of working starting values, then adjust the colors and NumberSequence curves yourself until the effect looks the way you want.
Create a flare
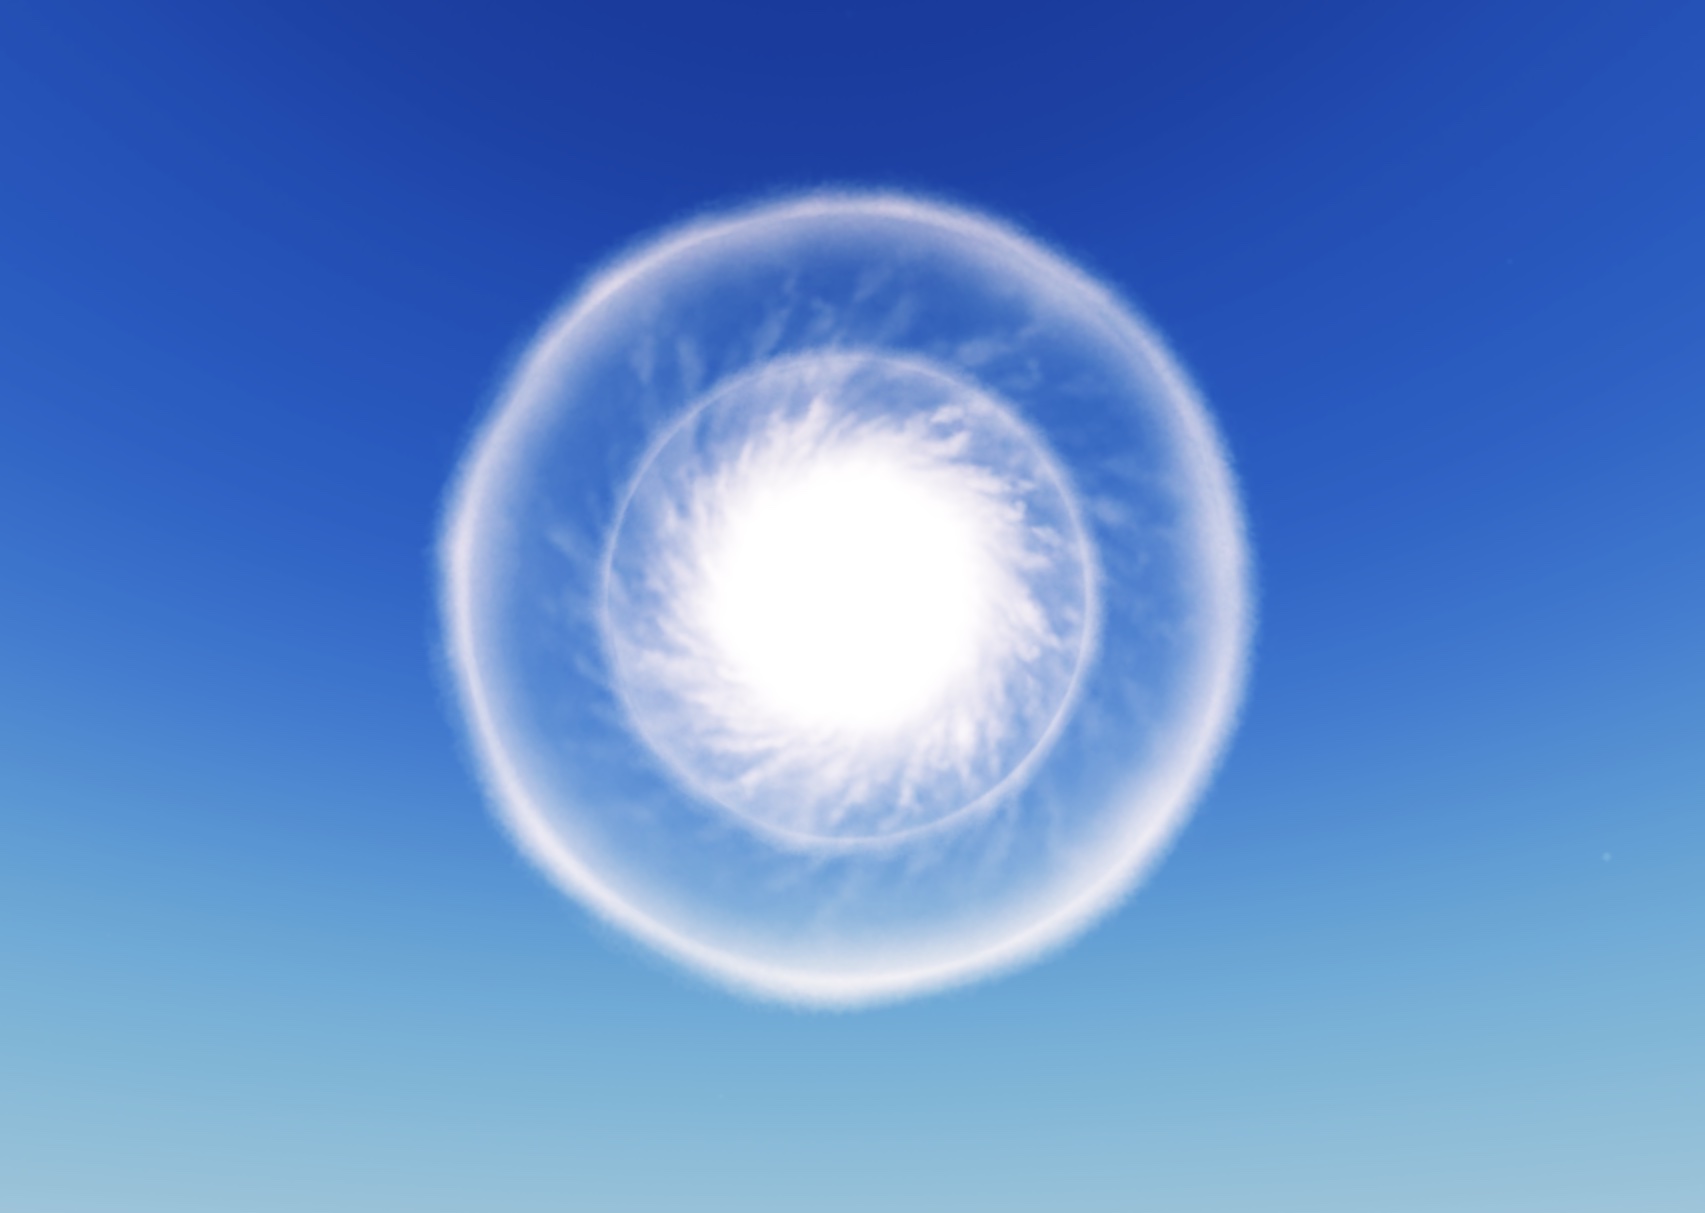
The sample Island Jump - Final game puts a giant flare on top of its tallest platform. Because the rest of the world is still, the flare becomes a focal point, making players naturally want to climb toward it.
Build with Assistant
In Workspace > World, create a new folder named VFX if it doesn't exist.
Inside the VFX folder, create a block Part named VFX_Flare with Size 20, 20, 20, CFrame.Position 400, 331, 79, and CFrame.Orientation 0, 0, 0. Set Transparency to 1 so the part is invisible, and enable Anchored.

Inside VFX_Flare, create an Attachment.

Inside that Attachment, create a ParticleEmitter named Emitter_Flare with these properties:
- Texture: rbxassetid://8983307836
- Color: Color3.fromRGB(127, 84, 59)
- LightEmission: 1
- ZOffset: 1
- Lifetime: NumberRange.new(10, 10)
- Rate: 0.45
- RotSpeed: NumberRange.new(20, 20)
- Speed: NumberRange.new(0, 0)
- Size: a NumberSequence that starts at 0, grows slowly early in the lifetime, then quickly rises to 10 and stays at 10 for the rest of the lifetime.
- Transparency: a NumberSequence that stays near 0 (visible) for most of the lifetime, then bounces between values toward the end and settles at 1.

Also inside VFX_Flare (a sibling of the Attachment), create a PointLight with Brightness 2 and Range 36.
After running the prompt, open the Size and Transparency sequences in the Properties window and tweak the curves yourself until the pulsing feels right.
Build it Yourself
In the Explorer, hover over World, click ⊕, and insert a new folder. Rename it VFX. This is where you'll keep all visual effect parts.
Insert a block part into the VFX folder. The sample places it above
Level_7with the following properties:- Set Name to
VFX_Flare. - Set Size to
20, 20, 20. - Set CFrame.Position to
400, 331, 79. - Set CFrame.Orientation to
0, 0, 0. - Set Transparency to
1so the part itself is invisible and only the particles will show. - Enable Anchored so physics doesn't move it.
- Set Name to
Hover over VFX_Flare, click ⊕, and insert an attachment. It appears in the center of the part, and particles will emit from this point.
Insert a ParticleEmitter into the attachment and rename it Emitter_Flare. Particles start emitting immediately.
Configure the flare
Now shape the emitter to actually look like a flare. Each property below has a purpose. To learn more about how each property affects the resulting visual effect, see ParticleEmitter and Customizing particles.
Select
Emitter_Flare. In the Properties window, set Texture torbxassetid://8983307836. You can also upload your own asset if you want.Set the rest of the basic properties:
- Set Color to
127, 84, 59(or pick your own). - Set LightEmission to
1so colors blend additively — overlapping particles brighten, which is what the flare texture is designed for. - Set ZOffset to
1. - Set Lifetime to
10, 10(Lifetimetakes a min/max range so each particle picks a random duration; equal values mean no variation). - Set Rate to
0.45. Rate is particles per second, so this is roughly one every two seconds. - Set RotSpeed to
20. - Set Speed to
0.
- Set Color to
Some properties use a
NumberSequenceso the value can change across a particle's lifetime, which is what gives the flare its pulse. Click the … next to Size and shape the curve so it starts at0, grows slowly, then jumps to10and holds for the rest of the lifetime.
The Y axis represents each particle's size and the X axis represents each particle's lifetime. The size starts at 0 and grows slowly in the beginning of its lifetime, then quickly grows to a size of 10 and remains 10 for the duration of the lifetime.
Click the … next to Transparency to shape that curve. Stay near
0(visible) for most of the lifetime, then bounce around as the particle fades out and settle at1.
The particle is visible (equal or close to 0) for the majority of its lifetime. As the particle approaches the end of its lifetime, its transparency value bounces up and down at different values, settling at 1 at the very end.
Add a PointLight
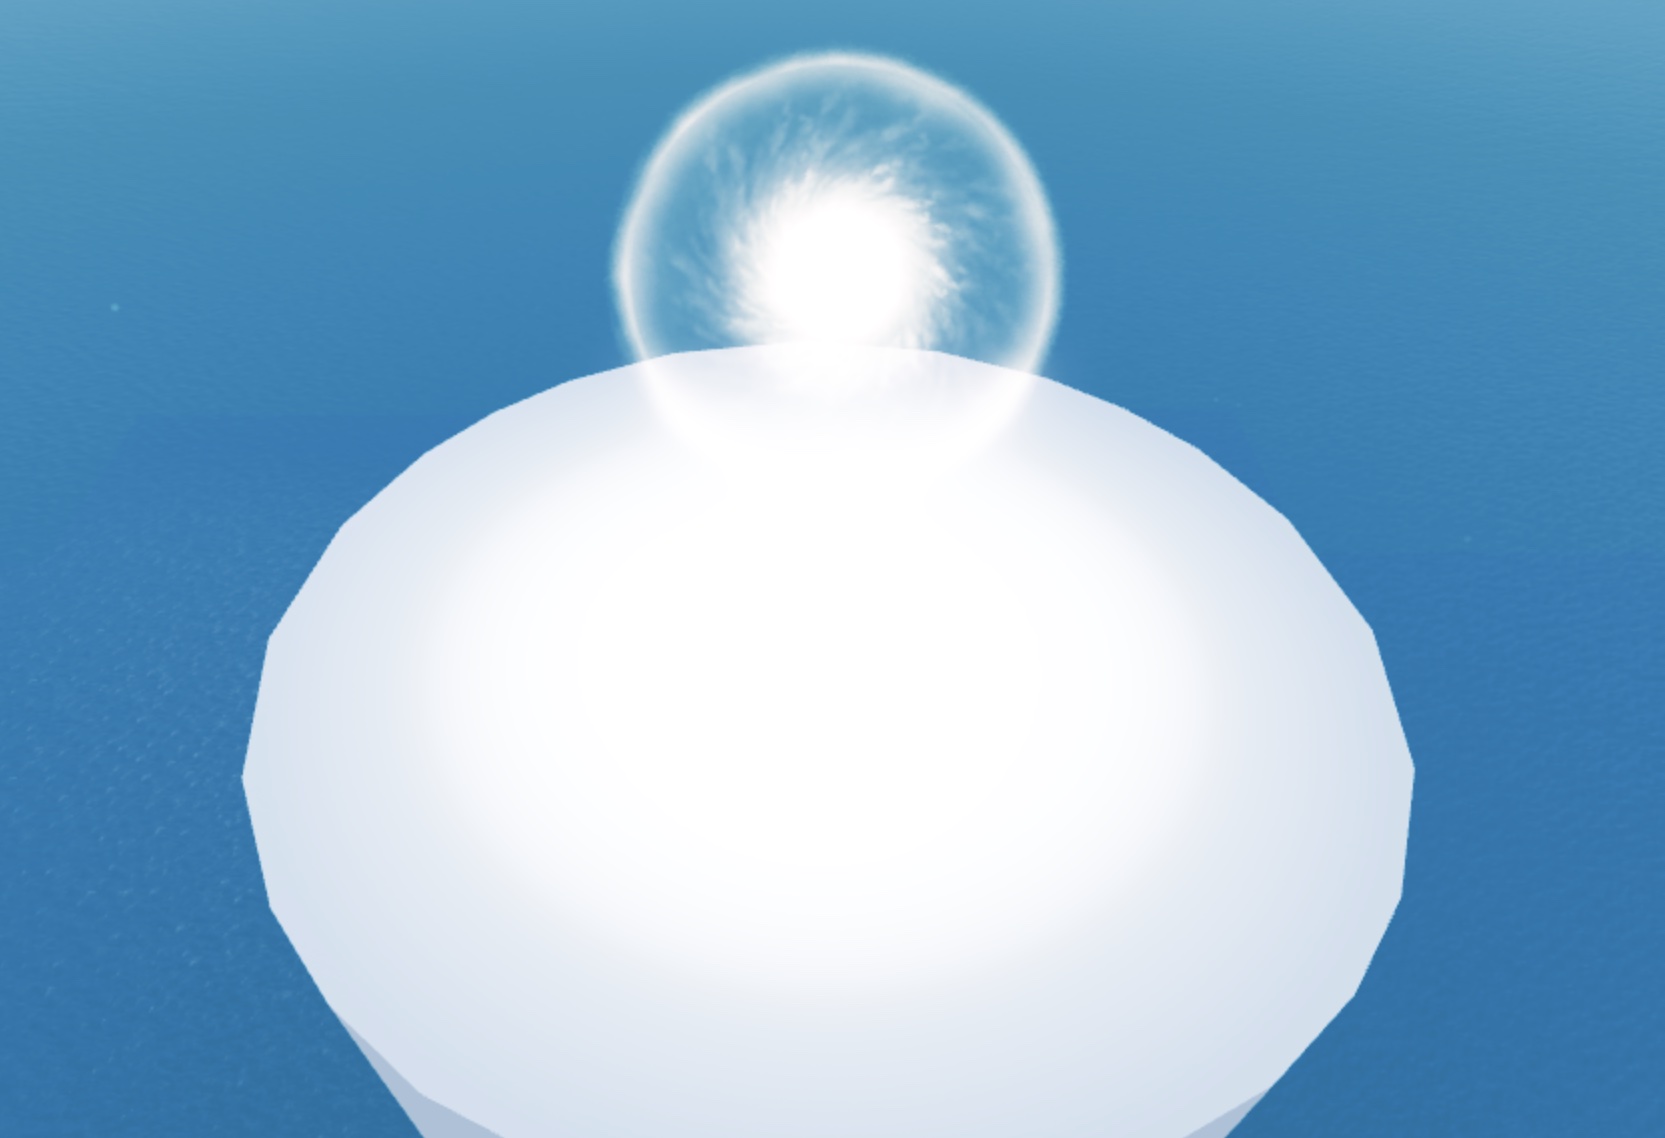
To make the flare cast actual light on its surroundings, use a PointLight. Roblox has three light types: PointLight (light from a single point in all directions), SpotLight (a cone in a chosen direction), and SurfaceLight (light from one face of a part). For a flare, use PointLight.
Hover over VFX_Flare, click ⊕, and insert a PointLight.
With the PointLight selected, in the Properties window:
- Set Brightness to
2. - Set Range to
36.
- Set Brightness to
Create the dust particles
The second type of particle emitter the sample game uses to add dynamic movement to the game is one that dust particles throughout the atmosphere. These particles surround the player, adding a sense of texture and depth to the air itself.
Build with Assistant
In Workspace > World > VFX, create a block Part named VFX_DustMotes with Size 645, 355, 275, CFrame.Position 198, 168, 26, and CFrame.Orientation 0, 0, 0. Set Transparency to 1 so the part is invisible. Disable CanCollide. Enable Anchored.

Inside VFX_DustMotes, create a ParticleEmitter named Emitter_DustMotes with these properties:
- Texture: rbxassetid://14302399641
- Color: Color3.fromRGB(192, 241, 255)
- ZOffset: -5
- Lifetime: NumberRange.new(1, 10)
- Rate: 50000
- Rotation: NumberRange.new(-45, 45)
- RotSpeed: NumberRange.new(-60, -60)
- Speed: NumberRange.new(1, 5)
- Acceleration: Vector3.new(1, -1, 1)
- Size: a NumberSequence that rises to about 0.25 shortly after creation, then fades gradually to 0.
- Transparency: a NumberSequence that begins fully transparent, becomes more opaque (with an envelope of about 0.1) in the middle of the lifetime, then slowly fades out to 1.
After running, open the Size and Transparency sequences and tune the curves by eye until the dust feels right.
Build it Yourself
Insert a block part into the VFX folder and scale it to cover your entire playable area. The sample uses:
- Set Name to
VFX_DustMotes. - Set Size to
645, 355, 275. - Set CFrame.Position to
198, 168, 26. - Set CFrame.Orientation to
0, 0, 0. - Set Transparency to
1so the volume itself is invisible. - Disable CanCollide so players walk through it freely.
- Enable Anchored.
- Set Name to
Insert a ParticleEmitter into the part and rename it Emitter_DustMotes. Particles fill the volume immediately.
Configure the dust particles
The dust particle emitter requires some new properties to change. ParticleEmitter.Acceleration determines how a particle's ParticleEmitter.Speed changes throughout its lifetime. Acceleration is often used to apply a gravity effect to particles with a negative Y value.
ParticleEmitter.Rotation defines the range of rotations in degrees for emitted particles, with positive values corresponding with the clockwise direction. To add some randomness to the rotation of each dust mote, you can create a range of angles to choose from.
For each point in a Class.NumberSequence, you can set an envelope using the number input at the bottom of the window. An envelope sets the range from which Studio picks a random value higher or lower than the point's value each time a particle emits. The size of the envelope determines the range of the random selection. The sequence for ParticleEmitter.Transparency includes an envelope so that each particle's visibility is unpredictable.
Select Emitter_DustMotes and in the Properties window:
- Set Color to
192, 241, 255. - Set Texture to
rbxassetid://14302399641. - Set ZOffset to
-5so dust renders behind players and objects. - Set Lifetime to
1, 10. - Set Rate to
50000. This sounds enormous, but the part is huge so the dust still appears sparse. - Set Rotation to
-45, 45. - Set RotSpeed to
-60. - Set Speed to
1, 5. - Set Acceleration to
1, -1, 1.
- Set Color to
Click the … next to Size and shape the
NumberSequenceso it rises to about0.25shortly after creation, then fades gradually to0.
Click the … next to Transparency and shape that curve so it starts fully transparent, becomes more opaque in the middle (with an envelope of about
0.1), then slowly fades out.

Faint dust particles in the air looking up at the sky from the platforms