
Source: Roblox Creator Hub · CC BY 4.0 · View source · Code samples: MIT Imported 2026-10-03. Formatting adapted for this site.
Parts
Parts are descendants of the BasePart class and are Roblox's primitive building blocks with properties like position, size, orientation, and color. You can use basic parts as is, or you can apply solid modeling operations to combine parts into more complex shapes.
For advanced and intricate 3D models, you can also import third-party model files as MeshParts as outlined in Meshes.
<img src="https://prod.docsiteassets.roblox.com/assets/modeling/parts/Basic-Part-Sphere.png" alt="A single gray sphere part" />Basic sphere part
<img src="https://prod.docsiteassets.roblox.com/assets/modeling/parts/Part-Example-CSG.jpg"alt="A bright blue hollow bowl that was made with solid modeling operations."/>Bowl created with solid modeling
<img src="https://prod.docsiteassets.roblox.com/assets/modeling/parts/Mesh-Example.jpg" alt="A high-quality treasure chest mesh with a texture." />Mesh with texture
By default, parts are rigid bodies that follow real-world physical mechanics, including gravity, collision, and momentum. You can connect related parts together as a single assembly using a WeldConstraint, or a joint like Motor6D or Bone. As an assembly, the connected parts act as a single rigid entity, referencing a common position, orientation, and scale.
You can use a Model container to group related parts together and access the group as a single assembly in the Explorer. See Models for more information.
Basic part types
Part objects can take the shape of blocks, spheres, cylinders, wedges, or corner wedges. In addition, TrussPart acts as a truss beam that characters can climb like a ladder.
<img src="https://prod.docsiteassets.roblox.com/assets/modeling/parts/Basic-Part-Block.png" alt="A single Block part." /><img src="https://prod.docsiteassets.roblox.com/assets/modeling/parts/Basic-Part-Sphere.png" alt="A single Sphere part." /><img src="https://prod.docsiteassets.roblox.com/assets/modeling/parts/Basic-Part-Cylinder.png" alt="A single Cylinder part." /><img src="https://prod.docsiteassets.roblox.com/assets/modeling/parts/Basic-Part-Wedge.png" alt="A single Wedge part." /><img src="https://prod.docsiteassets.roblox.com/assets/modeling/parts/Basic-Part-Corner-Wedge.png" alt="A single Corner Wedge part." />Part properties
Each part has a variety of properties that you can customize through the Properties window.
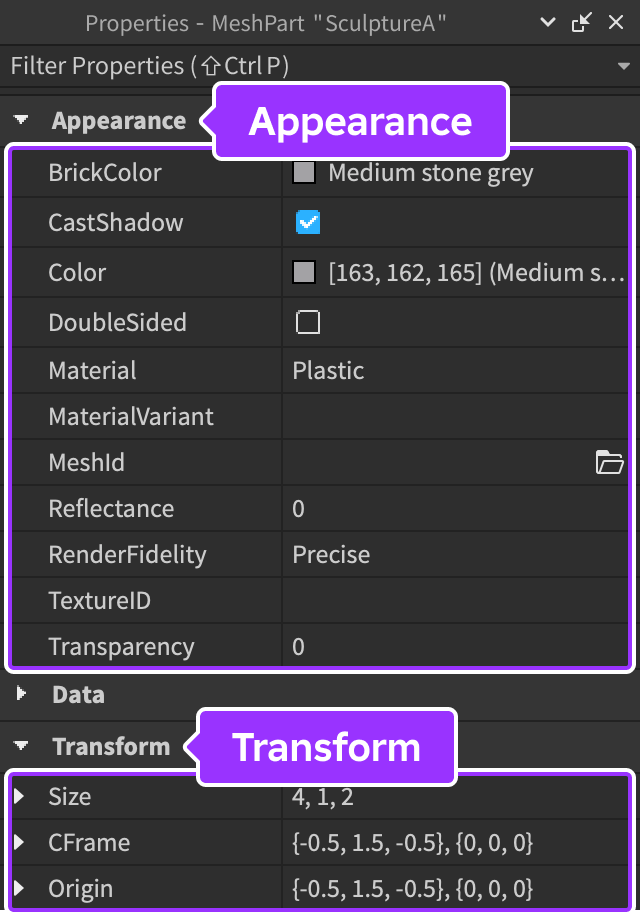
The following are commonly utilized properties:
Anchoredcontrols if physics affects the position of the part. When this property is set to true, the part never changes position due to gravity or any other force. You should anchor most parts in your game or gravity and physics will affect your parts as soon as the game runs.
Note
To view lighted outlines around the base of anchored parts in order to visualize which parts cannot move under gravity or physics, toggle on Anchored parts from the Visualization Options widget in the upper‑right corner of the 3D viewport.
CanCollidecontrols whether or not a part can collide with other parts. When this property is set to true, the part is impenetrable and the physics engine accounts for it within your game. Conversely, when this property is set to false, the part can pass through anything, and the physics engine does not account for it.Transparencysets a part's visibility to any value between the default value of 0 (fully visible) and 1 (fully transparent). If you have many partially transparent parts, they can slow down performance. To alleviate this, merge them using solid modeling.
Insert parts
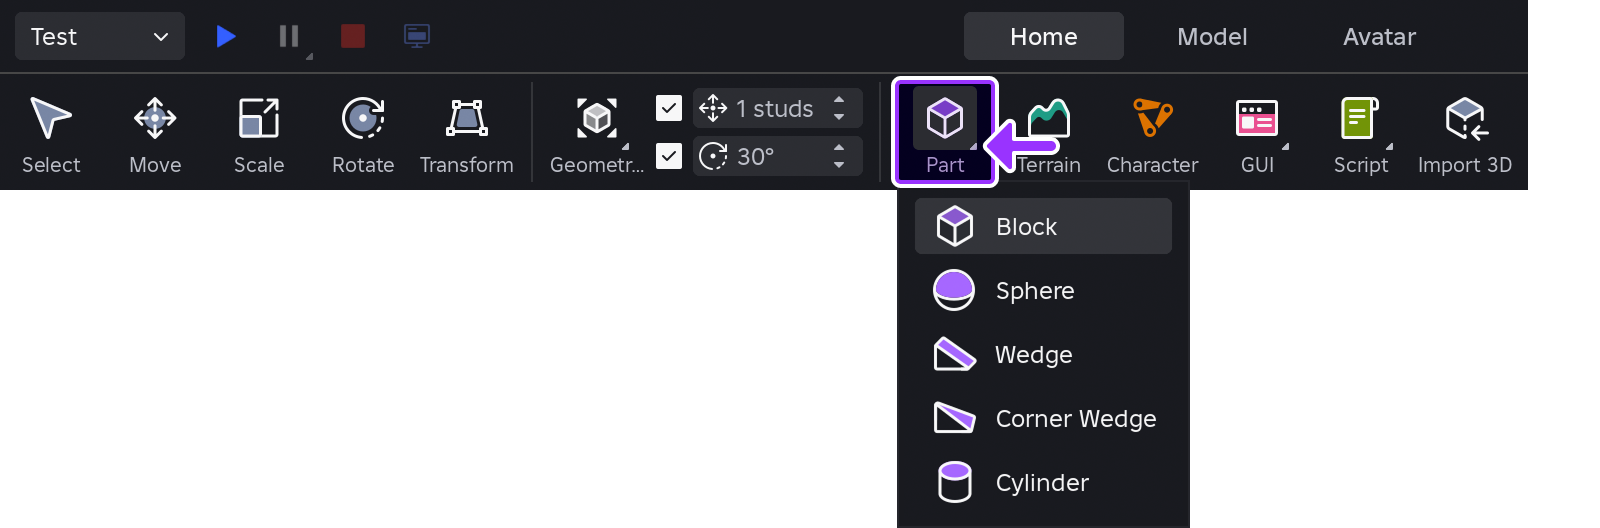
The Part insertion button, accessible from the Home and Model tab toolbars, inserts a new part into the workspace. Click‑holding over the small corner arrow on the button lets you select either Block, Sphere, Wedge, Corner Wedge, or Cylinder.
Note
To insert a TrussPart (not available on the insertion menu), use the Explorer as outlined here.
Select parts
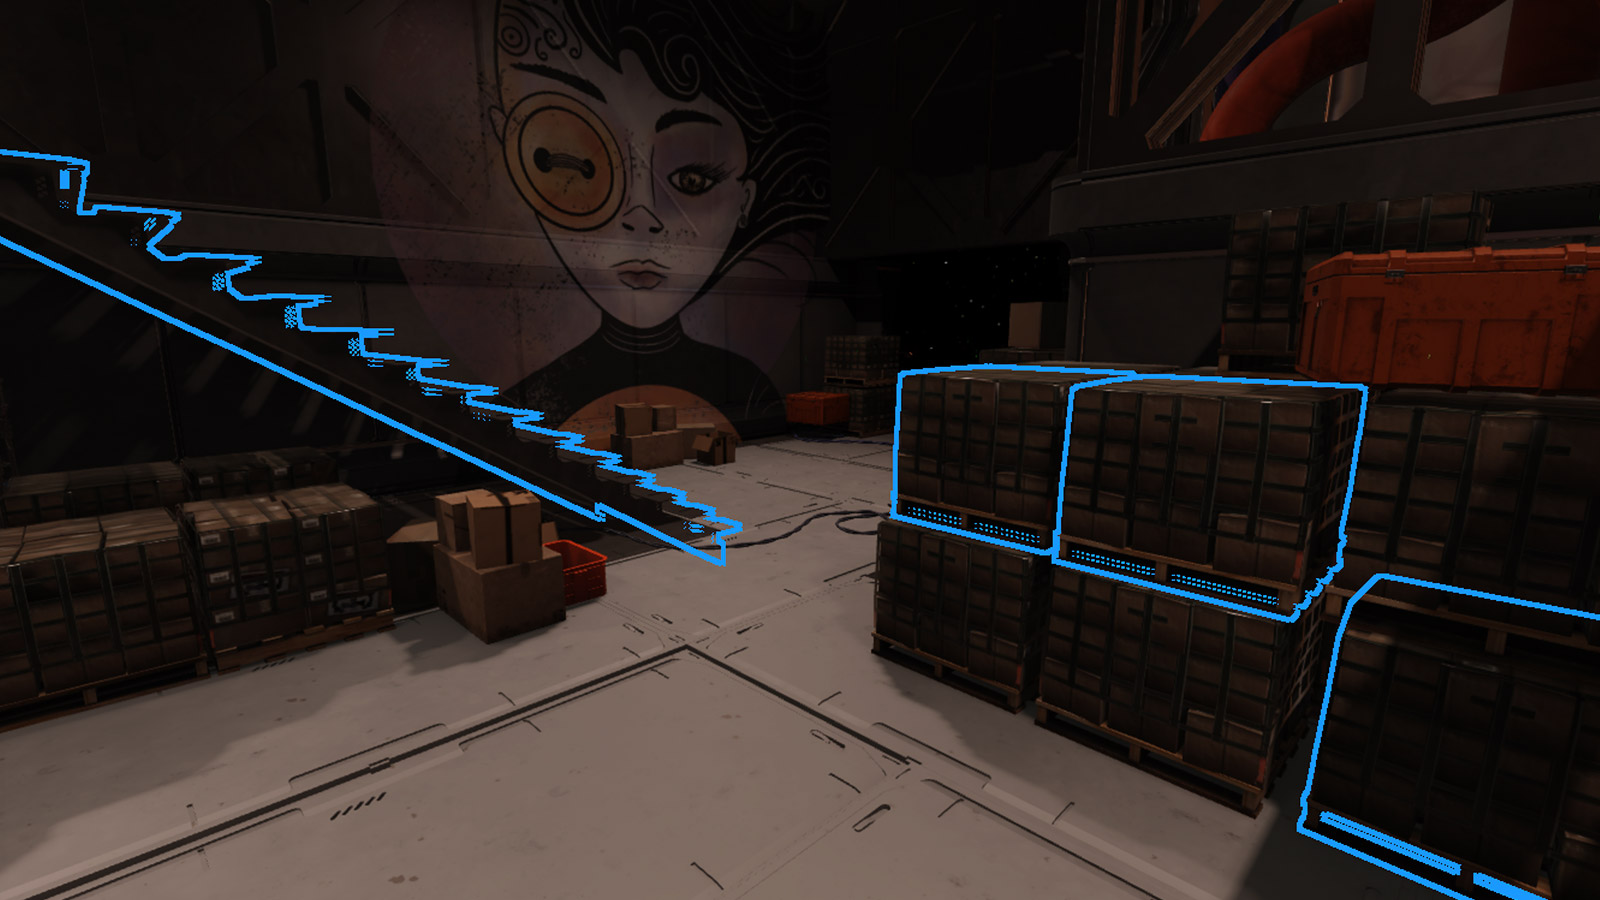
As you hover over parts in the 3D viewport, they are outlined to indicate their potential selection. You can select an outlined part by clicking it, or you can select multiple parts by holding Shift, Ctrl, or ⌘ as you hover over and click them. See here for advanced methods of selecting parts in the viewport.
Transform parts
You can move, scale, and rotate selected parts either through modeling tools or by setting a new position, size, or orientation in the Properties window.

<img src="https://prod.docsiteassets.roblox.com/assets/modeling/parts/Transform-Move-SM.png" alt="Move draggers shown on part in 3D viewport." />Move
<img src="https://prod.docsiteassets.roblox.com/assets/modeling/parts/Transform-Scale-SM.png" alt="Scale draggers shown on part in 3D viewport." />Scale
<img src="https://prod.docsiteassets.roblox.com/assets/modeling/parts/Transform-Rotate-SM.png" alt="Rotate draggers shown on part in 3D viewport." />Rotate
When using the tools, you can move, scale, or rotate parts in either world orientation or local orientation by pressing CtrlL on Windows or ⌘L on Mac. When you enable local orientation, the arrow axis indicators change to a part's local orientation, and an L indicator displays.
World
<img src="https://prod.docsiteassets.roblox.com/assets/modeling/parts/Move-World-Orientation.png" width="720" height="405" alt="An angled block part with draggers in World orientation mode." />Local
<img src="https://prod.docsiteassets.roblox.com/assets/modeling/parts/Move-Local-Orientation.png" width="720" height="405" alt="An angled block part with draggers in Local orientation mode." />Tool transform snapping increments are based on studs for moving/scaling or degrees for rotating, each adjustable in the toolbar. While transforming, you can temporarily toggle snapping by holding the Shift key.

Note
To quickly jump to the move/scale increment input, press Shift2. To quickly jump to the rotate increment input, press AltR (Windows) or ⌥R (Mac).
Move
You can move a selected part to a new position using the Move tool (default shortcut 2) or by cursor dragging. While moving a part, you can temporarily toggle snapping by holding Shift.
Move Tool
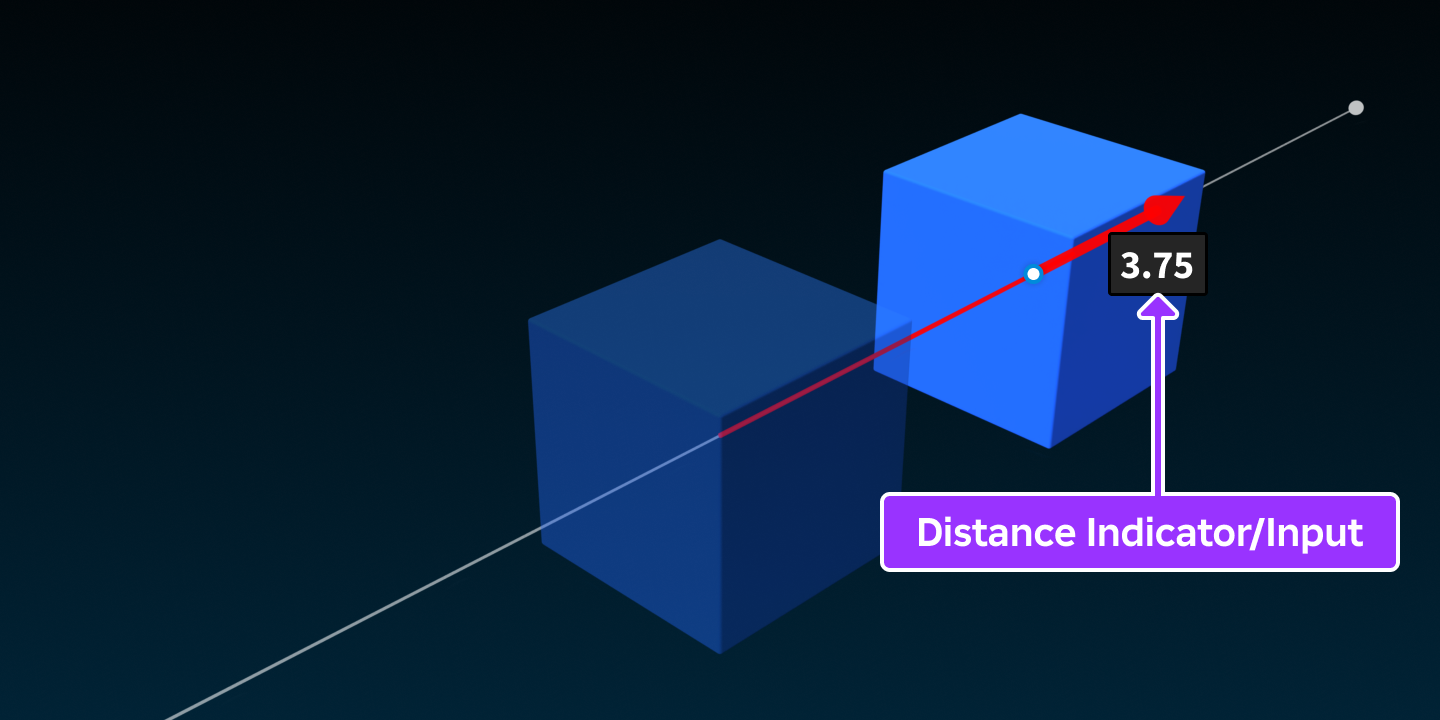
To move a part by an axis dragger along the X, Y, or Z axis, click/drag an arrow pointing along the desired axis of movement.
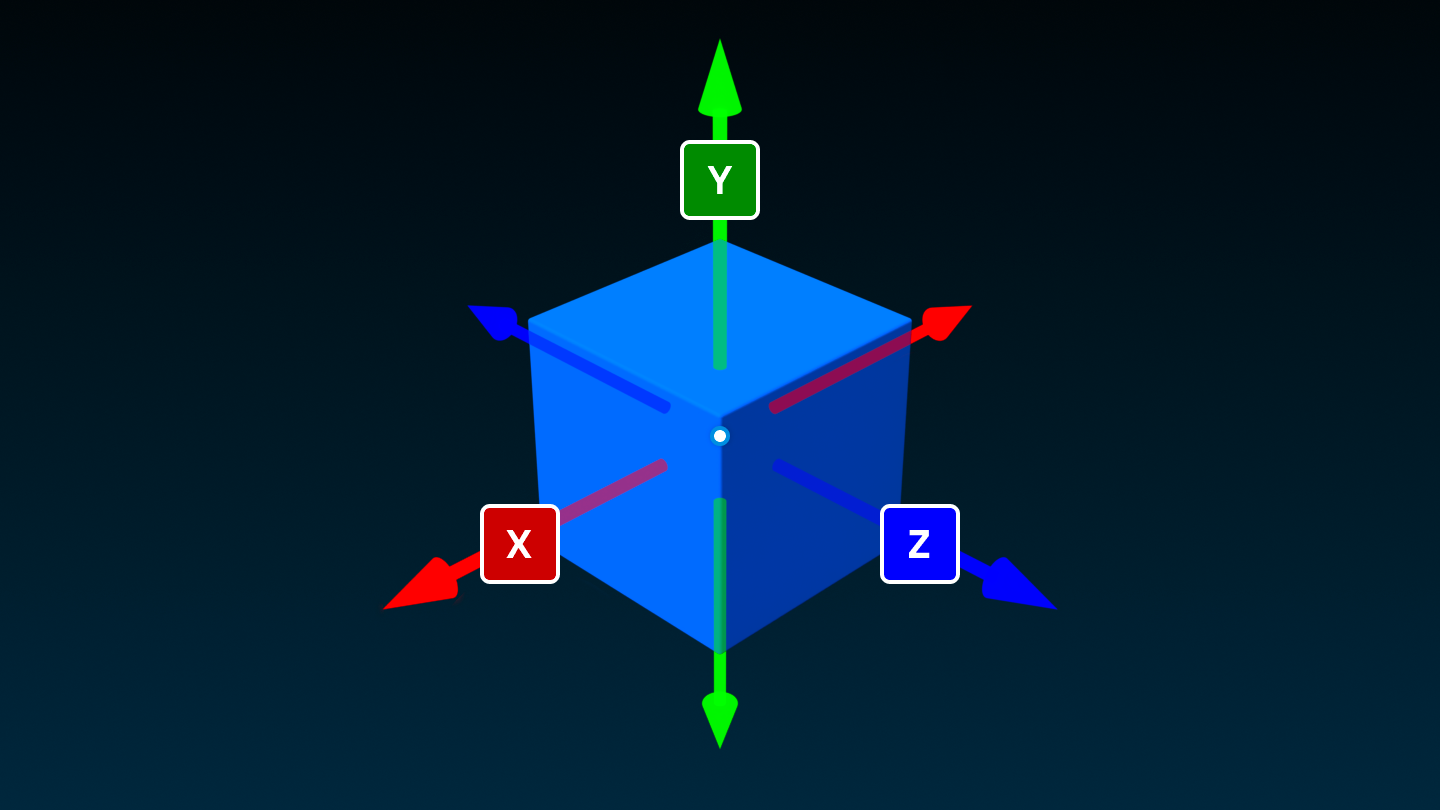
After releasing the drag, the numerical distance indicator remains visible. If desired, fine‑tune the distance that was moved by clicking inside the indicator and entering any number.
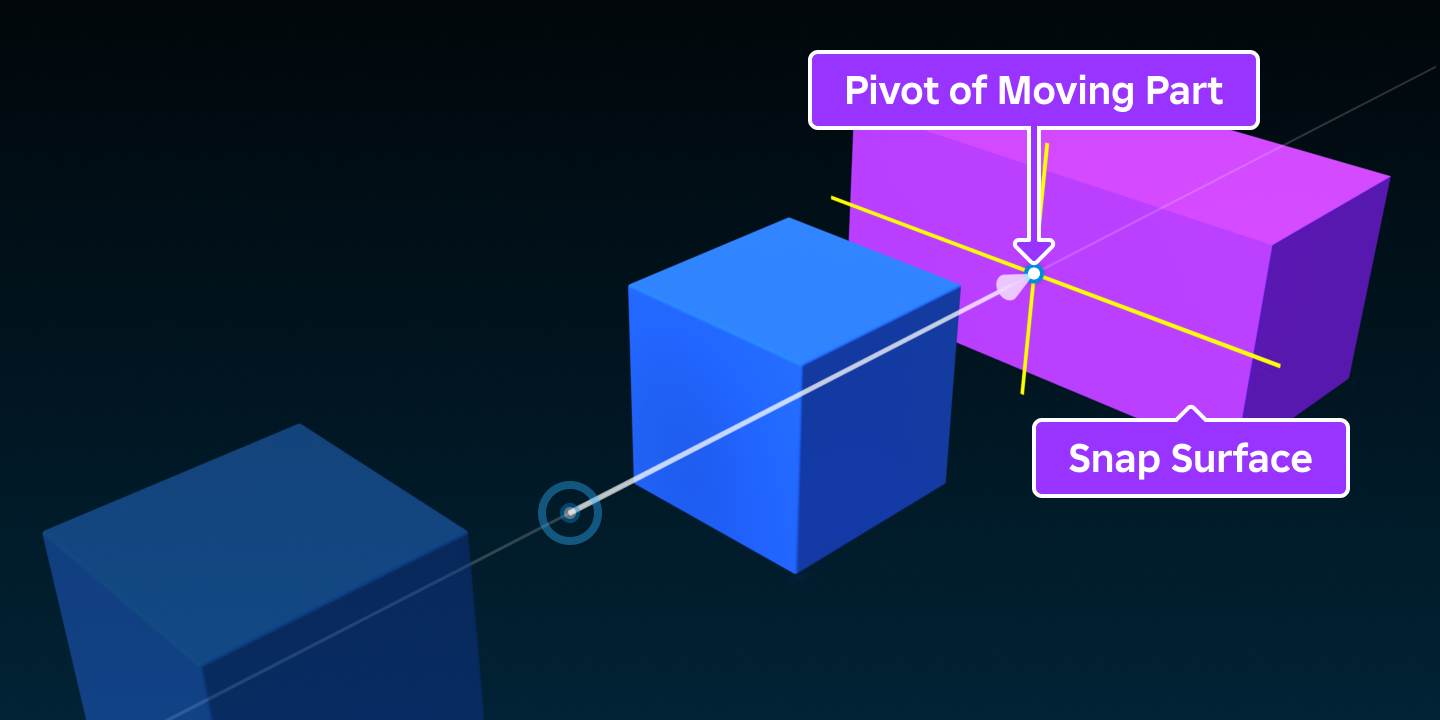
If you drag a part by its pivot point while the Move tool is selected, the pivot will "soft snap" to surfaces and edges of nearby parts.
Cursor Drag
To move a part by cursor dragging, click anywhere on the part to grab it. If snapping is enabled, a ruler will appear as you hover, showing what point you'll grab the part by. As you drag the part around, another ruler will appear on the surface/edge of nearby parts, indicating alignment of the grab point.

If snapping is disabled, the part will "soft snap" to surfaces and edges of nearby parts.

While cursor dragging, T and R can be used to quickly rotate the part in 90° increments around the point you picked it up by. T tilts the part 90° towards the camera, while R rotates the part 90° around the normal of the hovered surface.

Scale
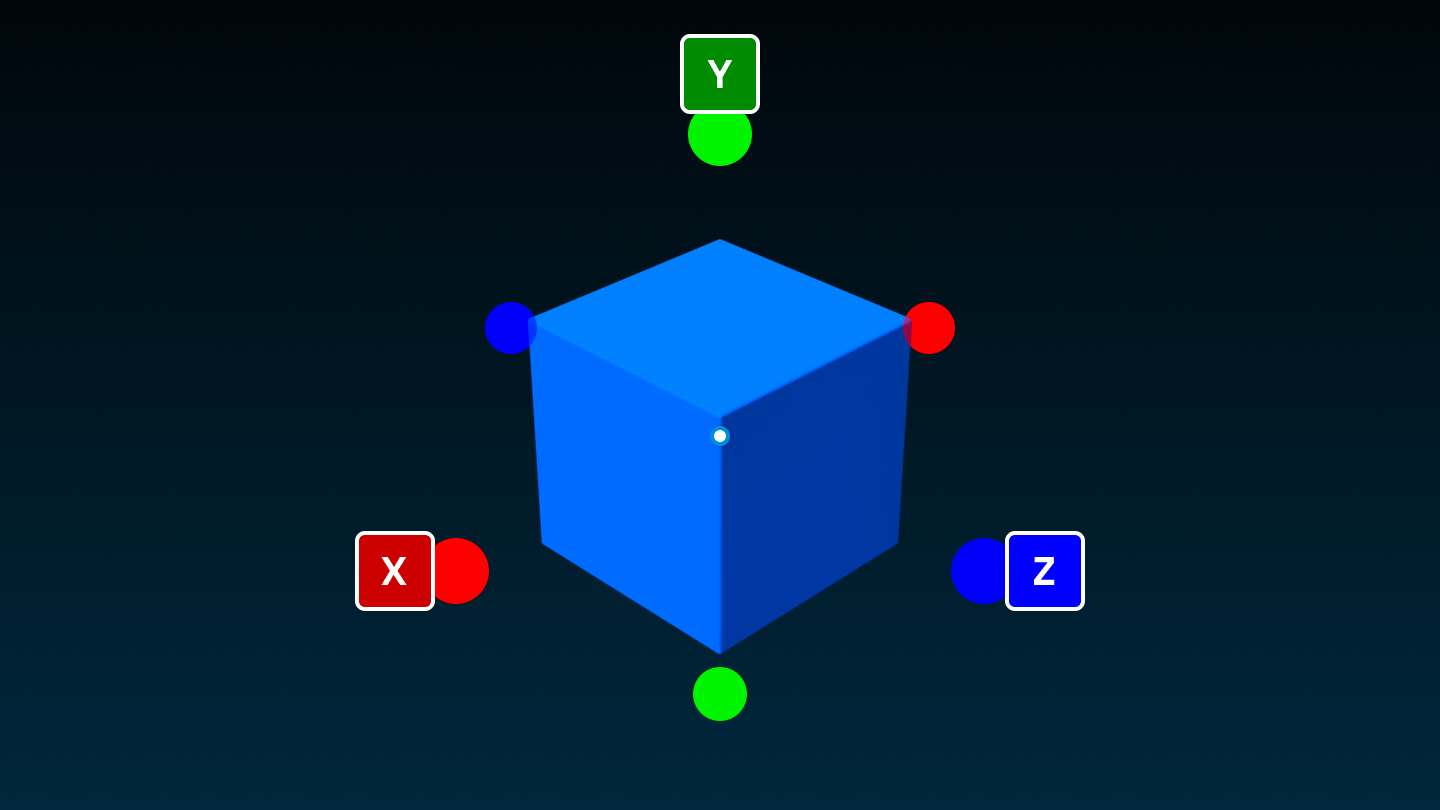
To scale (resize) a selected part along the X, Y, or Z axis, use the Scale tool (default shortcut 3) and click/drag a handle. While dragging, you can temporarily toggle snapping by holding Shift.
Rotate
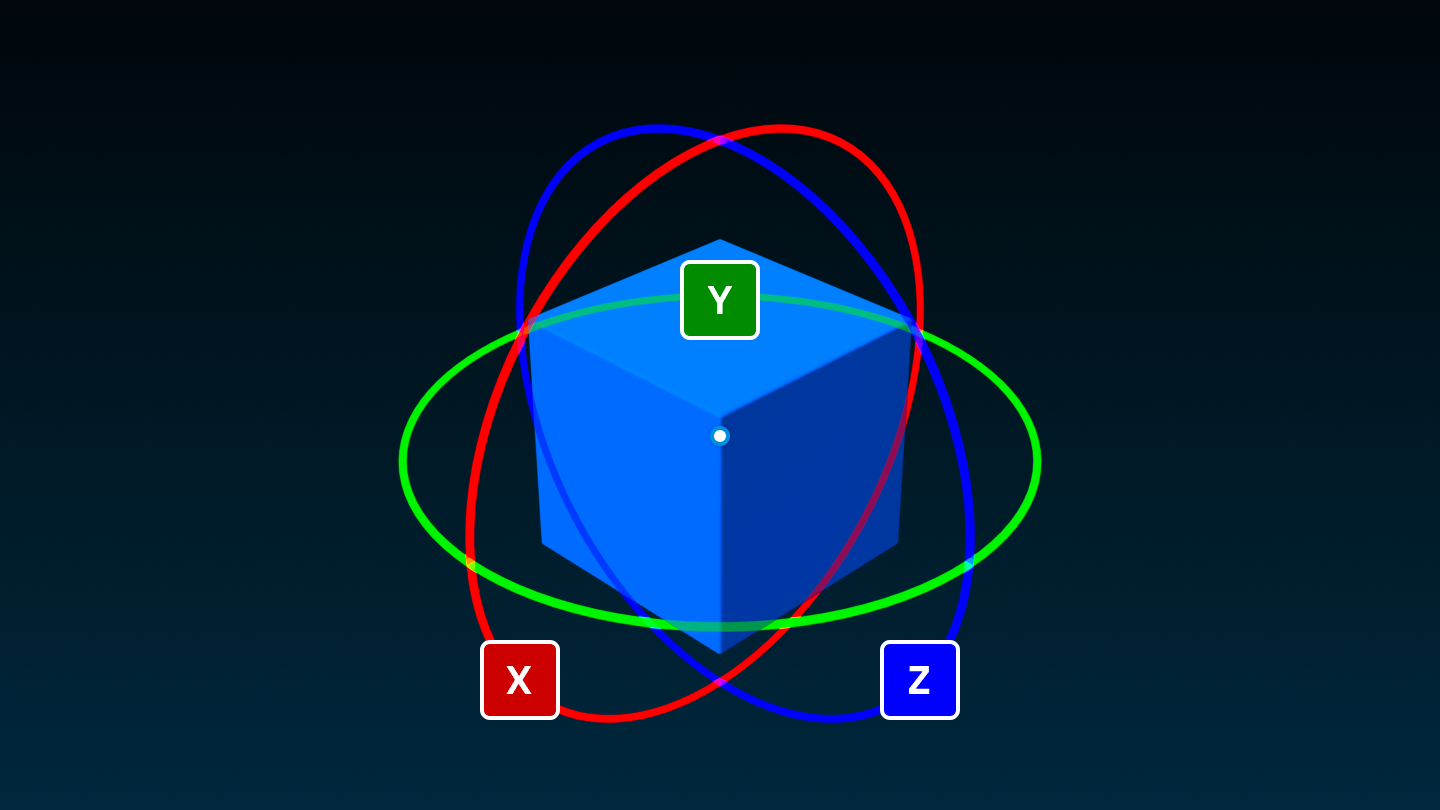
To rotate a selected part around the X, Y, or Z axis, use the Rotate tool (default shortcut 4) and click/drag a rotation ring. While dragging, you can temporarily toggle snapping by holding Shift.
Note
In addition to using the Rotate tool, you can quickly rotate selected objects 90° about their X axis by pressing CtrlT (⌘T) or 90° about their Y axis by pressing CtrlR (⌘R).
Other actions
Group
You can group objects into a model by selecting them and clicking the Group button. This action has a default shortcut of CtrlG (Windows) or ⌘G (Mac).
Alternatively, you can group objects into a folder by click‑holding over the small corner arrow on the button and selecting Group as Folder (default shortcut of AltCtrlG or ⌥⌘G).

To ungroup an existing model or folder, select Ungroup from the Edit menu (default shortcut of CtrlU or ⌘U).
Anchor
The Anchor toggle controls whether the part will be immovable by physics. When Anchored, a part will never change position due to gravity, other parts collisions, overlapping other parts, or any other physics-related causes. This action has a default shortcut of AltA (Windows) or ⌥A (Mac).

Note
If you prefer a click-to-toggle workflow in the 3D viewport, click‑hold over the small corner arrow on the Anchor button and enable Click object to anchor. Once enabled, the tool operates as a "key" for both states — clicking on an unanchored object in the viewport anchors it, while clicking on an anchored object unanchors it.
Color
While a part is gray by default, you can change it to any color through the following methods.
Color Button
Clicking the Color button applies the selected color to all selected parts. You can choose a color by click‑holding over the small corner arrow on the Color button to reveal a hexagonal picker.

Note
If you prefer a fill/paint workflow in the 3D viewport, enable Click object to apply color at the bottom of the hexagonal picker popup and then click parts in the viewport to apply the chosen color.
Color Popup
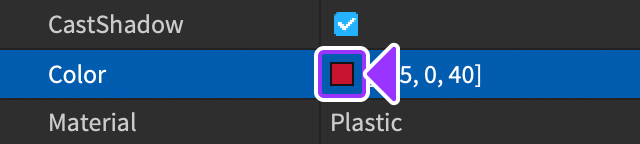
The Color popup allows you to set a color through your operating system's color picker widget. To access it, navigate to the Properties window and click the small box to the left of the Color property.
RGB Value
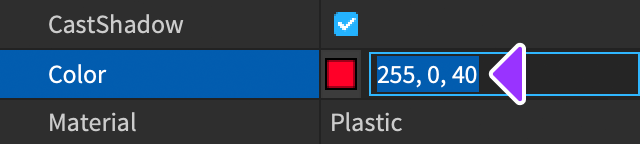
To define a specific RGB color value for a part, enter an RGB value into the Color property field.
Material
Similar to color, you can customize a part's material to simulate real‑world materials such as wood, glass, or fabric. Click‑holding over the small corner arrow on the Material button reveals the material picker.

When selecting a material, consider the following:
Material affects the physical traits of a part, not just its appearance. For example, the
Concretematerial is heavier than thePlasticmaterial, so a concrete brick will have higher density than a plastic brick and sink in water faster.Some materials have special physical effects. For example, parts will appear to glow if they are set to the
Neonmaterial.<img src="https://prod.docsiteassets.roblox.com/assets/modeling/parts/Material-SmoothPlastic.png" alt="An angled red block part with a smooth plastic material." />
SmoothPlastic
<img src="https://prod.docsiteassets.roblox.com/assets/modeling/parts/Material-Neon.png" alt="An angled red block part with a glowing neon material."/>Neon
See Materials for more information on how to apply both default and custom materials to parts.
Lock
The Lock toggle controls whether the part can be selected from the 3D viewport. This action has a default shortcut of AltL (Windows) or ⌥L (Mac).

Note
If you prefer a click-to-toggle workflow in the 3D viewport, click‑hold over the small corner arrow on the Lock button and enable Click object to lock. Once enabled, the tool operates as a "key" for both states — clicking on an unlocked object in the viewport locks it, while clicking on a locked object unlocks it.
To unlock all objects, select Unlock All from the Edit menu.