Source: Roblox Creator Hub · CC BY 4.0 · View source · Code samples: MIT Imported 2026-10-03. Formatting adapted for this site.
Create the map
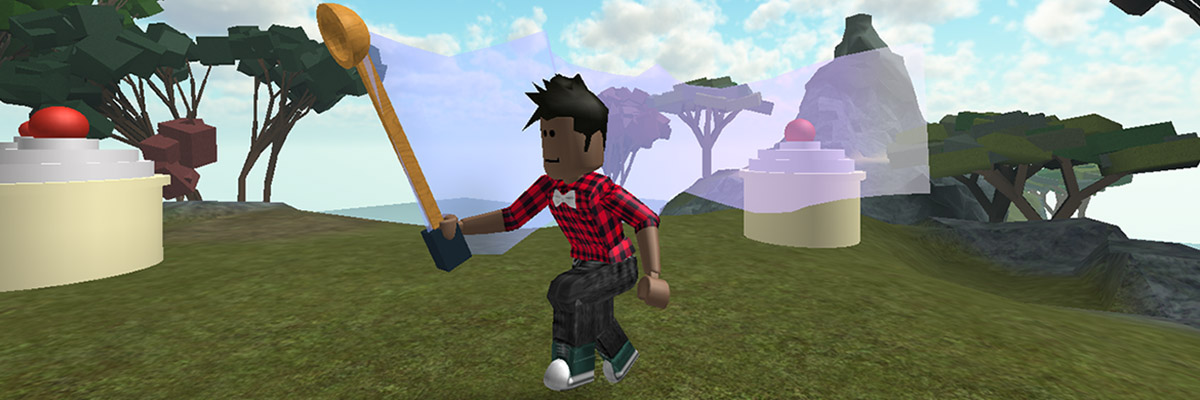
Adventure games can come in different forms but often focus on getting a player to explore a world. This game will be all about exploring, harvesting items, selling them, upgrading bags, and then doing it all over again. This cycle of actions is called a game loop.
Each part of the game loop is a different game mechanic, or action, players can do. This game loop has four mechanics:
- Explore the game to find items.
- Harvest items. Players can only hold so many at a time.
- Sell items for gold.
- Buy bag upgrades to holds more items at a time.
Plan the project
Before professional developers start a new project, they plan out what things will look like in a process called pre-production. They'll often create a game design document that includes how the game works.
While game design documents (GDDs) can often be long, for this series, you'll start with a vision of what players will do and sketches of the world they'll explore. Having a clear vision helps speed up development and also make it easier to communicate your ideas to get feedback from others.
Create a game design document
To start, get a piece of paper or open up a word editor to keep track of the document.
Game loop prompts
The following are used to help you figure out the game loop, or what players will be doing.
| Component | Examples |
|---|---|
| Setting: A description of the setting, such as a theme or what players will see when exploring. | - A mystical forest covered in trees and rivers. - A suburban town where you need to collect lost pets. - A future where the most valuable object is a potato. |
| Items: What players gather or harvest. | - Glittering crystals. - Lost pets like cats, dogs, and turtles. - Different types of potatoes. |
| Tools: The object players use to collect that item. | - Pickaxes. - Pet collars. - Gloves. |
| Upgrades: What players will buy to hold more items. | - Bags - Backpacks |
Map layouts
The last part of the game design document is to create the map layout. This gives you an idea of what to create later. An example layout is below.
In the layout, annotate these key places:
- Where players start the game.
- Placement of the harvestable items.
- Where players will sell items.
- Where players will buy upgrades.
- Environment details, such as grasslands, hills, and more.
Create the environment
The environment will be created using the Terrain Editor. This tool in Roblox Studio is used to create landscapes like mountains, rivers, or deserts. While using the tools, reference the map layout previously created.
You'll use the tools in the Terrain Editor to create the world you drew in your game vision document.
Open Studio and create a new Flat Terrain project.
In the Home tab, click the Terrain button. This opens the Terrain Editor on the left of the screen.
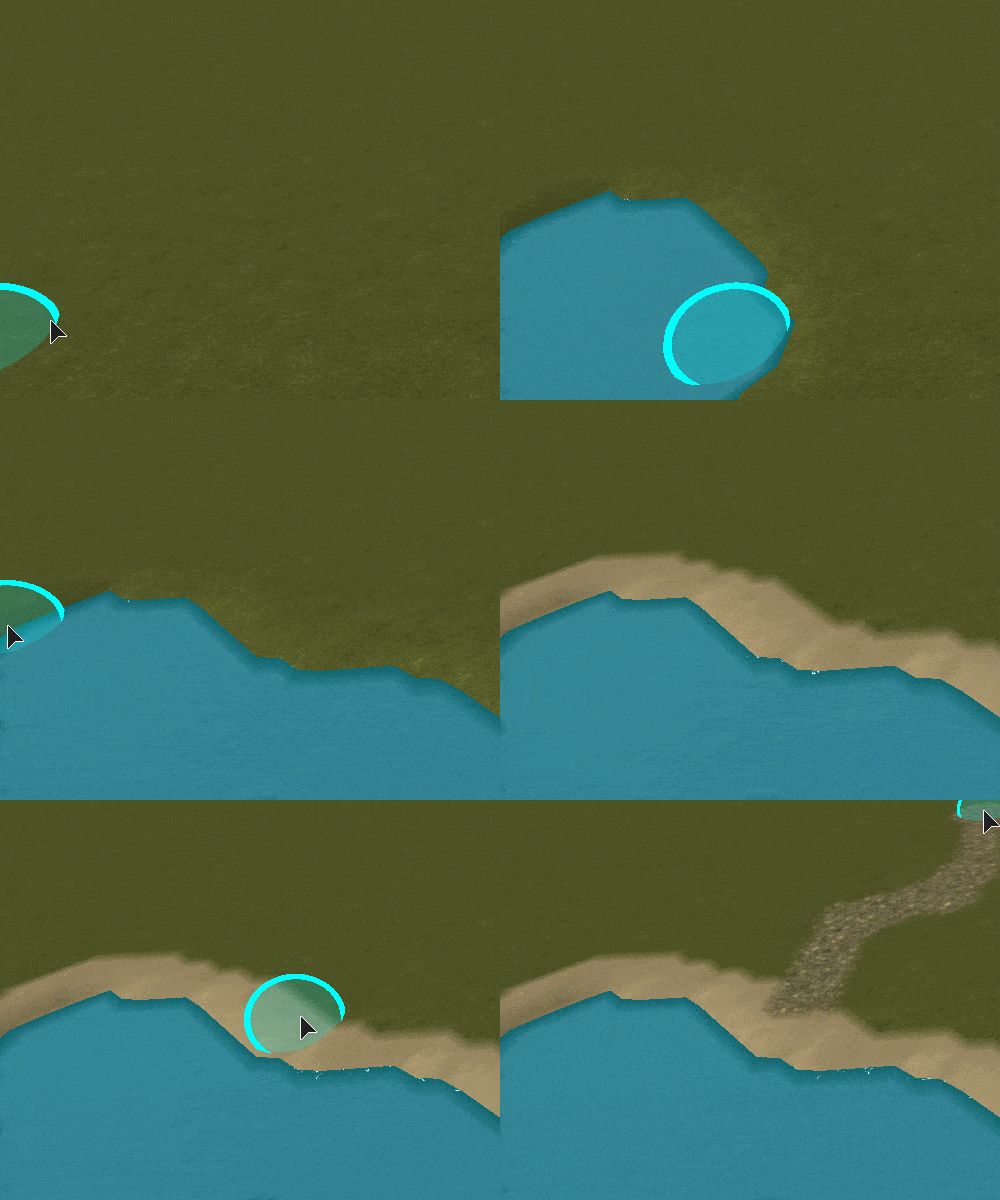
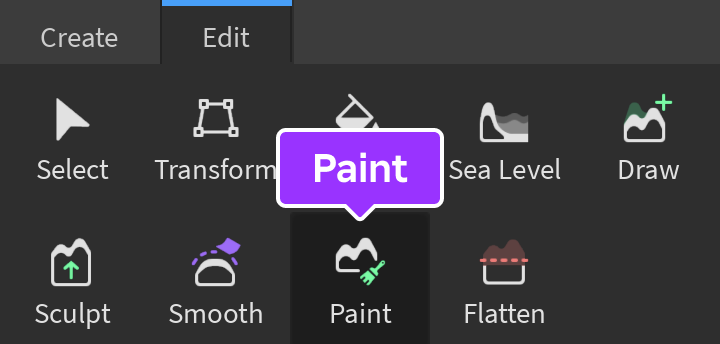
In the Terrain Editor, go to the Edit tab. Then use the Paint tool to change the material of the landscape. Depending on your vision, paint in roads, water, or even lava.
Note
While using the terrain editor, rotate the camera as you build. Terrain might look differently from different angles.
Use the Draw tool to draw the setting you created in your vision document. Use the Brush Mode toggle to switch between adding and subtracting terrain.
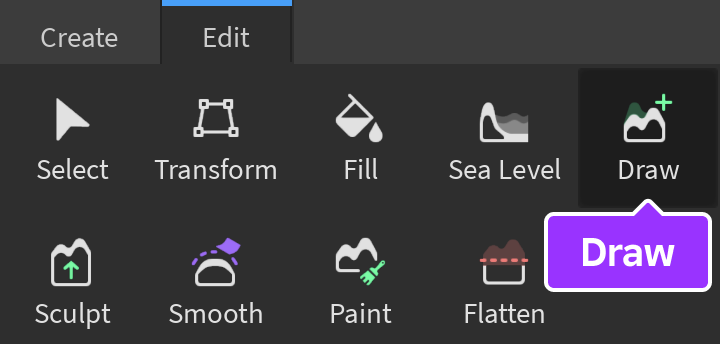
Add terrain to create mountains, hills, and break up grasslands.

Subtract terrain to sculpt mountains, create sharper features like cliffs, or carve rivers.

Finished map sample
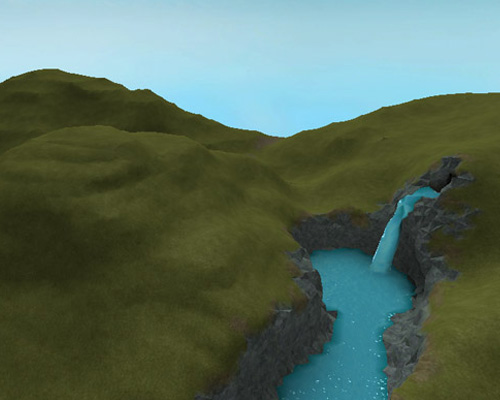
Once finished, your map might look like the following.