
Source: Roblox Creator Hub · CC BY 4.0 · View source · Code samples: MIT Imported 2026-10-03. Formatting adapted for this site.
Add the second pose
Next move to the middle of the timeline and start working on the second pose. After designing the pose, Roblox Studio will connect everything to create a looping animation.
To place the second pose in the middle, set the current time to
0:15.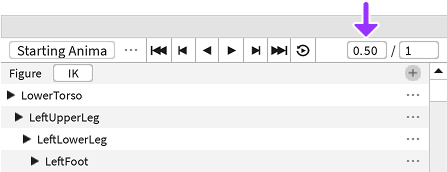
Use Rotate to create the second pose. Remember to move the camera around while working.
Note
Posing Faster
Speed up posing by rotating body parts connected to the torso first, like the upper arm and thigh. Then, work outwards to pose the hands and feet.
Note
Start a Pose from Scratch
Don't like a pose and want to just start from the beginning? You can reset any pose to the starting default.
Right click on the top white diamond of the pose you want to reset.
Select Reset Selected.
Play the animation
Time to see the animation in action! You'll want to turn on looping so that the animation doesn't stop right away and you can get a better idea of how it will look in-game.
To turn on looping, click the Loop icon.

To play the animation, press Space.
To stop testing, press Space again.