
Source: Roblox Creator Hub · CC BY 4.0 · View source · Code samples: MIT Imported 2026-10-03. Formatting adapted for this site.
Toolbox
The Toolbox, accessible from Studio's Window menu or Home tab toolbar, contains a selection of models, images, meshes, audio, plugins, videos, and fonts made by Roblox or Roblox community members. It also includes all of the creations that you've personally published or those which were published by groups you belong to.

The toolbox contains four distinct sections:
Creator Store
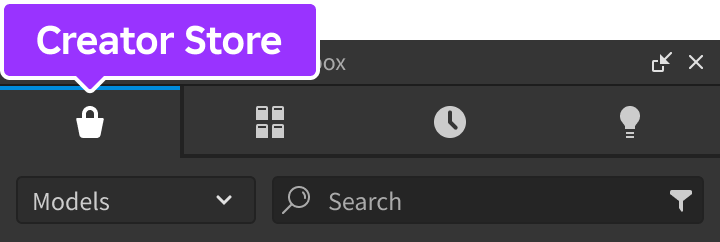
The Creator Store section contains models, decals, meshes, audio, plugins, videos, and fonts made by Roblox or Roblox community members. See Creator Store for more information.
Inventory
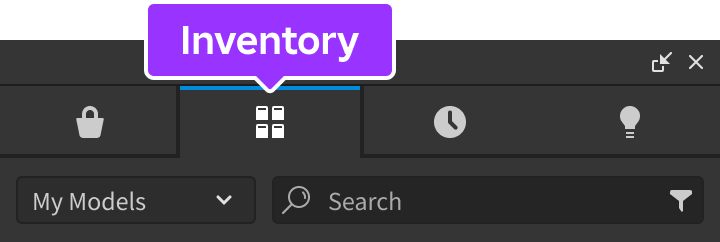
The Inventory section contains models, decals, meshes, audio, packages, videos, plugins, animations, and fonts that you've personally published, those which were published by groups you belong to, or those taken from the Creator Store.
Recent
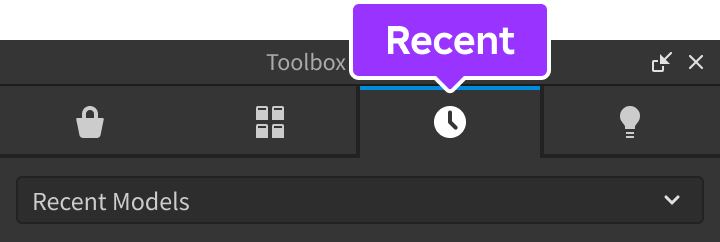
The Recent tab is similar to Inventory except that filters your recently used models, decals, meshes, audio, videos, and animations.
Creations
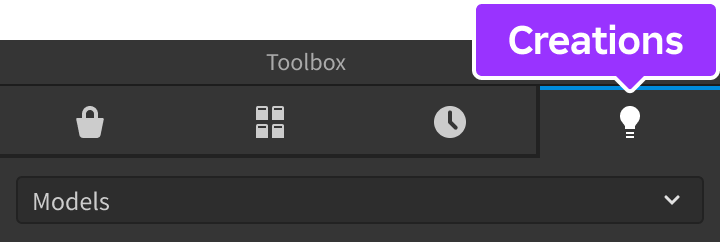
The Creations tab is similar to Inventory, with the important distinction that it filters models, decals, meshes, audio, plugins, and animations that you've personally published or those which were published by groups you belong to. You can configure all assets in this section directly within Studio.
Find and use assets
With millions of assets available, it's helpful to narrow the search results to find exactly what you are looking for. To browse and use assets:
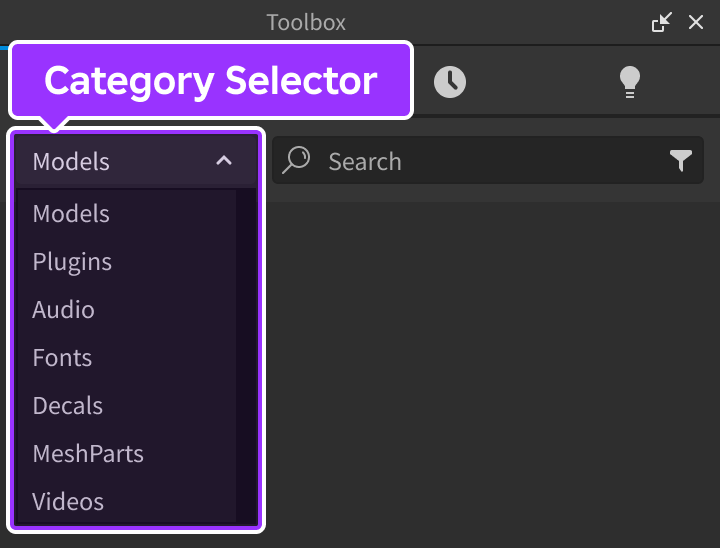
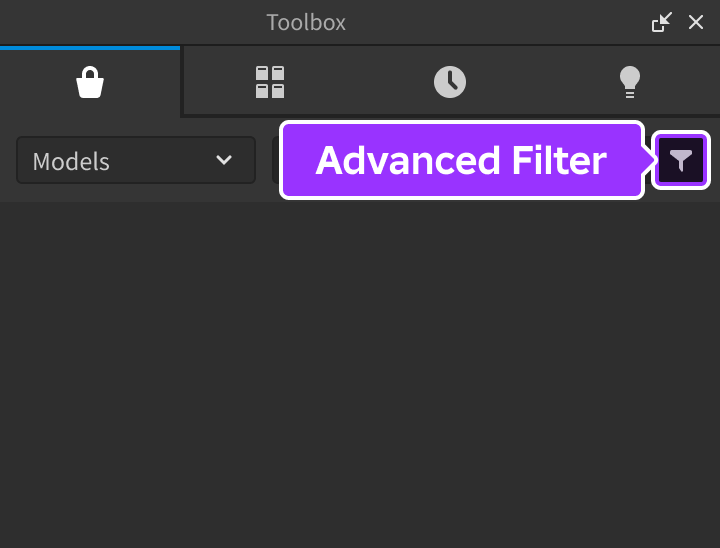
In the top-left corner, click the category selector dropdown and choose an asset category. Optionally click the advanced filter button to filter results by verified creator status, a specific creator, the sale price for plugins, and file length for audio assets.
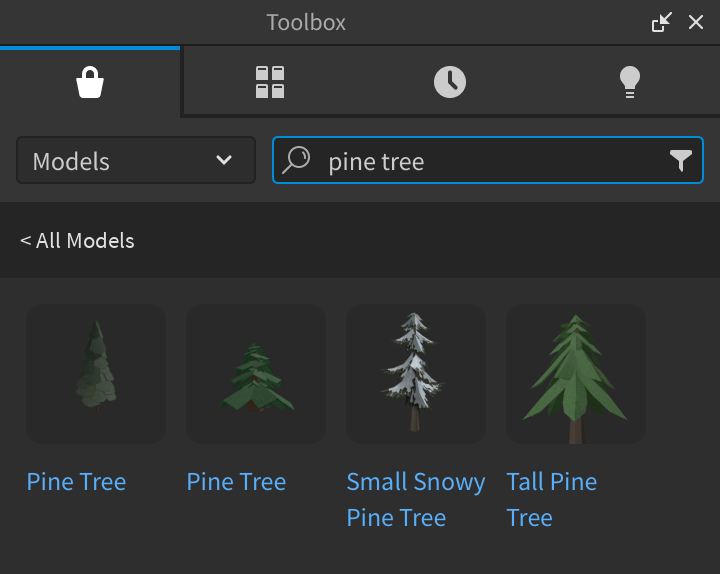
In the search field, type what you want to find and press Enter. The view curates a selection of assets according to your query.
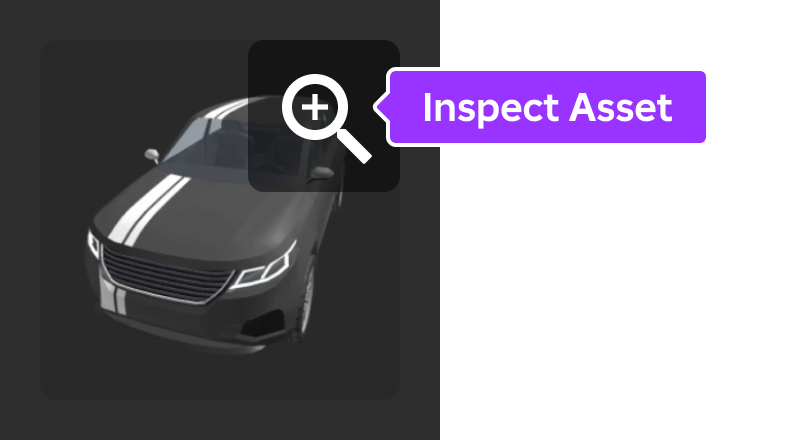
Hover over an asset thumbnail and click the magnifying glass icon to closely inspect the asset's community rating, description, and more.
To add an asset to a game:
- If the asset is a model, mesh, decal, video, or audio asset, click it or drag‑and‑drop it into the 3D viewport. It then inserts into the Explorer hierarchy, and assets with 3D content display in the viewport.
- If the asset is a plugin, click it and use the Install button to add it to the mezzanine's Plugins tab.
- If the asset is a font, click it and use the Install button to add it to your font library. It then becomes available for user interface elements such as text labels or buttons.
Note
Some assets include scripts that perform specific actions, such as animating at runtime or triggering a sound. If you want to use an asset without allowing any of its scripts to run, right‑click the object in the Explorer window and select Disable Scripts from the context menu.
Asset configuration
Right-clicking an asset and selecting Edit Asset opens the Asset Configuration window. In this window, you can edit the asset's details or restore it to a previous version.
Note
Asset configuration is only possible for assets you've personally published or those which were published by groups you belong to. The Creations tab is particularly useful for filtering assets in this way.
Troubleshooting
The toolbox runs through a web view. If you're experiencing any of the following issues, run the associated troubleshooting steps.
General Issues
Note
Make sure there are no active instances of Roblox Studio running before running these steps.
| Windows |
|---|
| 1. [Reinstall](https://developer.microsoft.com/en-us/microsoft-edge/webview2/) your Windows WebView2 installation. 2. Delete the WebView2 data folder found at `%LOCALAPPDATA%\Roblox\RobloxStudio\WebView2`. Studio will automatically recreate this folder when it opens. |
| Mac |
| Delete the WebKit data folders found at `~/Library/WebKit/com.Roblox.RobloxStudio` and `~/Library/Caches/com.Roblox.RobloxStudio/WebKit`. Studio will automatically recreate these folders when it opens. |
Audio Not Working
| Windows |
|---|
| 1. Right click the speaker icon in the taskbar. 2. Click **Open Volume Mixer**. 3. Make sure that **Microsoft Edge WebView2** is not muted. |