
Source: Roblox Creator Hub · CC BY 4.0 · View source · Code samples: MIT Imported 2026-10-03. Formatting adapted for this site.
Layered accessory specifications
Layered accessories require a specific set of components and configuration standards to ensure they are able to stretch and fit on character bodies and include optimizations for performance and quality. Because you must apply many of these requirements as you're designing and modeling the layered accessory in a third-party modeling program like Blender or Maya, it's important to review these specifications early and often as you work.
When you're ready to export your layered accessory, reference all export setting requirements for Blender and Maya.
Note
For other types of 3D models:
- [General mesh](/docs/roblox-art-modeling-specifications) specifications.
- [Rigid accessory](/docs/roblox-avatar-rigid-accessories-specifications) specifications.
Geometry and budgets
- Single Mesh - Layered accessories must be a single mesh.
- Budgets - Layered accessories can't exceed 4k triangles.
- Watertight - All geometry must be watertight without exposed holes or backfaces.
- Use quads whenever possible. Avoid faces with 5 or more sides.
- Mesh Size - Meshes must adhere to the following maximum size requirements (in studs, centered on attachment point) according to the type of layered accessory you're designing.
| Asset Type | Width (X) | Height (Y) | Depth (Z) |
|---|---|---|---|
| T-Shirt, Shirt, Sweater, Jacket, Pants, Shorts, Dress & Skirt | 8 | 8 | 8 |
| Eyebrow and Eyelashes | 1.5 | 0.5 | 0.5 |
Textures
- Layered accessory textures must meet Roblox's general texture specifications. High resolution textures are automatically converted to lower-resolution textures to optimize performance.
- Layered accessory textures for Marketplace assets cannot exceed 2048x2048 resolution.
Attachment points
Attachment objects for layered accessories set which body part the accessory is attached to when the character body ragdolls or dismembers in a game. Whether you are creating rigid or layered accessories, Studio's Accessory Fitting Tool (AFT) automatically adds and configures the appropriate Attachment with the following specifications:
- One attachment - Each layered accessory requires at least one attachment point to its associated body part.
- Naming convention - The
Attachmentname must follow a specific naming convention depending on theAccessory.AccessoryType. The AFT automatically generates an appropriateAttachmentname.
If setting or configuring attachments manually in Studio, use the following names for your Attachment object according to the accessory type:
| Accessory Type | Attachment Name |
|---|---|
| Hat | `HatAttachment` |
| Back | `BodyBackAttachment` |
| Waist | `WaistFrontAttachment`, `WaistCenterAttachment`, `WaistBackAttachment` |
| Shoulder | `RightShoulderAttachment`, `RightCollarAttachment`, `NeckAttachment`, `LeftCollarAttachment`, `LeftShoulderAttachment` |
| Face, Eyelash, Eyebrow | `FaceFrontAttachment`, `FaceCenterAttachment` |
| Neck | `NeckAttachment` |
| Front | `BodyFrontAttachment` |
| Layered tops (Shirt, TShirt, Sweater, Jacket) | `BodyFrontAttachment` |
| Layered bottoms (Pants, Shorts, DressSkirt) | `WaistCenterAttachment` |
Note
The Importer automatically recognizes mesh objects as attachment points if the objects include the affix \_Att. This only applies when importing meshes with caging data, such as layered accessories or character bodies.
Face accessories
Face accessories, such as eyebrows and eyelashes, are unique layered accessories that you can bundle with an avatar body upload. Eyebrows and eyelashes cannot be uploaded as standalone accessories and must be bundled either with a character body or makeup assets. For more information on bundling your face accessories with avatar models, see Publish bodies with eyelashes and eyebrows.
- Naming Convention when bundled - When including these assets with an avatar body upload, the layered accessory objects must use the following name conventions:
EyebrowAccessoryEyelashAccessoryHairAccessory
Layerable properties
Layered accessories require additional configuration in a 3D modeling software, such as Blender or Maya. To achieve the layering effect, your layered accessories must meet the following requirements:
- Layered accessories must be weighted and bound to a R15 rigging armature.
- Layered accessories must contain an inner mesh cage and an outer mesh cage.
- Layered accessories must continue to follow any applicable custom mesh requirements, such as best practices on watertightness, textures, and polycount budgets.
See Create your first layered accessory for a step-by-step tutorial on applying these requirements to a reference asset in Blender. Once the .fbx file is exported, see Accessory Fitting Tool for instructions on converting your model into an Accessory object.
Rigging and skinning
Rigging and skinning layered accessories allows them to move and deform naturally with character bodies as they move in the 3D space. You can rig and skin your layered accessories manually using third-party 3D modeling tooling, or use automatic skinning transfer to generate an accessory's skinning data at runtime.
When you use third-party 3D modeling tooling to skin your accessories, keep in mind that Joint Influences (Maya) or Bone Assignments (Blender) per vertex should be limited to 4.
For more information on basic skinning in a third-party 3D modeling software, such as Blender's Automatic Weights, see the Skin a simple mesh tutorial for instructions on rigging, applying weights, and skinning a basic mesh.
Cage meshes
Cage meshes, or cages, are non-rendered meshes that define the inner and outer surfaces of a layered accessory, and they are fundamental to the layerable properties. For a basic overview on caging, see Create your first layered accessory - Caging setup and the relevant section of the tutorial video at 8:32:
Roblox provides template cages meshes in layered accessory project files for you to use as you create your own custom layered accessories. Note that the outer cage is identical to the inner cage by default and must be the only cage adjusted to fit over your custom layered accessory. As a best practice, the shape of the inner and outer cage should match each other before editing the outer cage to completely cover your asset.
Note
The vertexes and UVs of the inner and outer cage meshes should not be deleted or removed, as they are used to match coordinates between other cages.
Note
Layered accessories with invalid cage configurations can fail validation and are subject to moderation. For examples and instructions on how to fix caging issues, see Caging best practices.
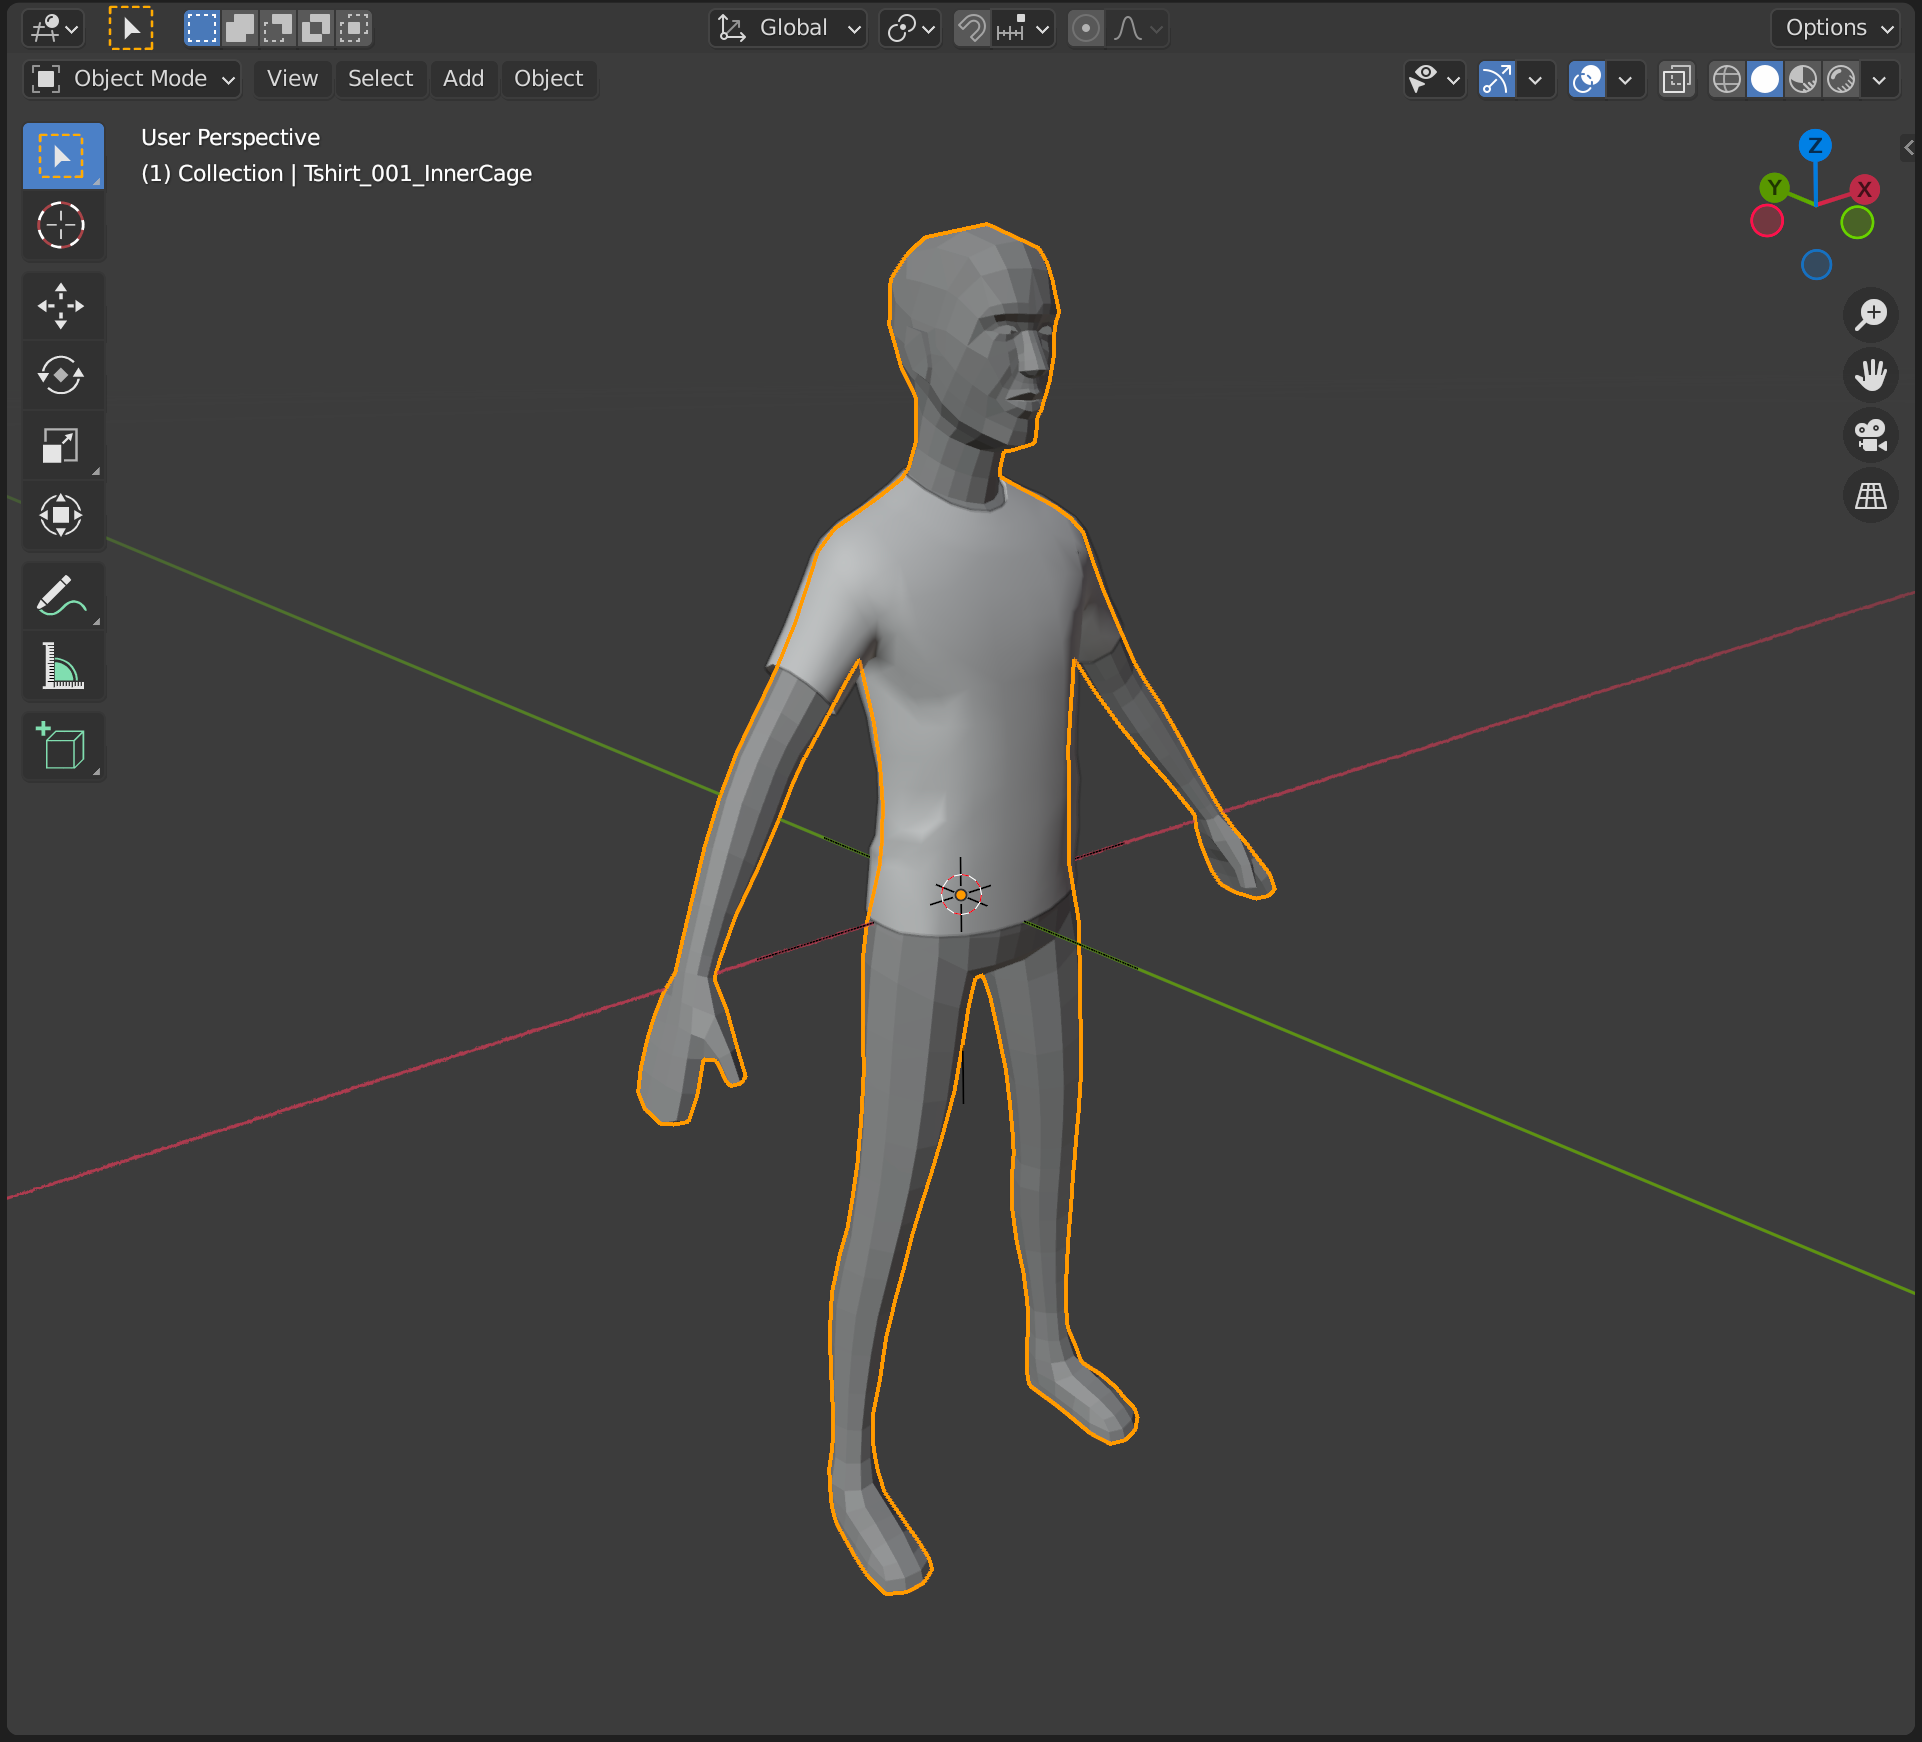
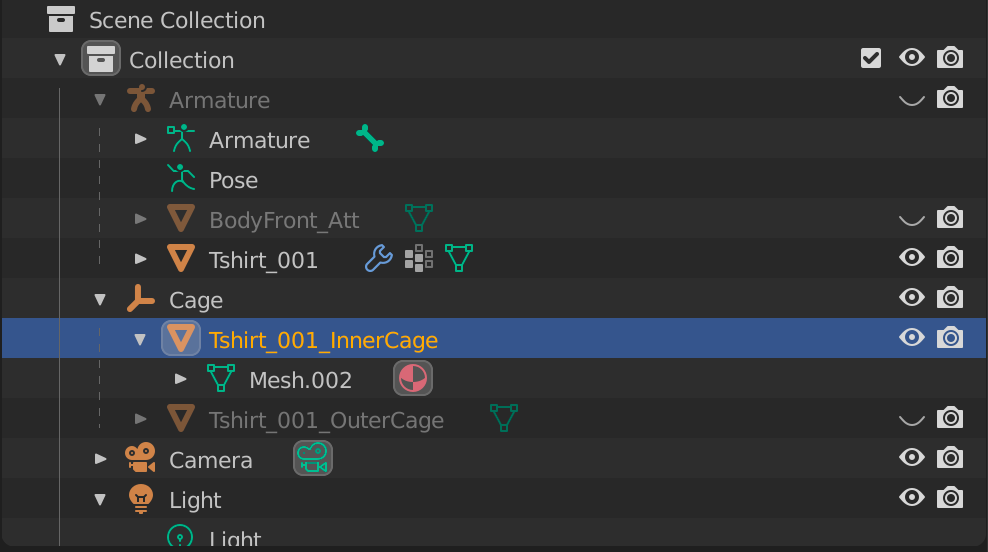
Inner cage
The inner cage is a mesh that defines the inner surface of your accessory model and how your layered accessory stretches and fits over a character body. The inner cage mesh object must have the same name as the accessory model appended with _InnerCage.
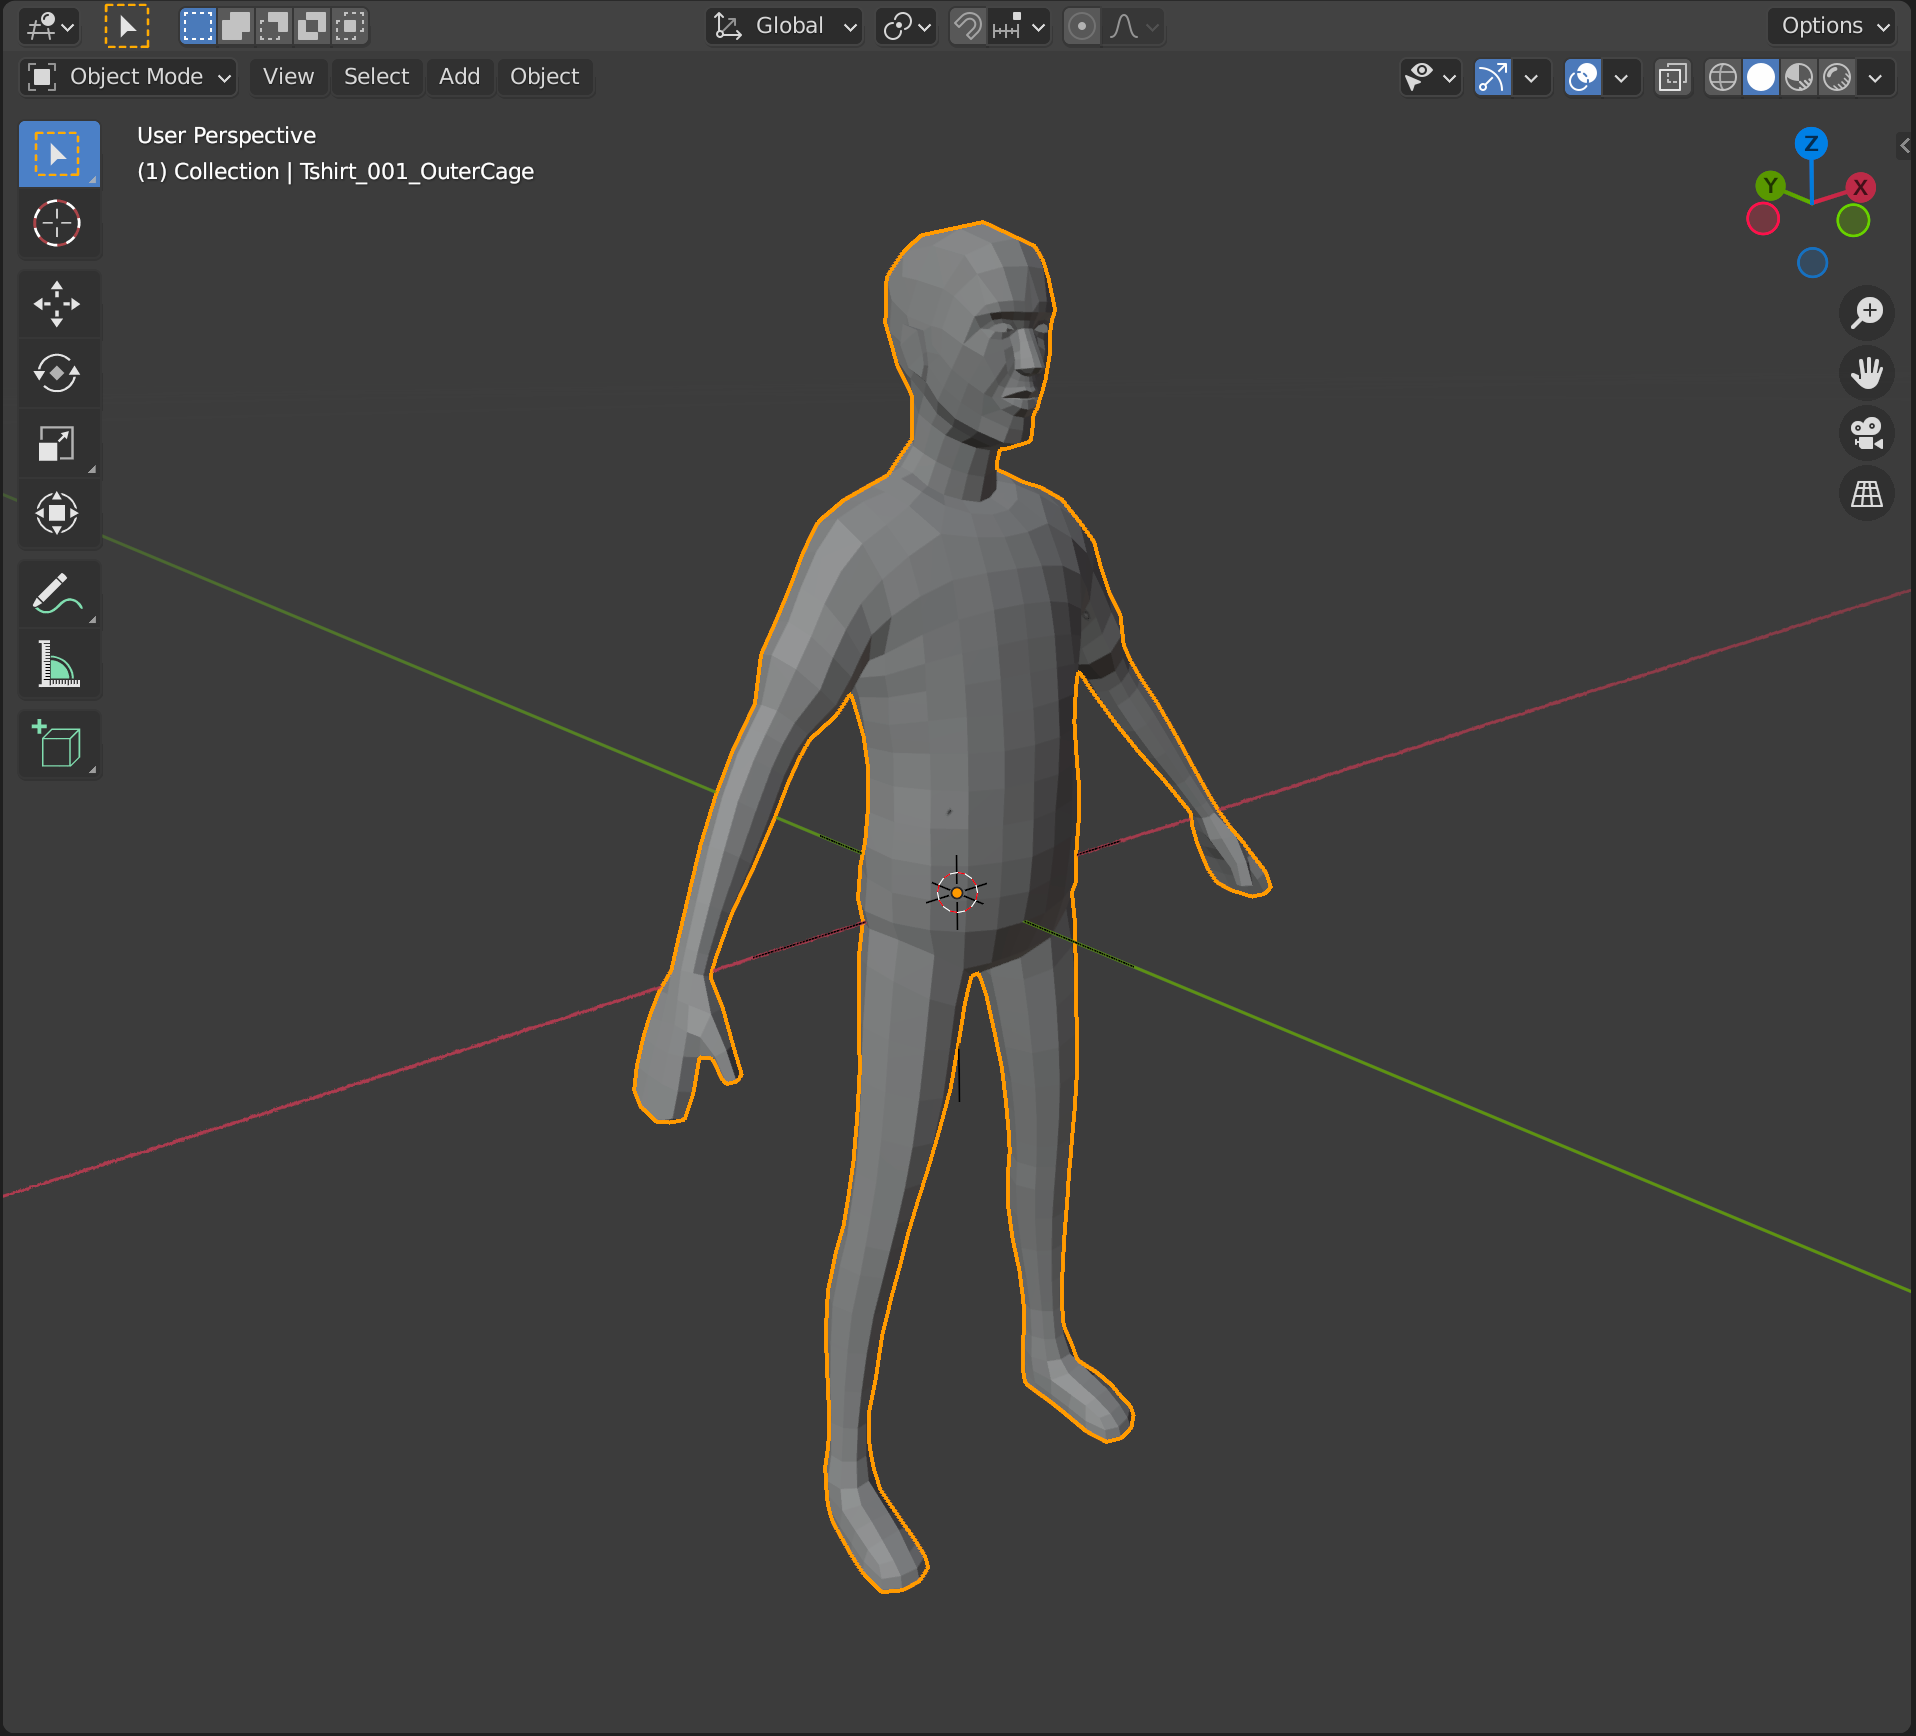
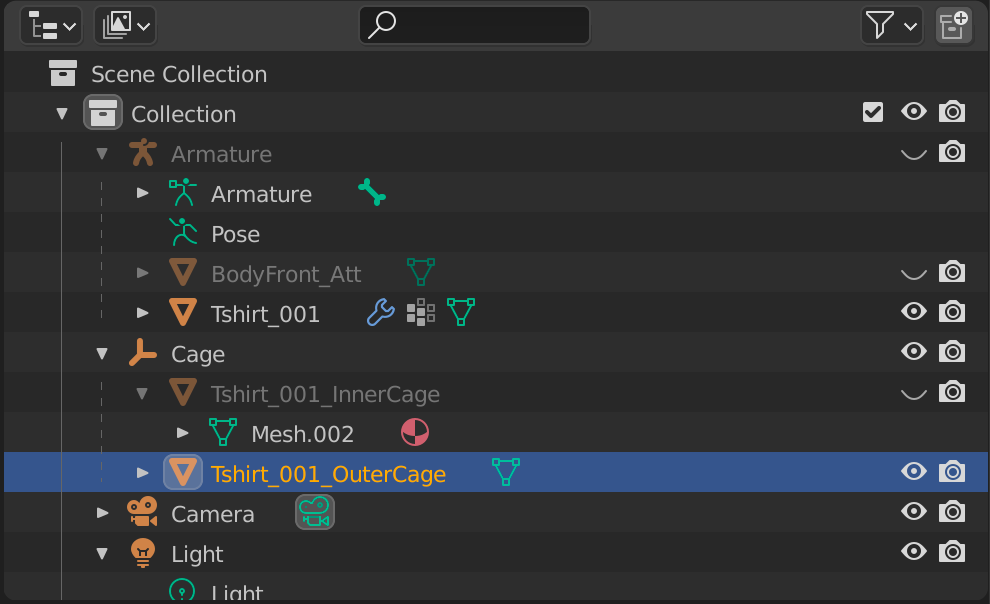
Outer cage
The outer cage is a mesh that defines the outer surface of your accessory model and how other layered accessories can stretch and fit over your layered accessory. The outer cage mesh object must have the same name as the accessory model appended with _OuterCage.
Note
Avatar character bodies must include an outer cage in order to be compatible with layered accessories. All character bodies on the Marketplace include a properly configured outer cage and are compatible with layered accessories.
Marketplace requirements
Layered accessories must meet the following requirements before you upload them to the Marketplace:
- Ensure that your layered accessories adhere to Marketplace policies.
- Whenever applicable, ensure that your layered accessories adhere to Roblox's custom mesh specifications.
- Object
Materialis set toPlastic. - Object
Transparencyis set to 0. - Object
VertexColoris the default1, 1, 1. - Your
Accessoryobject does not contain extraneous objects, likeScriptor additionalPartobjects.