
Source: Roblox Creator Hub · CC BY 4.0 · View source · Code samples: MIT Imported 2026-10-03. Formatting adapted for this site.
Environmental terrain
Studio's Terrain Editor lets you generate and sculpt detailed and realistic terrain environments such as mountains, bodies of water, grass-covered hills, or a flat desert. Terrain is made up of grids of voxels which are 4×4×4 stud regions in the 3D world with a set material.

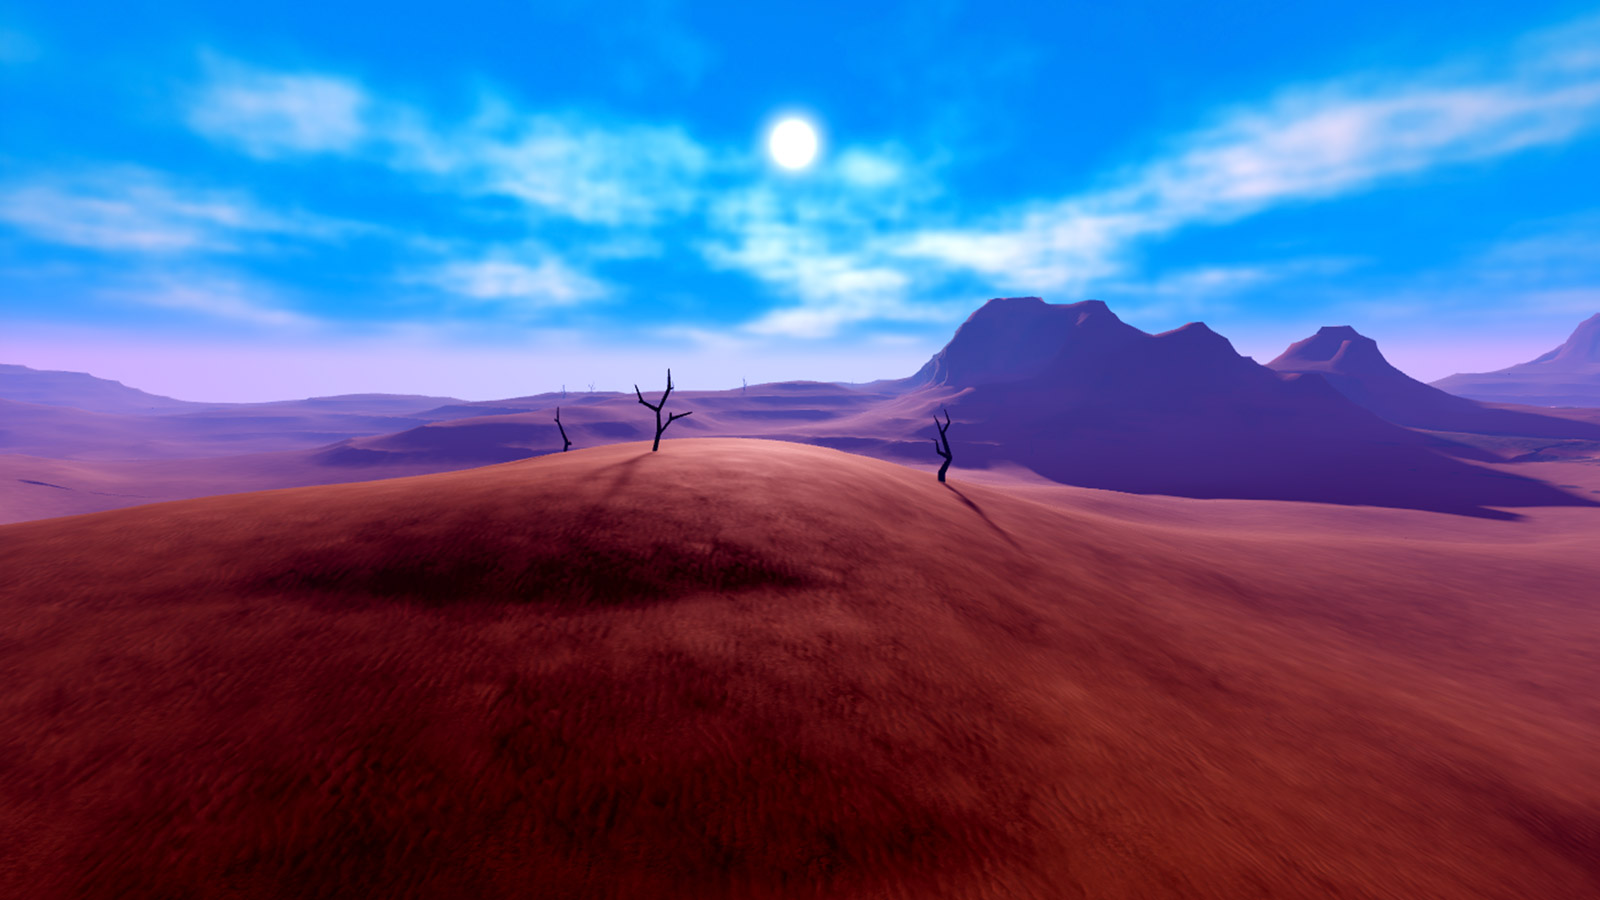
Using the editor tools, you can easily generate and edit terrain either at a voxel or region level with the option of importing a heightmap and colormap. For more precise, dynamic, or procedural terrain editing, you can also script terrain creation.
Terrain materials
The following default materials are available for terrain, and you can also apply custom materials. Materials affect both the shape and appearance of terrain in the world; for example, animated grass renders only on the Grass material and the Water material ripples and shimmers with a subtle motion.
<img src="https://prod.docsiteassets.roblox.com/assets/modeling/terrain/Material-Asphalt.jpg" alt="Appearance of Asphalt material" />Asphalt
<img src="https://prod.docsiteassets.roblox.com/assets/modeling/terrain/Material-Basalt.jpg" alt="Appearance of Basalt material" />Basalt
<img src="https://prod.docsiteassets.roblox.com/assets/modeling/terrain/Material-Brick.jpg" alt="Appearance of Brick material" />Brick
<img src="https://prod.docsiteassets.roblox.com/assets/modeling/terrain/Material-Cobblestone.jpg" alt="Appearance of Cobblestone material" />Cobblestone
<img src="https://prod.docsiteassets.roblox.com/assets/modeling/terrain/Material-Concrete.jpg" alt="Appearance of Concrete material" />Concrete
<img src="https://prod.docsiteassets.roblox.com/assets/modeling/terrain/Material-Cracked-Lava.jpg" alt="Appearance of Cracked Lava material" />Cracked Lava
<img src="https://prod.docsiteassets.roblox.com/assets/modeling/terrain/Material-Glacier.jpg" alt="Appearance of Glacier material" />Glacier
<img src="https://prod.docsiteassets.roblox.com/assets/modeling/terrain/Material-Grass.jpg" alt="Appearance of Grass material" />Grass
<img src="https://prod.docsiteassets.roblox.com/assets/modeling/terrain/Material-Ground.jpg" alt="Appearance of Ground material" />Ground
<img src="https://prod.docsiteassets.roblox.com/assets/modeling/terrain/Material-Ice.jpg" alt="Appearance of Ice material" />Ice
<img src="https://prod.docsiteassets.roblox.com/assets/modeling/terrain/Material-Leafy-Grass.jpg" alt="Appearance of Leafy Grass material" />Leafy Grass
<img src="https://prod.docsiteassets.roblox.com/assets/modeling/terrain/Material-Limestone.jpg" alt="Appearance of Limestone material" />Limestone
<img src="https://prod.docsiteassets.roblox.com/assets/modeling/terrain/Material-Mud.jpg" alt="Appearance of Mud material" />Mud
<img src="https://prod.docsiteassets.roblox.com/assets/modeling/terrain/Material-Pavement.jpg" alt="Appearance of Pavement material" />Pavement
<img src="https://prod.docsiteassets.roblox.com/assets/modeling/terrain/Material-Rock.jpg" alt="Appearance of Rock material" />Rock
<img src="https://prod.docsiteassets.roblox.com/assets/modeling/terrain/Material-Salt.jpg" alt="Appearance of Salt material" />Salt
<img src="https://prod.docsiteassets.roblox.com/assets/modeling/terrain/Material-Sand.jpg" alt="Appearance of Sand material" />Sand
<img src="https://prod.docsiteassets.roblox.com/assets/modeling/terrain/Material-Sandstone.jpg" alt="Appearance of Sandstone material" />Sandstone
<img src="https://prod.docsiteassets.roblox.com/assets/modeling/terrain/Material-Slate.jpg" alt="Appearance of Slate material" />Slate
<img src="https://prod.docsiteassets.roblox.com/assets/modeling/terrain/Material-Snow.jpg" alt="Appearance of Snow material" />Snow
<img src="https://prod.docsiteassets.roblox.com/assets/modeling/terrain/Material-Water.jpg" alt="Appearance of Water material" />Water
<img src="https://prod.docsiteassets.roblox.com/assets/modeling/terrain/Material-Wood-Planks.jpg" alt="Appearance of Wood Planks material" />Wood Planks
<img src="https://prod.docsiteassets.roblox.com/assets/modeling/terrain/Material-Air.png" alt="Air material icon (no visual appearance)" />Air
Water appearance
By default, terrain water ripples, oscillates, and shimmers with a subtle motion.
To customize the color and motion of water:
In the Explorer window, navigate to the
Workspace, then select theTerrainobject.
In the Properties window, customize the appearance of water through the following properties:
Property Description [`WaterColor`](/docs/terrain#terrain-watercolor) Adjusts the overall hue of all terrain water in the game. [`WaterReflectance`](/docs/terrain#terrain-waterreflectance) Adjusts how much water surfaces reflect the sky and surrounding objects from a value of 1 (high) to 0 (none). [`WaterTransparency`](/docs/terrain#terrain-watertransparency) Adjusts how transparent water is from a value of 1 (clear) to 0 (opaque). [`WaterWaveSize`](/docs/terrain#terrain-waterwavesize) Adjusts the size of waves from a value of 1 (large) to 0 (none). [`WaterWaveSpeed`](/docs/terrain#terrain-waterwavespeed) Adjusts the speed of waves from a value of 100 (turbulent) to 0 (still).
Note
Some water properties are only visible while playtesting. To preview all properties while editing, open Studio Settings, search for Editor Quality Level, and set it to the highest level.
Grass animation
While most materials are static, you can add animated blades of grass to the Grass terrain material. By default, grass sways gently in a simulated wind, and you can adjust the direction/strength of its animation through global wind.
Note
Note that the speed of animated grass — but not its vector direction — will be reduced if the player has toggled on the Reduce Motion accessibility setting from the Roblox or in-game Settings menu.
To add animated grass to the Grass material:
In the Explorer window, navigate to the
Workspace, then select theTerrainobject. In the Properties window, toggle on the
Decorationproperty.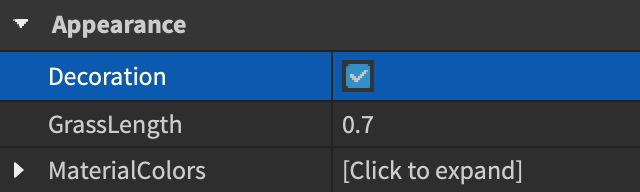
Adjust the grass length by entering a value between
0.1and1for theGrassLengthproperty.

Adjust the direction and strength of its animation through global wind.
Custom terrain colors
Each terrain material is assigned a default color, but you can customize any material's color to better fit your game.
Default
<img src="https://prod.docsiteassets.roblox.com/assets/modeling/terrain/Showcase.jpg" width="800" height="450" alt="Default terrain colors used in desert landscape" />Fantasy
<img src="https://prod.docsiteassets.roblox.com/assets/modeling/terrain/Custom-Colors-Fantasy.jpg" width="800" height="450" alt="Custom terrain colors applied for fantasy landscape" />Tundra
<img src="https://prod.docsiteassets.roblox.com/assets/modeling/terrain/Custom-Colors-Tundra.jpg" width="800" height="450" alt="Custom terrain colors applied for tundra landscape" />To customize any material color other than water:
In the Explorer window, navigate to the
Workspace, then select theTerrainobject. In the Properties window, expand
MaterialColors. All materials display with their RGB code.
For any material, either input a new RGB code or click the color box to open the colors popup.
Generate terrain
Using the following tools and methods, you can generate large areas of terrain procedurally through tooling or scripting, or automatically based on a heightmap and colormap.
Generate tool
The Generate tool allows you to procedurally generate terrain in seconds. This is useful if you want to create a large map and fine-tune terrain details.
In the editor window, navigate to the Create tab and select the Generate tool.
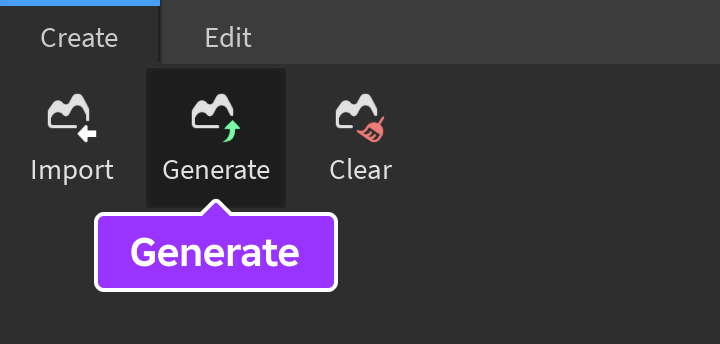
In the 3D viewport, move/resize the selection region in which to generate terrain. Alternatively, expand the tool's Selection Settings and enter values into the X/Y/Z inputs to set a specific size and position.
In the tool's Biome Settings section, choose the following biomes to include in the new terrain:
- Arctic
- Dunes
- Canyons
- Lavascape
- Water
- Mountains
- Hills
- Plains
- Marsh
Click the Generate button.
Heightmaps and colormaps
A heightmap is a 2D representation of a 3D terrain map, as viewed directly from above. Brighter areas of a heightmap result in higher terrain, like mountains, while darker areas result in lower regions, like valleys.
An optional colormap, along with a heightmap, converts colors to terrain materials using a color key.
<img src="https://prod.docsiteassets.roblox.com/assets/modeling/terrain/Terrain-Heightmap.png" alt="Example heightmap image" />Heightmap
<img src="https://prod.docsiteassets.roblox.com/assets/modeling/terrain/Terrain-Colormap.png" alt="Example colormap image" />Colormap
<img src="https://prod.docsiteassets.roblox.com/assets/modeling/terrain/Terrain-Colormap-Result.jpg" alt="Terrain generated from the example heightmap and colormap" />Generated terrain
1 pixel in a heightmap represents 4 studs in Studio, and Studio supports a maximum of 4096×4096 pixels in either .jpg or .png format.
To import a heightmap and optional colormap:
In the editor window, navigate to the Create tab and select the Import tool.
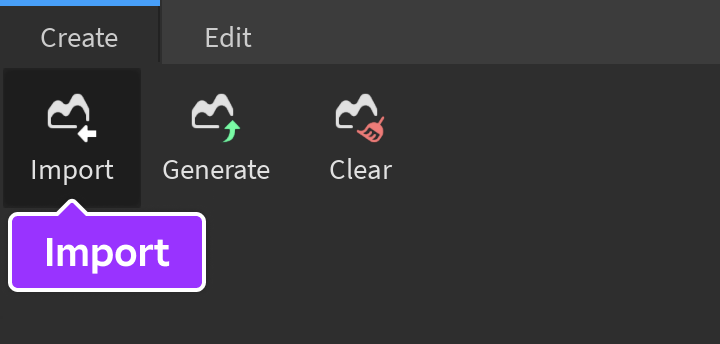
In the tool's Map Settings section, click the import button and choose the image you want to import as a heightmap.
In the tool's Material Settings section, select a terrain material or, alternatively, upload a colormap.
Material
To apply one consistent material across all of the generated terrain, select the Material tab and pick a terrain material.
Colormap
To apply a colormap, click the **Colormap** tab, click its import button, and choose the file to import. Colors on the image should match the following RGB/hex values and use hard edges, since anti‑aliasing or edge smoothing may create pixel colors outside the expected value ranges. The following table describes color mapping to a corresponding material. If your colormap contains a color that's not in the table, Studio chooses the closest matching material; for this reason, it is best to download the RobloxColorMapIndex file and directly sample its colors, or type the exact RGB/hex values into the color picker of your image editing application.
| Material | RGB Value | Hex Value | Color |
|---|---|---|---|
| [`Air`](/docs/enum-material#air) | `[255, 255, 255]` | `FFFFFF` | |
| [`Asphalt`](/docs/enum-material#asphalt) | `[115, 123, 107]` | `737B6B` | |
| [`Basalt`](/docs/enum-material#basalt) | `[30, 30, 37]` | `1E1E25` | |
| [`Brick`](/docs/enum-material#brick) | `[138, 86, 62]` | `8A563E` | |
| [`Cobblestone`](/docs/enum-material#cobblestone) | `[132, 123, 90]` | `847B5A` | |
| [`Concrete`](/docs/enum-material#concrete) | `[127, 102, 63]` | `7F663F` | |
| [`CrackedLava`](/docs/enum-material#crackedlava) | `[232, 156, 74]` | `E89C4A` | |
| [`Glacier`](/docs/enum-material#glacier) | `[101, 176, 234]` | `65B0EA` | |
| [`Grass`](/docs/enum-material#grass) | `[106, 127, 63]` | `6A7F3F` | |
| [`Ground`](/docs/enum-material#ground) | `[102, 92, 59]` | `665C3B` | |
| [`Ice`](/docs/enum-material#ice) | `[129, 194, 224]` | `81C2E0` | |
| [`LeafyGrass`](/docs/enum-material#leafygrass) | `[115, 132, 74]` | `73844A` | |
| [`Limestone`](/docs/enum-material#limestone) | `[206, 173, 148]` | `CEAD94` | |
| [`Mud`](/docs/enum-material#mud) | `[58, 46, 36]` | `3A2E24` | |
| [`Pavement`](/docs/enum-material#pavement) | `[148, 148, 140]` | `94948C` | |
| [`Rock`](/docs/enum-material#rock) | `[102, 108, 111]` | `666C6F` | |
| [`Salt`](/docs/enum-material#salt) | `[198, 189, 181]` | `C6BDB5` | |
| [`Sand`](/docs/enum-material#sand) | `[143, 126, 95]` | `8F7E5F` | |
| [`Sandstone`](/docs/enum-material#sandstone) | `[137, 90, 71]` | `895A47` | |
| [`Slate`](/docs/enum-material#slate) | `[63, 127, 107]` | `3F7F6B` | |
| [`Snow`](/docs/enum-material#snow) | `[195, 199, 218]` | `C3C7DA` | |
| [`WoodPlanks`](/docs/enum-material#woodplanks) | `[139, 109, 79]` | `8B6D4F` | |
| [`Water`](/docs/enum-material#water) | `[12, 84, 92]` | `0C545C` |
- In the 3D viewport, move/resize the selection region in which to generate terrain. Alternatively, enter values into the Select tool fields to set a more specific position and size.
Note
Minimum and maximum terrain heights depend on the darkest and lightest areas of the heightmap image in relation to the **Y** size (height) of the selection region. For instance, if you choose a height of 128, pure black areas are 64 studs below the center position and pure white areas are 64 studs above the center position.Click the Generate button.
Scripting
You can script terrain generation using the Terrain class. For example, to create terrain with grass material that fills a volume, you can use methods such as FillBall(), FillBlock(), FillCylinder(), FillRegion(), or FillWedge().
local Workspace = game:GetService("Workspace")

Workspace.Terrain:FillBlock(CFrame.new(0, 0, 0), Vector3.new(4, 4, 4), Enum.Material.Grass)
Large-scale editing
The editor's Edit tab contains tools for large-scale editing.
Select regions
The Select tool is the universal tool for selecting rectangular regions of terrain.
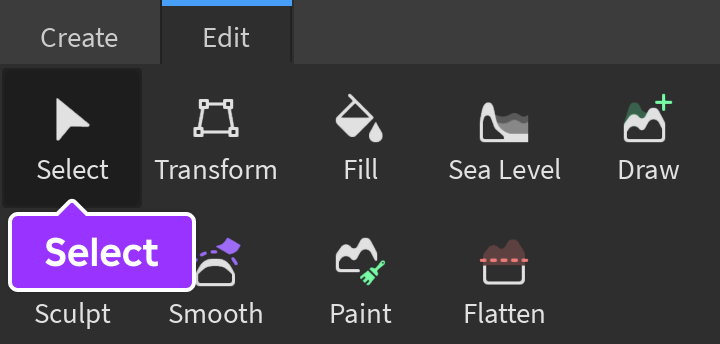
Select a region by clicking and dragging in the 3D viewport, reposition it with the move draggers, and edit its size with the scale handles. Alternatively, enter values into the tool's X/Y/Z inputs to set a specific position and size.
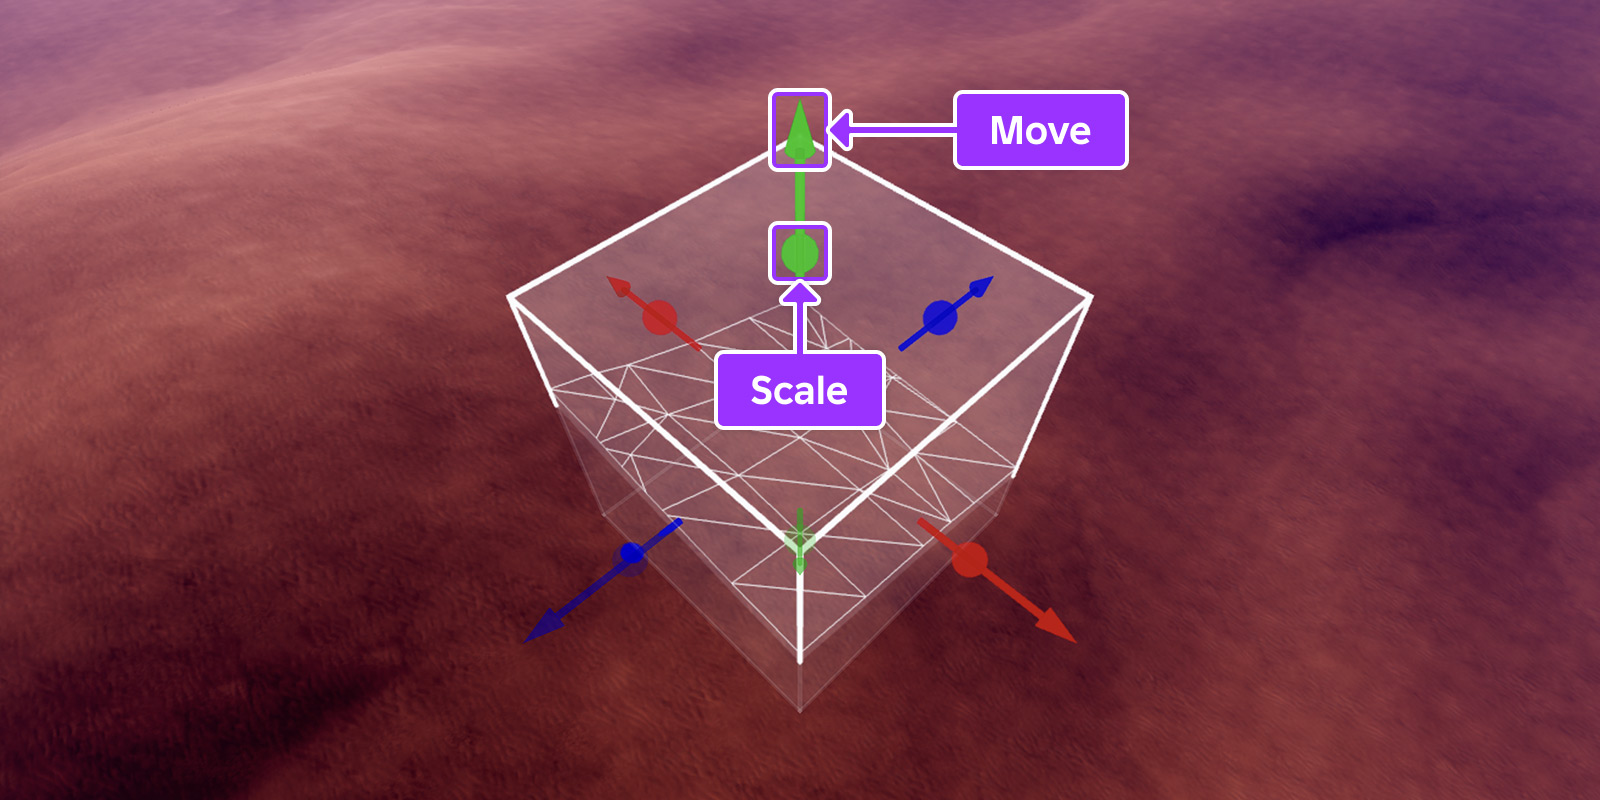
Move draggers and scale handles on a selected region
Studio also supports the following keyboard and mouse shortcuts, assuming the Select tool is active and nothing is selected in the Explorer window.
| Windows | Mac | Action |
|---|---|---|
| CtrlC | ⌘C | Copy terrain within the selected region to the clipboard. |
| CtrlV | ⌘V | Paste terrain that has been copied to the clipboard and swap to the Transform tool so that the new terrain can be transformed. |
| CtrlX | ⌘X | Cut terrain within the selected region to the clipboard. |
| CtrlD | ⌘D | Duplicate terrain within the selected region and swap to the Transform tool so that the new terrain can be transformed. |
| Delete | Delete | Delete terrain within the selected region. |
| Shift | Shift | When held down while dragging any **scale** handle, scales the region proportionally across all other axes. |
| Ctrl | ⌘ | When held down while dragging any **scale** handle, scales the region equally in both the positive and negative direction along that axis. |
Transform regions
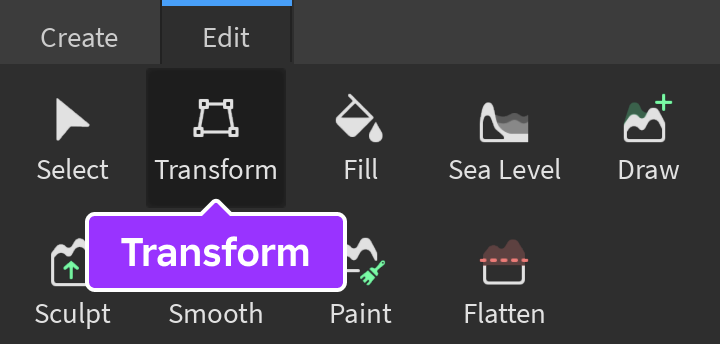
The Transform tool lets you manipulate entire selected regions to a new position, size, or orientation.
To transform a region:
Select a region and then activate the Transform tool. Note that the tool will be automatically activated if you paste or duplicate terrain.
In the 3D viewport, transform the region with the move draggers, rotate rings, and scale handles. Alternatively, enter values into the tool's X/Y/Z inputs to set a specific position, size, and rotation.
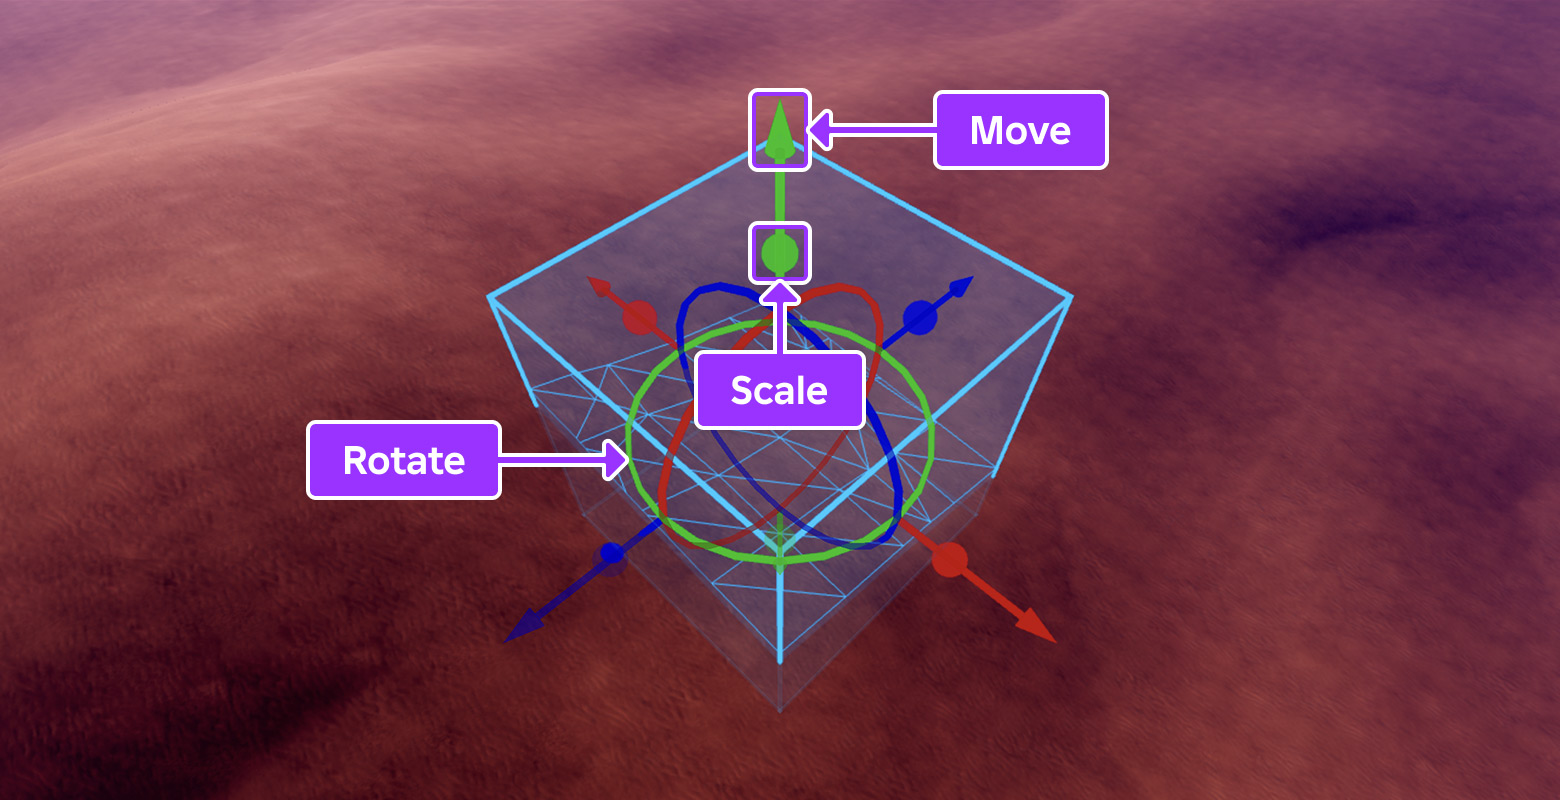
Note
Holding Shift while dragging any scale handle scales the region proportionally across all other axes, and holding Ctrl or ⌘ while dragging scales the region equally in both the positive and negative direction along that axis.
Holding <kbd>Shift</kbd> while dragging any **rotate** ring toggles between rotation snapping or free‑form rotation.Note
By default, this tool uses Live Edit mode to constantly update terrain as you transform it. To view only a wireframe preview of the terrain as you transform it, disable live edit mode and then, while transforming, press Enter/Return or click the Apply button to apply the changes.
Fill and replace regions
The Fill tool lets you fill an entire selected region with a specific material, or replace all material within the region with another material.
Select a region, then activate the Fill tool.
In the tool's Material Settings section:
- To fill the region with a specific material, select Fill and choose the desired material.
- To replace all terrain of one material with another material, select Replace, then choose a source material and target material.
Click the Apply button or press Enter/Return.
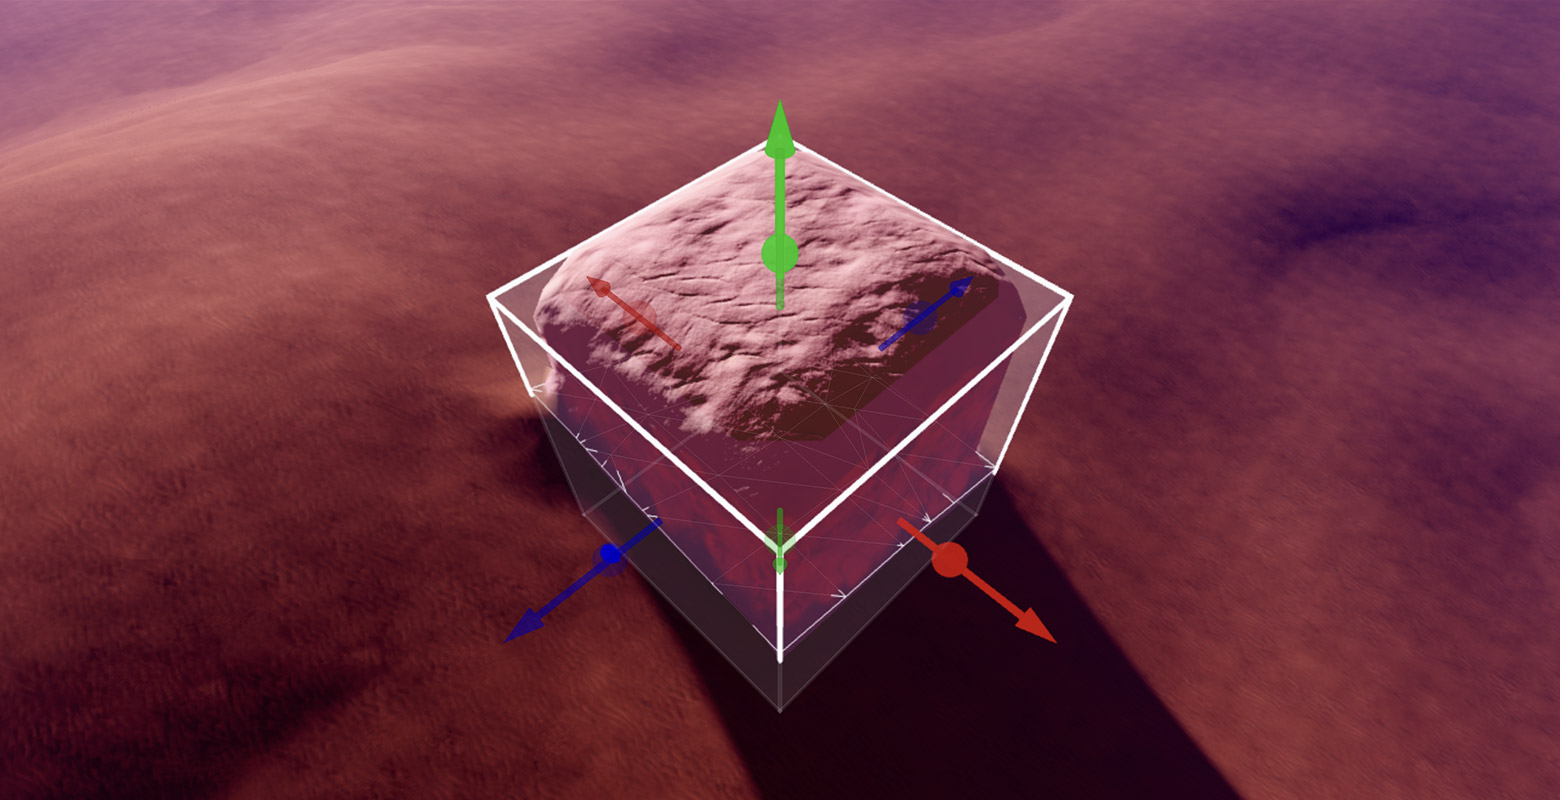
Selected region filled with Salt material
Set sea level
The Sea Level tool lets you create a consistent water level or remove all water within a region.
Activate the Sea Level tool.
Select the intended region by clicking and dragging the move draggers and scale handles in the 3D viewport. Alternatively, enter values into the tool's X/Y/Z inputs to set a specific position and size.
Click the Evaporate button to remove water inside the selected region, or click the Create button to fill the selected region with water.
Detailed editing
The Edit tab also contains tools for precision editing using a "brush" tool to draw, sculpt, smooth, flatten, or paint terrain.
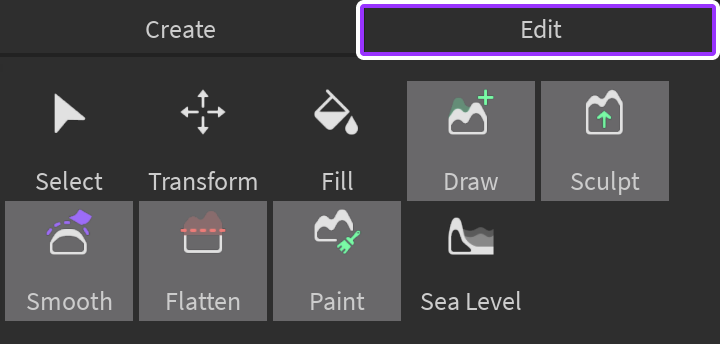
Each tool lets you choose from a sphere, box, or cylinder brush shape and a base size between 1–64 studs.
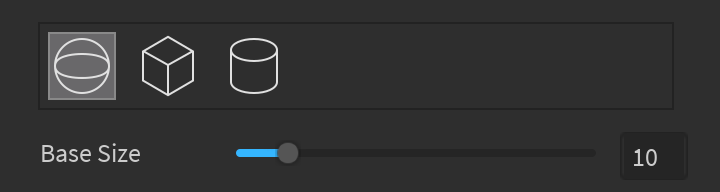
For tools which use the brush, Studio supports the following keyboard and mouse shortcuts.
| Windows | Mac | Action |
|---|---|---|
| Ctrl | ⌘ | When held down while using the [Draw](/docs/roblox-studio-terrain-editor#draw) and [Sculpt](/docs/roblox-studio-terrain-editor#sculpt) tools, toggles on the alternate brush mode. For example, toggles on "subtract" mode instead of the default "add" mode. |
| Shift | Shift | When held down while using the [Draw](/docs/roblox-studio-terrain-editor#draw) and [Sculpt](/docs/roblox-studio-terrain-editor#sculpt) tools, temporarily activates the [Smooth](/docs/roblox-studio-terrain-editor#smooth) tool. |
| B | B | When held down while dragging the mouse or using the scroll wheel, adjusts the brush's **base size**. |
| CtrlB | ⌘B | When held down while dragging the mouse or using the scroll wheel, adjusts the brush's **height**. Only applies if the brush's shape is set to **box** or **cylinder**. |
| ShiftB | ShiftB | When held down while dragging the mouse or using the scroll wheel, adjusts the brush's **strength**. Only applies when using the [Sculpt](/docs/roblox-studio-terrain-editor#sculpt), [Smooth](/docs/roblox-studio-terrain-editor#smooth), or [Flatten](/docs/roblox-studio-terrain-editor#flatten) tool. |
| Alt | ⌥ | When held down on mouse click, shows the material picker. |
Draw
The Draw tool adds or subtracts terrain using the brush. This tool functions in a dual mode where holding down Ctrl or ⌘ toggles on "subtract" mode instead of the default "add" mode. Additionally, holding down Shift temporarily activates the Smooth tool.
Sculpt
The Sculpt tool adds or subtracts terrain using the brush. Unlike the Draw tool, this tool includes a strength slider to allow for more gentle manipulation of terrain.
Similar to the Draw tool, the Sculpt tool functions in a dual mode where holding down Ctrl or ⌘ toggles on "subtract" mode instead of the default "add" mode. Additionally, holding down Shift temporarily activates the Smooth tool.
Smooth
The Smooth tool smoothes out abrupt edges in terrain using the brush. This tool can be used in standalone mode, or you can toggle it on by holding Shift while using the Draw or Sculpt tools.
Flatten
The Flatten tool flattens terrain to a consistent level across a visualized plane. By default, the tool lowers terrain above the plane and raises terrain below to the plane, but you can opt to selectively lower or raise through the tool's Flatten Mode option.
Paint
The Paint tool, using the brush, paints a terrain material over an existing material or replaces one material with another material.