
Source: Roblox Creator Hub · CC BY 4.0 · View source · Code samples: MIT Imported 2026-10-03. Formatting adapted for this site.
Roblox developer 101
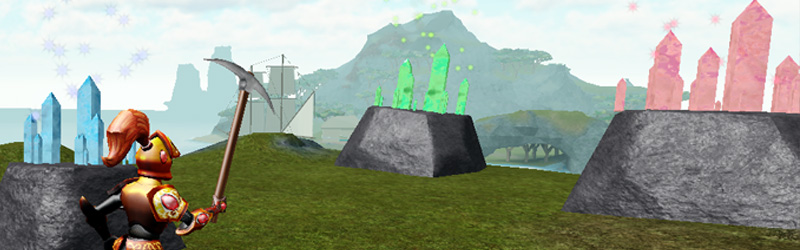
Teach how to code and create games for the Roblox platform - perfect for educators looking for an introductory course with multiple sessions. In the first half of the course, students develop skills in 3D modeling, coding, and design by creating an obstacle course and using code to add gameplay elements like traps. In the second half, they use those skills to create an adventure game where players explore, gather resources, and purchase items.
Learning objectives and outcomes
- Manipulate 3D parts and sculpt environments to create a virtual world.
- Experience the game design process by planning, designing, and playtesting a game.
- Create scripts for gameplay elements using concepts like if/then statements and variables.
ISTE standards: Empowered Learner 1d, Innovative Designer 4a, 4c, Creative Communicator 6b, 6c
Sessions
| Session | Description |
|---|---|
| Roblox Studio Basics | Introduce students to the course and projects they'll be working on. Then, develop foundational skills such as manipulating parts and creating scripts by creating a simple obstacle course. Once these skills are mastered, students can go on to code an adventure game in later sessions. |
| Coding Fundamentals | Explore the coding concepts of functions, loops, and if/then statements with mini-projects that can be added to games like color changing platforms and traps. |
| Adventure Game Pt. 1 | After learning the basics of using Roblox Studio and scripting, students take their skills further by starting a more complex project, the adventure game. They'll plan out elements of their game, create a virtual world, and setup basic gameplay components like keeping track of player items. |
| Adventure Game Pt. 2 | Students continue developing the adventure game. They'll create scripts for using tools, selling items, and upgrading their spaces. |
| Adventure Game Pt. 3 | Take time to catch up on previous lessons and prepare the adventure game for others to play. Students should evaluate if their game meets the goals of being fun, challenging, and bug-free; redesigning or improving their game as needed. |
1- Roblox Studio basics
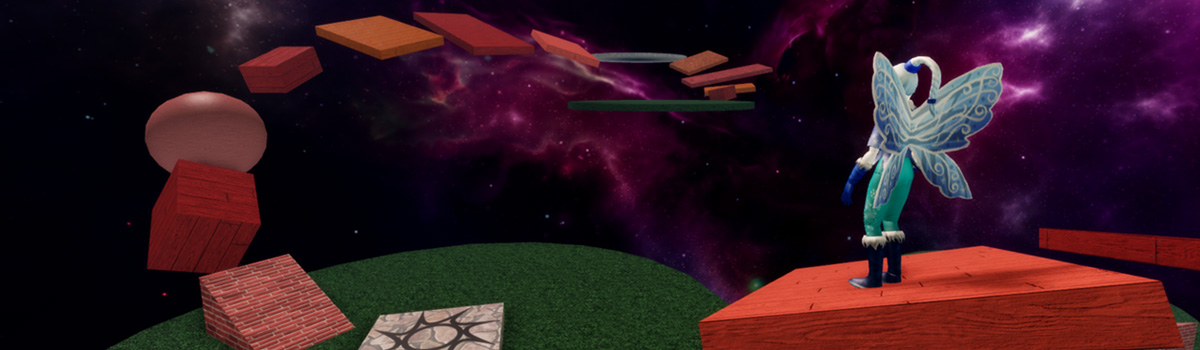
Lesson Description: Introduce students to the course and projects they'll be working on. Then, develop foundational skills such as manipulating parts and creating scripts by creating a simple obstacle course. Once these skills are mastered, students can go on to code an adventure game in later sessions.
| Lesson objectives |
|
| Skills and concepts |
|
| Prep |
|
| Materials |
|
Overview
| Duration | Activity | Description |
|---|---|---|
| 5 min | Introduction | Introduce the project and lesson structure. |
| 5 min | Guided Tutorial: Roblox Studio Basics | Teach the basics of using Roblox Studio while building a simple obstacle course. |
| 15 min | Guided Tutorial: Guided Tutorial | Introduce coding by creating a script that displays text. |
| 5 min | Wrap-up | Reflect on project and recap concepts learned. |
Lesson plan
Introduction
Grab student attention by playing an example of the finished adventure game. This is an example of the type of project they'll have by the end of the course.
- Explain the game: Players explore a world to collect items and upgrade their backpack.
- Call out that students will create and customize the game to their own vision (e.g. collecting cupcakes in a fantasy world or harvesting iron on the moon).
Outline the sessions in the course
- First two sessions focus on developing skills in game design and coding by making practice projects. This will include building an obstacle course.
- Will spend rest of sessions developing an adventure game
Point out for this session or day, students will be learning the basics of Roblox Studio by building an obstacle course.
- Note the obstacle course is practice, but the can include parts of it in their adventure game if desired.
Guided tutorial - Roblox Studio basics
Lead students through the following tutorial: Introduction to Roblox Studio
As you teach, keep in mind the following:
- Remind students to rotate their camera view to get an accurate view of their project.
- Encourage students to use the Explorer, a foundational skill in Roblox Studio.
Guided tutorial - Create scripts
- Lead students through the Create a script tutorial.
Wrap up
- Recap what students have created and vocabulary learned: variable and string.
Appendix
Troubleshooting tips
General troubleshooting
- If parts fall or disappear when playtesting, remind students to turn Anchoring on for that part.
- The most common errors for students at this age are improper capitalization and typos. Encourage students to independently check their work, rather than rely on teachers.
Classroom management
- Introduce students to "Ask 3 Before Me": a student needs to ask three peers before asking the instructor for help.
- Keep in mind students have different prior experience with computers. Emphasize exact steps when teaching, such as when to double-click or right-click.
- Keep your lessons on time by setting strict limits for accomplishing tasks, such as allowing only a minute to add a single part or to pick a color. To build troubleshooting skills, ask students leading questions rather than solving the issue for them as much as possible. For example: What symbols need to be around a string? - A quotation marks.
2- Coding fundamentals
Lesson Description: Explore the coding concepts of functions, loops, and if/then statements with mini-projects that can be added to games like color changing platforms and traps.
| Lesson objectives |
|
| Skills and concepts |
|
Overview
| Duration | Activity | Description |
|---|---|---|
| 5 min | Introduction | Introduce the session. |
| 20 min | Guided Tutorial: Working with Properties | Modify the color properties of parts using scripts. |
| 35 min | Guided Tutorial: Coding a Trap | Code a trap using functions and if/then statements. |
| 5 min | Wrap-up | Reflect on project and recap concepts learned. |
Lesson plan
Introduction
Explain today's session will be different mini-projects to develop skills in scripting
- Important to understand these concepts since adventure game will have more scripts.
- Point out these projects, like a trap, can be included in the adventure game project they'll start in Session 3.
Guided tutorial - Work with properties
Lead students through the following tutorials:
Encourage students to troubleshoot independently if they have an error. To help, have them try:
- Redoing their last few steps.
- Asking a peer for help.
As students write code, check that students write comments that accurately describe the code.
- Not Specific: Runs code
- Improved: Changes color of PracticePart
Guided tutorial - Code a trap
Lead students through the following tutorials:
When working with if statements, check that students indent code to look like code samples. This helps make the code more readable, which becomes important as scripts grow larger.
Wrap-up
- Recap what students have created and vocabulary: property, loop, and function.
- Point out in the next session, students will start a new project where they make an adventure game.
Appendix
Troubleshooting and classroom tips
- While coding, remind students to double-check their capitalization or ask a peer to check their work. Even one incorrect letter can cause an error in longer words like
FindFirstChildWhichIsA. - Try the following below to help students develop troubleshooting skills.
- Purposely make a mistake in your code and ask students to identify the error. This can be easily turned into a game.
- Write a partial line of code and ask students to complete it.
- Utilize 'Ask 3 Before Me' where students ask three peers before asking the teacher for help. It's important for students to become comfortable independently troubleshooting as they advance to more complex projects.
3. Adventure game part 1
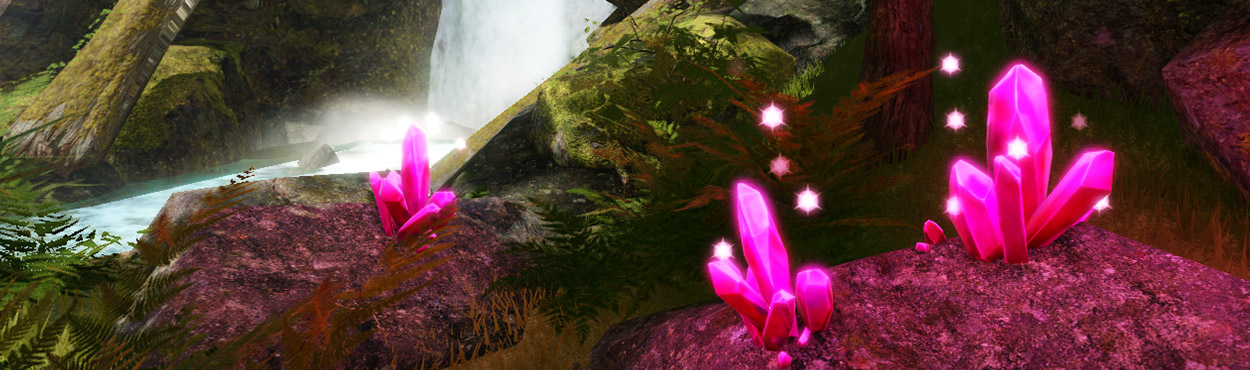
Lesson description: After learning the basics of using Roblox Studio and scripting, students take their skills further by starting a more complex project, the adventure game. They'll plan out elements of their game, create a virtual world, and setup basic gameplay components like keeping track of player items.
| Lesson objectives |
|
| Skills and concepts |
|
| Materials |
Overview
| Duration | Activity | Description |
|---|---|---|
| 5 min | Introduction | Introduce the session. |
| 10 min | Guided Work: Planning a Game | Create a game design document to plan out elements of the project. |
| 10 min | Guided Work: Creating the World | Design an environment using terrain tools based off the previous vision document. |
| 30 min | Guided Tutorial: Setting up The Game | Code scripts to keep track of player items and build the first item players will collect. |
| 5 min | Wrap-up | Reflect on project and recap concepts learned. |
Lesson plan
Introduction
- Explain that students will be using skills learned in previous sessions to build a game over the next three sessions. They will:
- Plan out their unique world using a game design document.
- Create a world in Roblox referencing their plans in the game design document.
- Create and code items for players to gather in-game.
Guided work - Plan a game
- Note that students don't need access to computers at the start of this section.
- Lead students through the lesson: Create the Map, stopping before the section: Creating the Environment.
- As students draw their starting area, keep in mind the following.
- Areas drawn should be achievable in scale of what a student can do in a week - such as a house with a front lawn or a simple forest vs a detailed city block. This helps focus students and they can always add more when finished.
- Drawings don't have to be complex - simple symbols like circles and squares are enough.
Guided work - Create the world
- Students should be at their computers for this section.
- Lead students through the lesson: Create the Map, starting at Creating the Environment
- Briefly show students each terrain tool at once and give at most six minutes to create their starting areas. They can always add more later.
Guided tutorial - Set up the game
- Lead students through the following tutorials: Coding the Leaderboard.
Wrap-up
- Recap what students have created and vocabulary: game mechanic and pre-production.
- Optional: Have students to reflect on the mid-point of their sessions by asking one or more of the following questions:
- One thing that was challenging but how they overcame it.
- One skill you're looking to improve over the next two sessions (e.g. better at troubleshooting, making more interesting worlds, etc).
- What was the most exciting thing you accomplished today. How did you do that and why was it exciting?
Appendix
Troubleshooting tips
- The name of the
leaderstatsvariable must be"leaderstats". Without this, the script won't know to create a new leaderboard. - Handout: Adventure Game Reference helps students keep track of variable names. This is especially useful if they replaced default variable names, like
"Gold"with something of their own, like"Rubies". - Remind students to build everything using parts, not by using the Toolbox. Using the Toolbox may introduce unexpected issues into their games.
Classroom management
- As students work on their project, help them keep in mind a reasonable scale of what they can accomplish by the end of the sessions.
- If students have ambitious goals (I want to build three different worlds in my game), remind them to focus on their goals for today's current session. Have them write down their additional ideas on the game design document.
- Set strict expectations as to how much time students can spend working on their starting area. They can always continue in later sessions.
Customize the lesson
- Students can spend more time building out their starting area using the terrain tools or adding decorative parts.
- If students are unclear what to add, ask questions about what objects they'd expect to find in that themed world (E.g. If you were on a moonbase, what would you see? How can you build that using parts?)
- Students can add more than one type of item to harvest. Just remember that each item follows the same organization in the Explorer and has a BoolValue named
CanHarvestset to true.
4 - Adventure game part 2
Lesson description: Students continue developing the adventure game. They'll create scripts for using tools, selling items, and upgrading their spaces.
| Lesson objectives |
|
| Prep |
|
Overview
| Duration | Activity | Description |
|---|---|---|
| 5 min | Introduction | Introduce the session. |
| 50 min | Guided Tutorial: Scripting Game Mechanics | Have students create scripts for tools, selling items, and upgrading spaces. |
| 5 min | Wrap-up | Reflect on project and recap concepts learned. |
Lesson plan
Introduction
- Explain that students will be adding the core gameplay mechanics of the adventure game today: using a tool to collect items, selling items, and upgrading their spaces to collect more items.
- Point out that this session will be heavy on guided tutorials. The next session will be more free-form, so students can work on their own or catch up.
Guided tutorial - Script game mechanics
- Make sure all students have access to the starter tool.
- Lead students through the following tutorials:
Wrap-up
- Recap what students have created.
- Optional - Ask students what feature they're excited to work on or add tomorrow as they finish their games.
Appendix
Troubleshooting and classroom tips
General troubleshooting
- While students code, leave up example scripts for students to reference. The Tool script is especially helpful as it has nested if statements.
- Check that students are indenting their code to look like the code samples. This makes code more readable and reduces the possibility of errors.
Scripting tips
- Remind students to always add a comma between multiple parameters in a function, like in
sellItems(playerItems, playerGold). - In the Upgrade script, the order of functions matters. Make sure that the function
giveUpgrade()is aboveclickDetector.MouseClick.
Facilitation tips
- To keep students on track, set a strict time limit for playtesting, like one minute.
- Encourage students to remember a specific goal whenever playtesting, such as check if a tool harvests an item as intended. This helps them stay focused.
Customize the lesson
Expand the lesson
- More than one item can be added to harvest, just remember that each item needs a BoolValue with
CanHarvestset to true. - Surface GUI's, like the Upgrade Sign, can be customized. Encourage students to explore properties of TextLabels, like color and font in the properties of that TextLabel and SurfaceGui.
5 - Adventure game part 3
Lesson description: Take time to catch up on previous lessons and prepare the adventure game for others to play. Students should evaluate if their game meets the goals of being fun, challenging, and bug-free; redesigning or improving their game as needed.
| Lesson objectives |
|
| Skills and concepts |
|
Overview
| Duration | Activity | Description |
|---|---|---|
| 5 min | Introduction | Introduce the goals for student games and ability to catch up or take projects forward. |
| 15 min | Guided Tutorial: Getting the Game Ready | Make minor changes to their game and take time to playtest with a peer. |
| 30 min | Independent Work | Catch up on previous lessons, expand their game with improved environments, or more items to collect. |
| 10 min | Wrap-up | Recap the course and share games. |
Lesson plan
Introduction
- Explain that today is an opportunity to catch up or further develop their game.
- Regardless of what students work, will want to evaluate and redesign their game to meet specific goals:
- Fun - players enjoy playing, want to keep playing
- Challenging - players have a challenge but aren't punished or overly frustrated
- Error and glitch free - no script errors, unusual looking parts/visuals, etc.
Guided tutorial - Get the game ready
- Lead students through Finishing the Project.
- Playtesting is optional. Depending on your class, that time might be utilized for students to catch up on their projects.
Independent work
- Have students either catch up on lessons or further develop their final projects.
- As students work, their actions should help them meet the goals for today (fun, challenging, error-free).
- If students feel finished, you can encourage them to:
- Add additional items or upgrades.
- Use the terrain tools to expand and improve their environment.
- Add decorative parts that fit their environments theme.
- Have a friend play their game and get feedback.
Wrap-up
- Wrap up by leading a class discussion. Ask one of more of the below prompts.
- One thing that was challenging but how they overcame it.
- Something they're proud of in their game and why.
- An example of how another student helped thi improve their game.
- To showcase work, have students trade seats with a partner and let thi explore their world.