
Source: Roblox Creator Hub · CC BY 4.0 · View source · Code samples: MIT Imported 2026-10-03. Formatting adapted for this site.
Experience events and updates
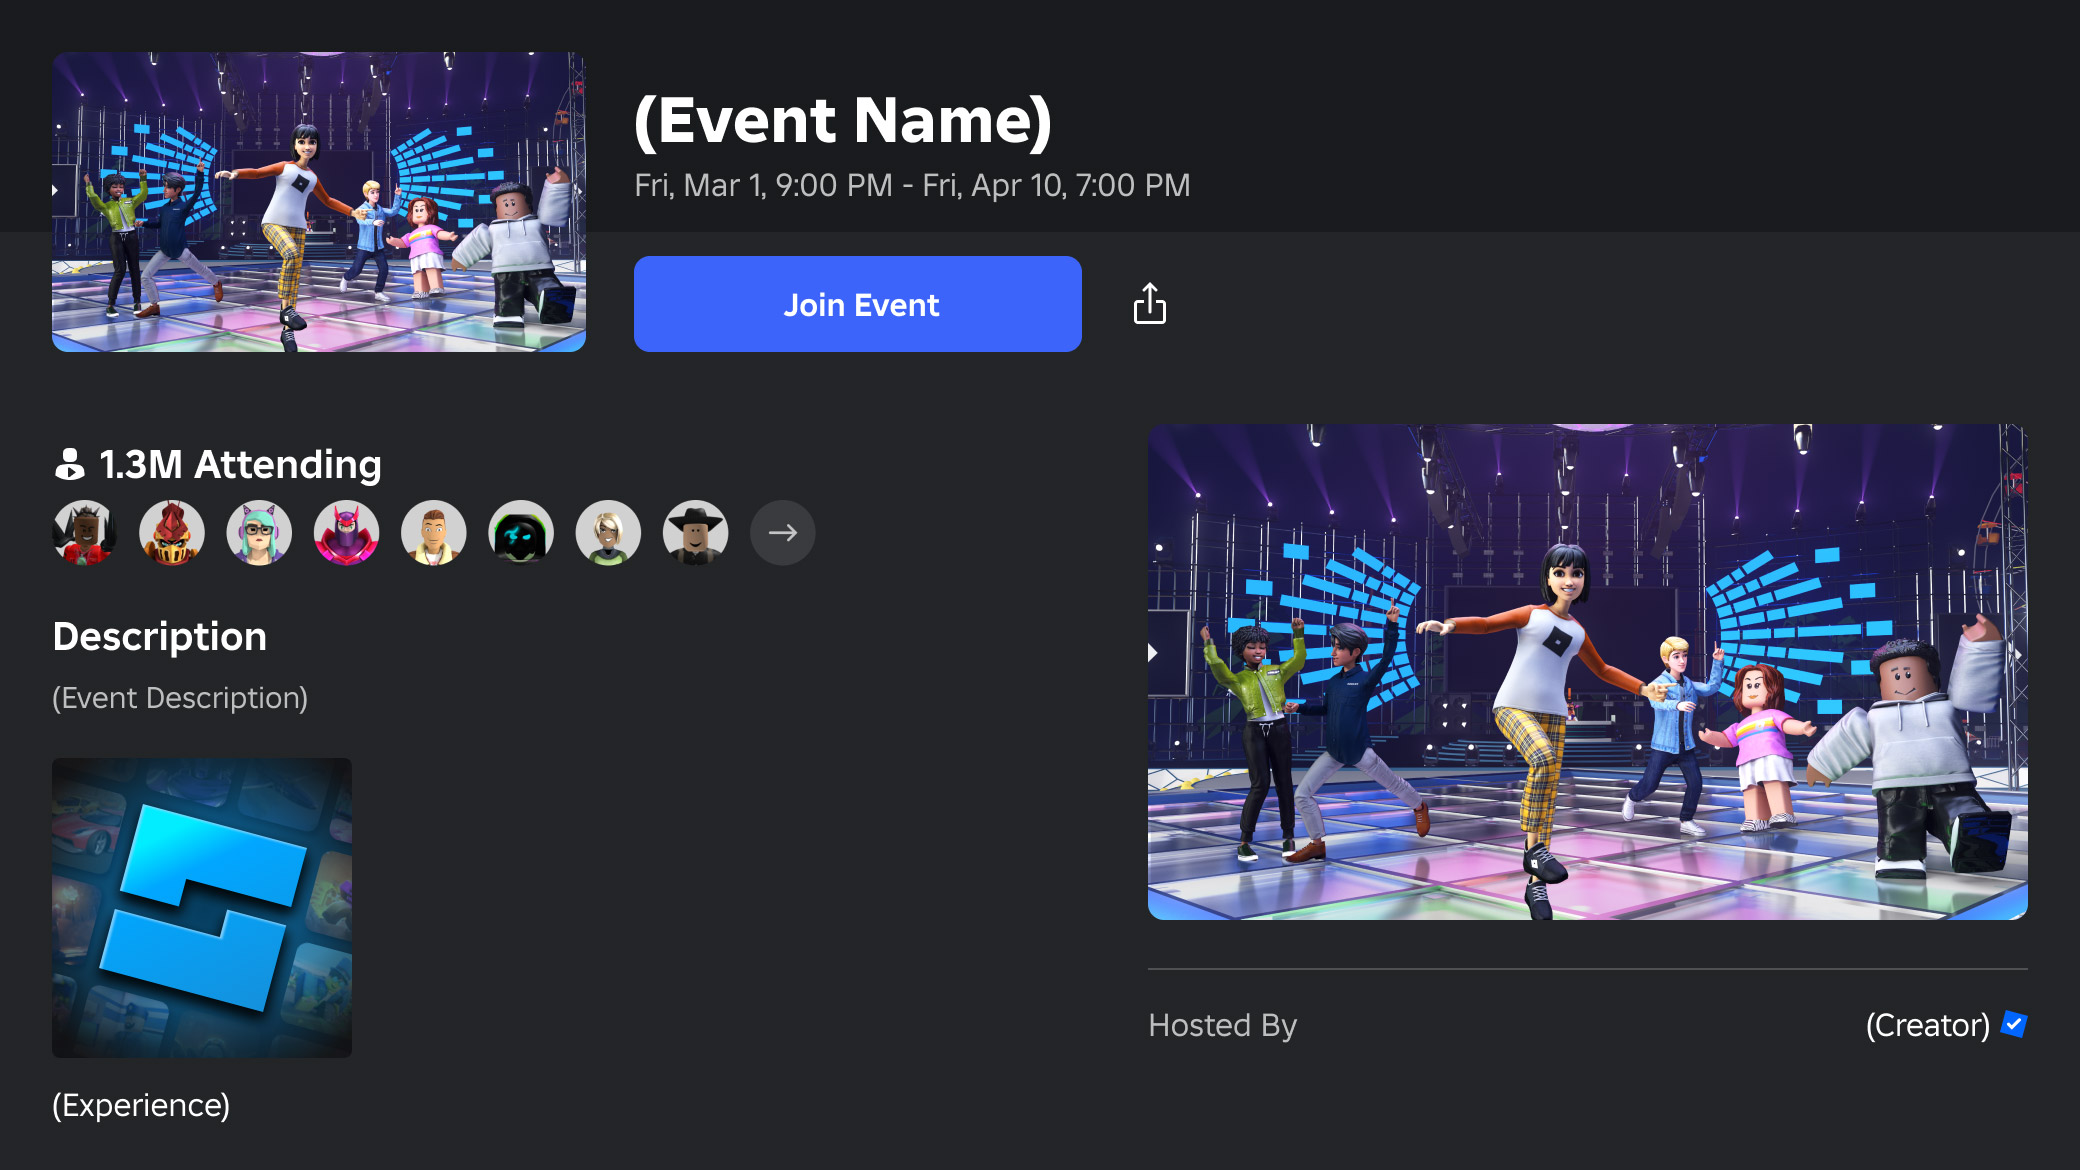
As part of your promotional initiatives, the integrated events system lets you create time‑based events for your experience. Players can discover your events on the experience's detail page and through an event details page, and they can opt into notifications that they'll receive when your event begins.
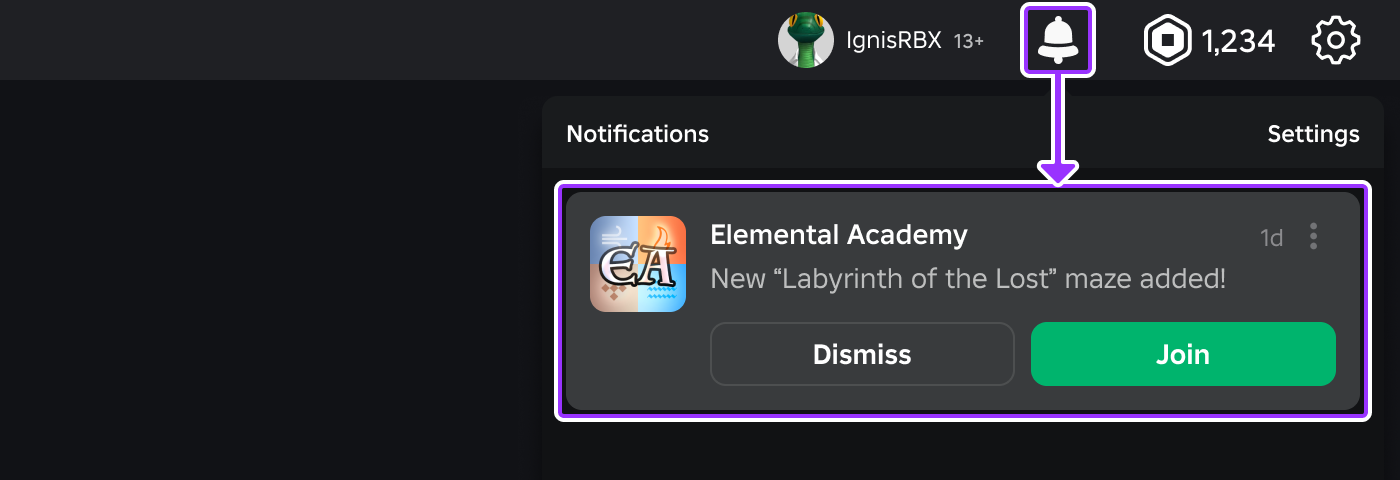
In addition to events, the integrated update announcements system lets you announce experience updates for which opted‑in players receive a notification in their Roblox notifications stream, along with a link to join the experience directly from the notification.
Create events
To create an event, you must have the Manage experience events permission or the legacy Edit experiences permission in a group‑owned experience, or be the sole owner of a user‑owned experience. Currently, you can publish a maximum of 10 ongoing or upcoming events.
- Navigate to an experience's page on the Creator Dashboard.
- In the left column, expand the Engagement branch and click Events & Updates.
- Click the Create Event or Update button.
- Add a thumbnail to promote your event. If you don't add any thumbnails for the event, the primary experience thumbnail will be used instead.
Note
Using a unique event thumbnail that is different from your experience thumbnails will help to increase player engagement with the event.
Select an event category that most accurately describes your event. The category may be shown alongside your event thumbnail in certain places on Roblox.
Enter the event title, subtitle, and description. The description is optional but it can help provide additional information about the details of your event. If you supply a description, it should follow general best practices and accurately portray the event, including:
A summary of the event and how it relates to the overall experience. If you're using the event to promote a major experience update, summarize the key updates.
Incentives for players to join such as exclusive event‑specific merch or badges that may be earned during the event.
Set the starting date/time, and an ending date/time.
Set the place for your event. If you select a place other than the experience's start place, anyone who joins the event through an event-specific surface (such as an event start notification or the event tile) will spawn in the event place rather than the start place.
Select a privacy level; public events will be viewable to all players while private events will only be visible by you and others with elevated access.
Note
If you're not yet ready to publicize the event, set it as private. Later, when you're ready to begin promoting the event, change it to public. Private events and their event pages cannot be seen by players without access, and they will not appear on its experience's detail page.
When ready, click Create to save your event. If you set the event to public, it will be immediately discoverable on the experience's detail page.

Note
Assets which are pending review or are moderated will display a placeholder.
Event discovery
The following sections detail how you can promote events and how events are discoverable by players on the Roblox platform.
Event details page
All published events feature an event details page which you can share with players on and off platform. To access a shareable link, you can use either the event details page itself or the Events page.
Event Details Page
From the event details page, click/tap the share button below the event title to open your device's native sharing UI, or to copy the link to your clipboard. 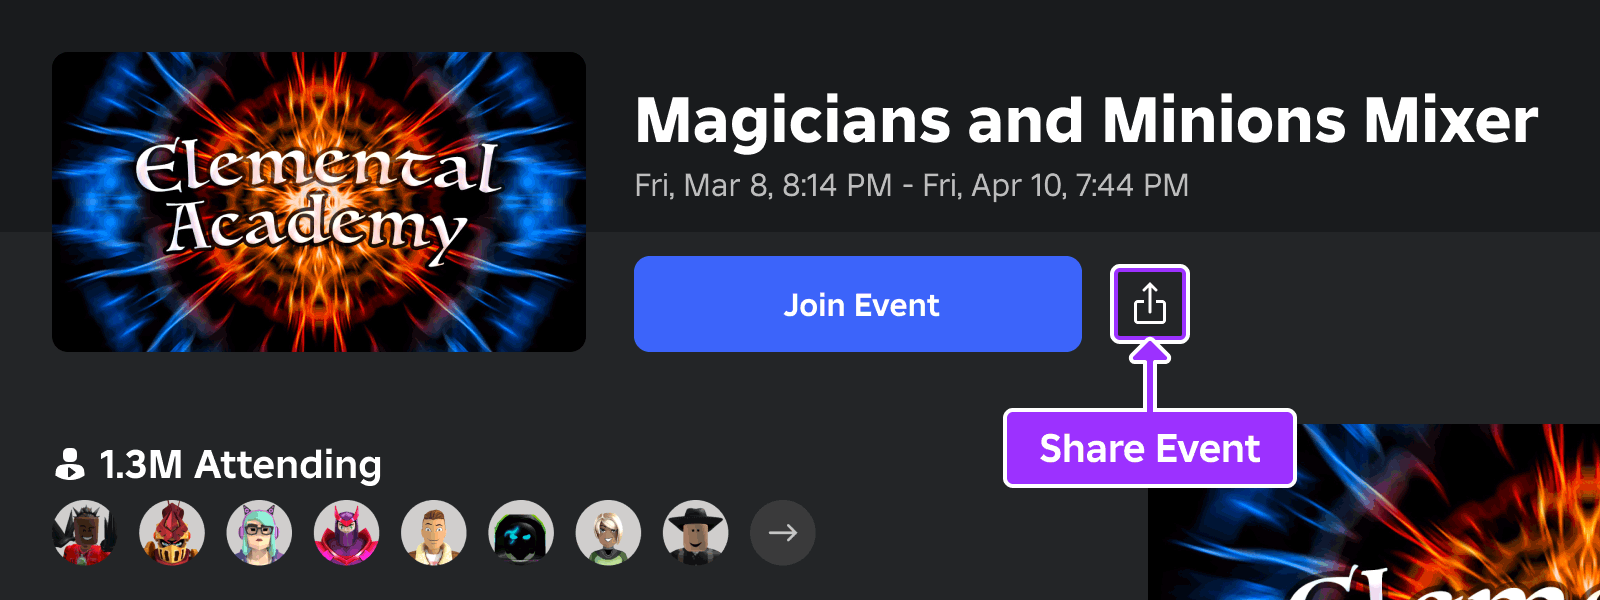
Creator Dashboard
From the experience's Events page, hover over the event thumbnail, click the ⋯ button, and select Copy Event Details URL. 
Note
Event pages persist even after an event ends, but players will no longer be able to join from the page. To remove an event page entirely, see Deleting Events.
Experience detail page
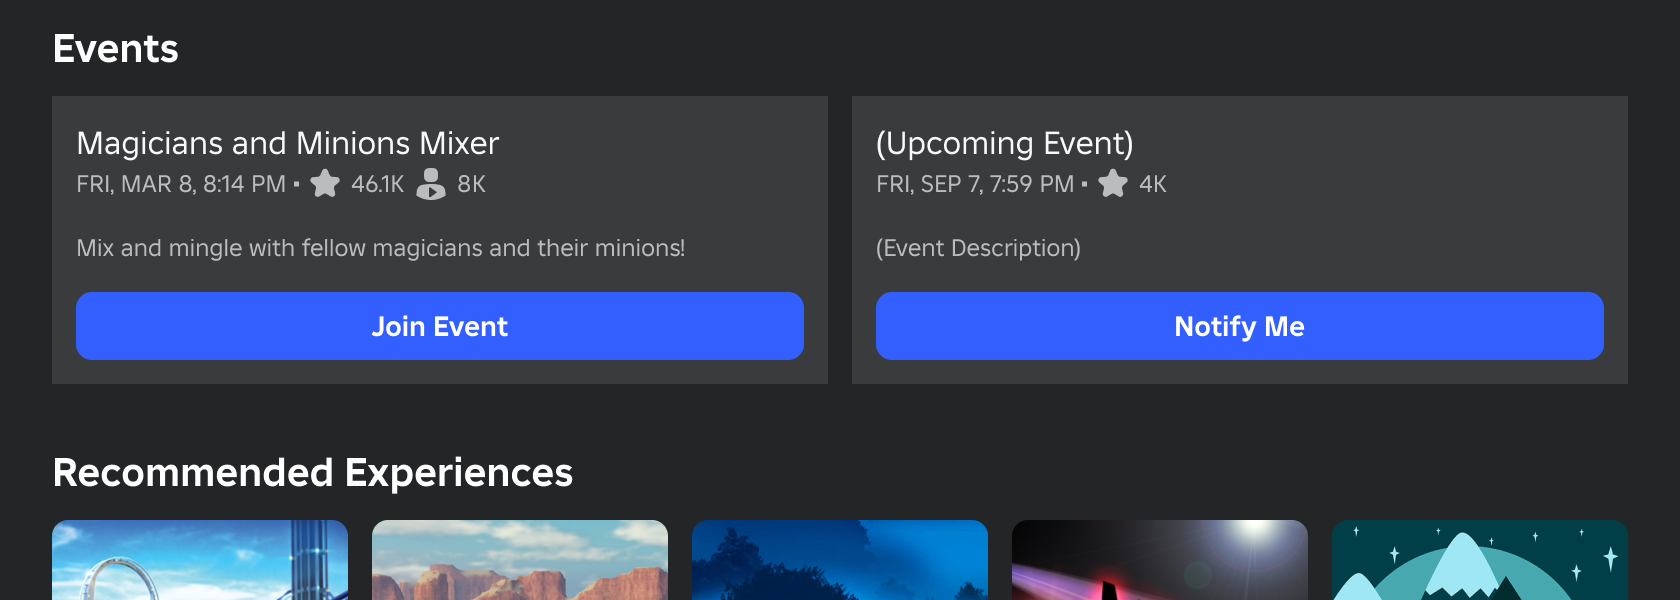
All published events also appear in a dedicated Events section on the experience's detail page. Players can join active events directly through the Join Event button, or click Notify Me for upcoming events to receive stream notifications in their Roblox inbox and the ability to opt into push notifications.
Roblox charts
The Trending Events in Experiences sort in Roblox's charts, available globally and across all platforms, can help increase player discovery and participation in your events. This sort shows active events based on the experience's daily active users (DAU), filterable by location and platform.
To be featured in Trending Events in Experiences, your event must meet the following criteria:
- An active event that started within the last 7 days.
- Minimum of 1,000 RSVPs.
- Visible to all players (not private).
Group page
If you create events as an admin for a group, the group's events will appear under the Events tab on the group page.
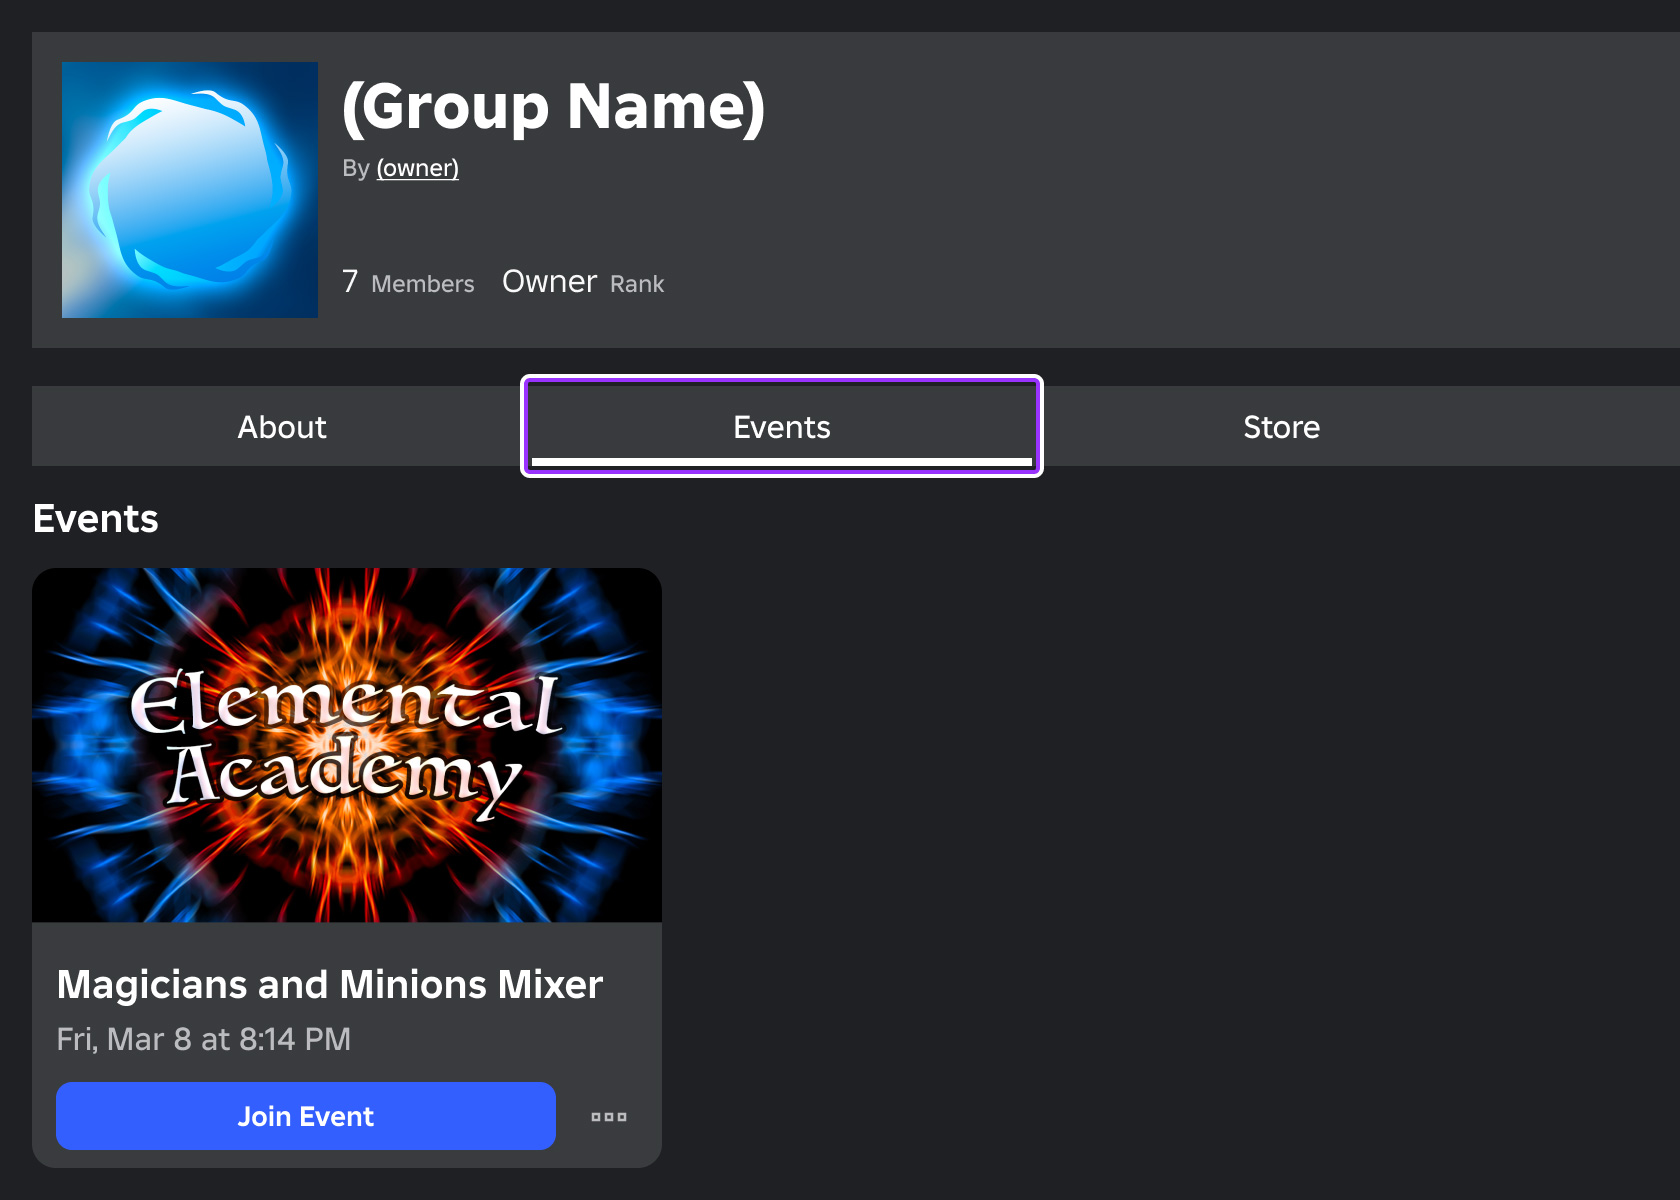
In addition, you can feature an event in the group's About section for extra visibility:
Go to the group's Events tab.
Find the event you want to feature, click on the ⋯ button, and select Feature Event.

The event should now appear in the group page's About section:

Stream/push notifications
Players who click Notify Me for an upcoming event will receive stream notifications in their Roblox inbox when the event starts. In addition, they can opt into push notifications to receive a notification on their device that will take them into the experience. Stream notifications remain accessible in the player's Roblox inbox for the duration of the event, making it easy for them to hop back in at any time.
<img src="https://prod.docsiteassets.roblox.com/assets/promotion/experience-events/Notification-Lock-Screen.jpg" width="375" alt="Event notification on phone lock screen" />Notification on phone lock screen
<img src="https://prod.docsiteassets.roblox.com/assets/promotion/experience-events/Notification-Roblox-App.png" width="375" alt="Event notification in Roblox app" />Notification in Roblox app
Delete events
To delete an event and remove its detail page:
On an experience's Events & Updates page, click the tab corresponding to the event's timing (Active, Scheduled, or Finished).
Hover over the event thumbnail, click the ⋯ button, and select Delete Event.

Use event attribution
When a player joins an experience through an event entry point, such as by clicking on an event notification or through the join button on the event details page, the event ID is added to the player's GameJoinContext. You can use this information in your experience to identify players who have come to participate in the event and show them custom prompts or otherwise personalize their experience.
local Players = game:GetService("Players")

local function onPlayerAdded(player)
	local source = player:GetJoinData()
	-- Check if the provided source is valid
	if source then
		-- Read eventId from GameJoinContext
		local eventId = source.GameJoinContext.EventId

		if eventId then
			print(player.Name, "joined from the event:", eventId)
		end
	end
end

Players.PlayerAdded:Connect(onPlayerAdded)
Announce experience updates
Note
Events and updates are currently in the process of being combined. Announcing updates still uses the old form, but that is subject to change in the future.
The integrated announcements system lets you notify opted‑in players about new and exciting updates. When you send an announcement, players receive a notification in their Roblox notifications stream, along with a link to launch the experience directly from the notification.
Updates have a limit of 60 characters and you can only announce an update once every three days. When drafting your update, consider the following best practices:
- Focus on announcing new, exciting, and accessible information, such as new areas, skills, and achievements.
- Be descriptive in your updates. Updates like "bug fixes" are vague and don't inform the reader of what was actually fixed.
- Avoid overwhelming players with too many updates in a short time period.
To announce an update:
Navigate to the Creator Dashboard.
Click on the thumbnail of the experience you want to associate with the update. The experience's Overview page displays.
In the left-hand navigation, under Engagement, click Events & Updates.
Click Create Event or Update.
At the top of the creation form, click on the link to the old updates page.
In the input field, describe what has been updated in your experience, then click the Preview button to see how the update will display for desktop, tablet, and phone users.
When ready, click the Send button. The update is sent to everyone who enabled notifications for your experience and it immediately displays in the History section of your Updates page with the sent date, the update message, and statistics related to the update's performance.

Statistic Description **Views** Number of people who have viewed the update. **Visit rate** Percentage of people who have visited the experience from the notification. **Unfollow rate** Percentage of people who have unfollowed the experience from the notification.
Off-Platform Featuring program
The Off-Platform Featuring program extends your event's visibility beyond Roblox to global off-platform audiences. Through this program, selected events may appear on external platforms such as the App Store, Google Play Store, and Roblox marketing channels.

Eligibility
To be considered for the program, submitted events must meet the following criteria:
- The submitting creator must be 13 years of age or older with an email address linked to their account.
- The submission must represent a time-limited event or significant experience update (for example, seasonal content, feature update, collaboration, anniversary, or live moment).
- The event must be submitted at least 7 days prior to the event start and must be set to public and active while the event is live.
- All event metadata, including title, description, schedule, and thumbnails, must be complete, accurate, and aligned with the event's content.
- The event and its assets must comply with Roblox Community Standards and content guidelines.
- Selections are based on performance signals (DAU growth, playtime, retention, monetization), current trends, and seasonal alignment.
How it works
On the Creator Hub, navigate to your experience. Then choose Events & Updates.
Click Create Event or Update.
While creating your event, select the Submit for Featuring toggle.

Roblox's marketing teams review eligible submissions.
- The best events run for 7-30 days and highlight something new or time-limited for players.
- High-quality visuals and clear metadata improve the odds of selection.
- Avoid making changes to your event after submitting it. Changes might affect eligibility or delay the review.
If selected, you will be notified and asked to provide event-specific art assets. Due to submission volume, we can't provide feedback on why an event wasn't selected.
Selected events are featured on global surfaces and app stores at no cost to you.
After the event ends, you receive a performance report summarizing how many views and interactions your event generated off-platform.