
Source: Roblox Creator Hub · CC BY 4.0 · View source · Code samples: MIT Imported 2026-10-03. Formatting adapted for this site.
Tutorials
Learn how to create assets with structured tutorials that walks through each creation step from modeling in a third-party tool to importing in Studio.
Prerequisites
These tutorials use Blender, a free and open-source software. If you never used Blender or Roblox Studio before, start with the following resources before continuing.
- Download Blender - Install and setup Blender. Roblox's tutorial content uses Blender 3.0+.
- Familiarize yourself with Blender - Use Blender's official docs or community-created content of your choice to get up to speed with Blender's UI and functions.
- Setting up Roblox Studio - Install and configure Roblox Studio.
Rigid accessories
This tutorial covers the basic steps to successfully create and sell an accessory. Model and texture an object in Blender, upload the publishable accessory item to Studio, and sell the item on the Marketplace.
<>

<>
Model
Texture
Import into Studio
Fit and convert
Publish
</>
</>
Start Creating
Clothing
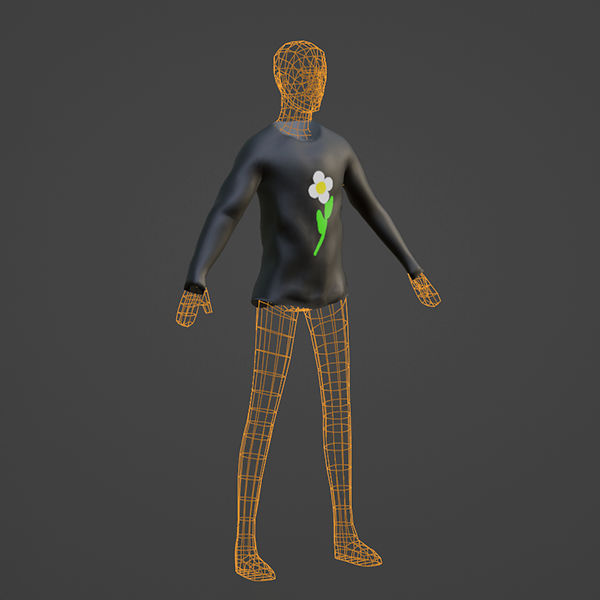
Create your own clothing item from scratch using Roblox's project templates as a mannequin. Learn the processes required to convert a typical mesh object to an equipable and layerable clothing item ready for the Marketplace.
<>
<>
Model
Texture
Rig
Cage
Export
Import
</>
</>
Start Creating
Bodies
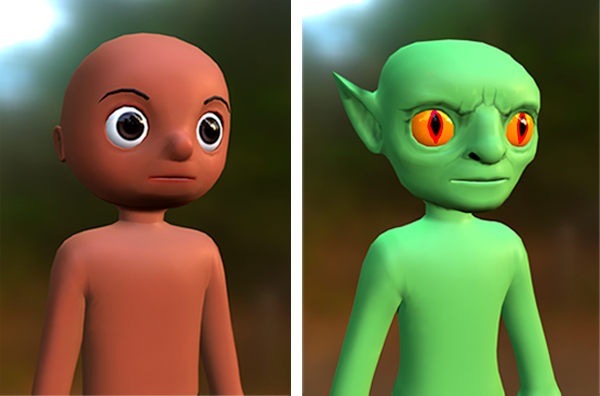
Start here for a comprehensive introduction to each step of body creation using Roblox's provided avatar templates. Each template includes pre-baked avatar components and these instructions provide everything you need to know to create a custom character ready for the Marketplace.
<>
<>
Pick a template
Model
Texture
Caging
Cleanup
Export
</>
</>
Start Creating