
Source: Roblox Creator Hub · CC BY 4.0 · View source · Code samples: MIT Imported 2026-10-03. Formatting adapted for this site.
Skyboxes
A skybox is a cube made up of six individual images that create an immersive sky background in a game. When the images are designed to be perfectly aligned with each other, the skybox appears to be panoramic without the impression of being inside a cube. This makes games feel larger than they really are, and it adds depth to your atmosphere, such as simulating deep space or underwater environments.
Additionally, the Sky object includes celestial bodies such as a sun, moon, and stars which dynamically appear, rise, and set based on the TimeOfDay or ClockTime.
Finally, the Sky object can be used as a cubemap for reflections in ViewportFrames. For details, see viewport frames.
Skybox construction
If you've created your own skybox images, you must first import them to Roblox before you can use them in a skybox. Each image must be seamless along all edges of neighboring images when "folded" into a cube.
Image Faces
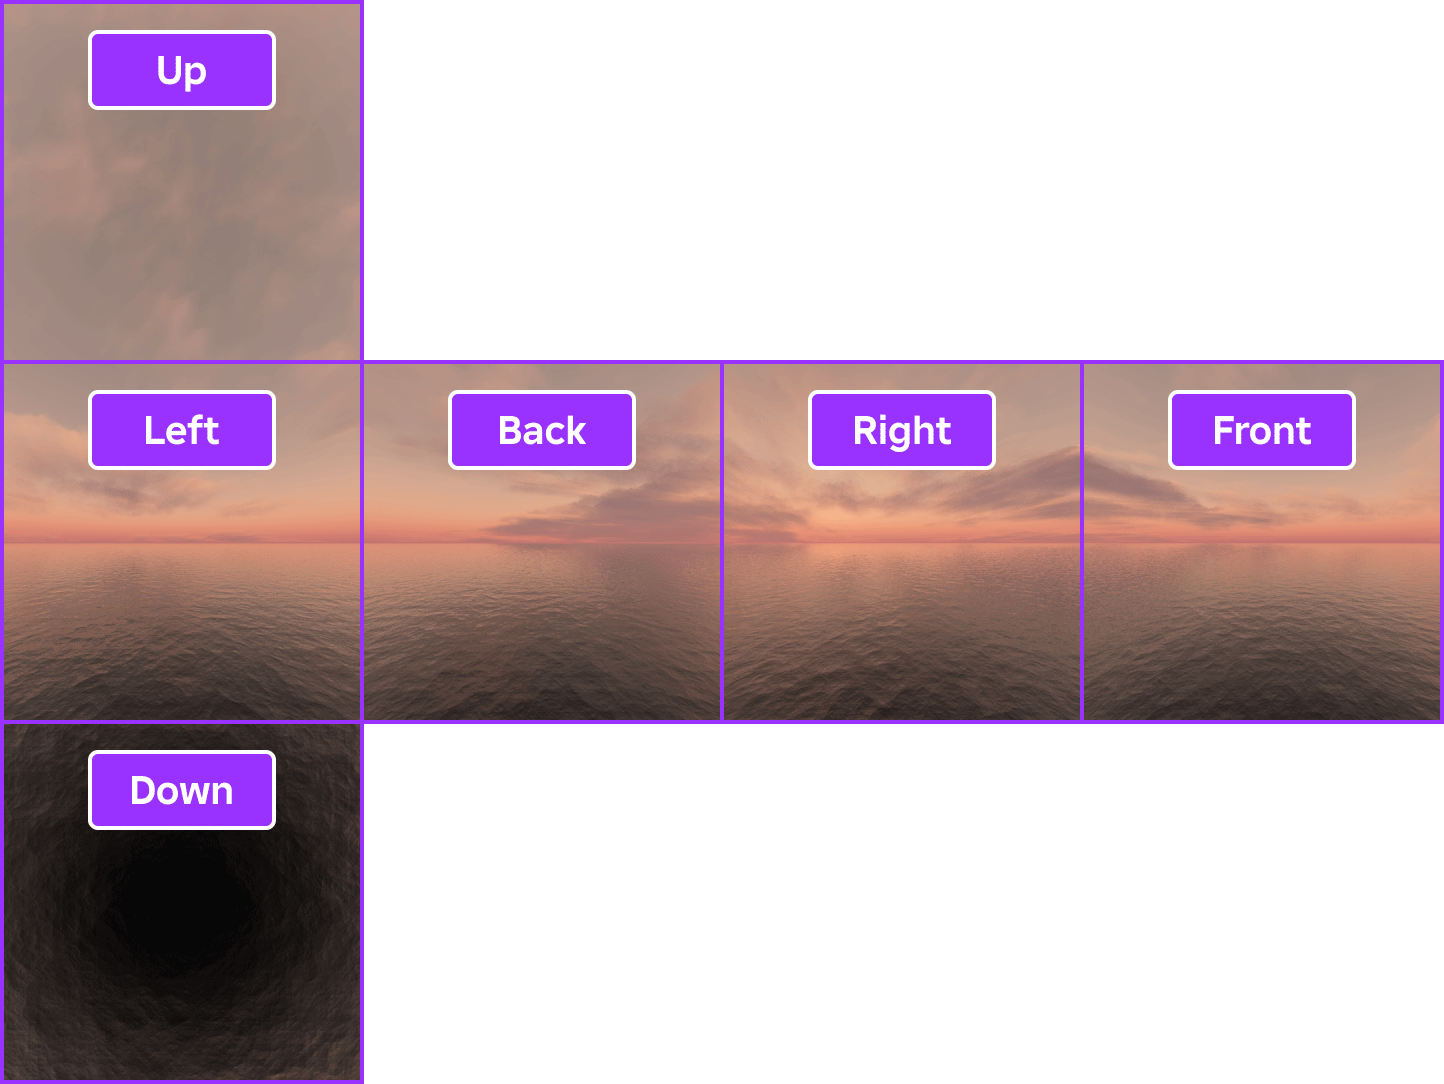
Skybox
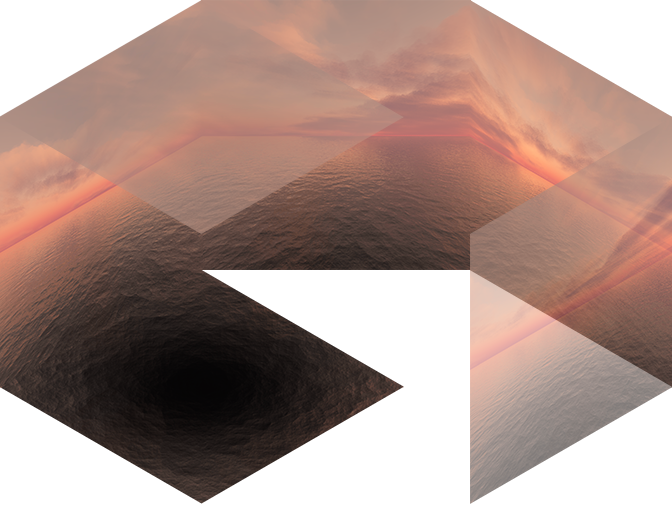
To create a skybox:
In the Explorer window, insert a
Skyobject into theLightingservice.
Select the new
Skyobject, then in the Properties window, assign a texture to each of the following sky properties:- SkyboxBk — The back square of the skybox.
- SkyboxDn — The down square of the skybox.
- SkyboxFt — The front square of the skybox.
- SkyboxLf — The left square of the skybox.
- SkyboxRt — The right square of the skybox.
- SkyboxUp — The up square of the skybox.

Celestial bodies
By default, the Sky object includes celestial bodies such as a sun, moon, and stars. These bodies dynamically appear, rise, and set based on the TimeOfDay or ClockTime property values.
You can customize celestial bodies through the following properties:
SunTextureId— Sets the texture of the sun.SunAngularSize— Sets the relative size of the sun in degrees.MoonTextureId— Sets the texture of the moon.MoonAngularSize— Sets the relative size of the moon in degrees.StarCount— Sets the amount of stars in the skybox.
Note
To disable all celestial bodies, you can toggle off the CelestialBodiesShown property. Alternatively, you can disable only the sun and/or moon (while keeping the stars) by setting SunAngularSize or MoonAngularSize to 0.
Orientation
The SkyboxOrientation property changes the orientation of the skybox surfaces. The property takes a Vector3 of degree values in the typical XYZ order, but rotation is applied first around the Y axis, then X, and then Z to allow for predictable control over complex movements.
An easy way to script an orientation animation is to spin around the Y axis (keeping the horizon level), then tilt this axis by setting X and Z to a fixed value. The following script, for example, animates the Y axis for spinning while keeping a consistent 30° tilt on the X axis.
local Lighting = game:GetService("Lighting")
local RunService = game:GetService("RunService")

local sky = Lighting:FindFirstChild("Sky")

local ROTATION_SPEED = 5  -- In degrees per second

RunService.Heartbeat:Connect(function(deltaTime)
	sky.SkyboxOrientation = Vector3.new(
		30,
		(sky.SkyboxOrientation.Y + ROTATION_SPEED * deltaTime) % 360,
		0
	)
end)
Note
The modulo operation % is optional but recommended. You can use values above 360 or below 0, but using smaller numbers avoids issues when the animation runs for a very long time (due to limited precision).
Note that skybox orientation is a low-cost feature which works seamlessly across all platforms and visual quality levels. As a result, some intentional exceptions include:
- If the sky is visible in indoor reflections such as a mirror surface through an open window, that specific reflected view will not be rotated. Achieving this would require expensive re‑rendering and convolving of cubemaps which would significantly impact performance and broad availability.
- Only the skybox surfaces rotate; celestial bodies are not affected by this property.
- If you utilize a
Skywithin aViewportFrame, it will reflect the globalSkyboxOrientationvalues. You cannot adjust the angle perViewportFrame. - The dynamic clouds feature under
Terrainis not impacted.